

The ArtsyTransfer is a multi-colored layered blended element delivered in .psd format for use in Adobe Photoshop and Photoshop Elements. The layers in ArtsyTransfers have blended edges, while ArtsyKardz layers fit within the bounds of the rectangular square format, enabling you to quickly and easily create blended digital art and composites.
Creative Team Member, Linda Davis, showcases ArtsyTransfers in her latest video tutorial available on the aA Youtube Channel.
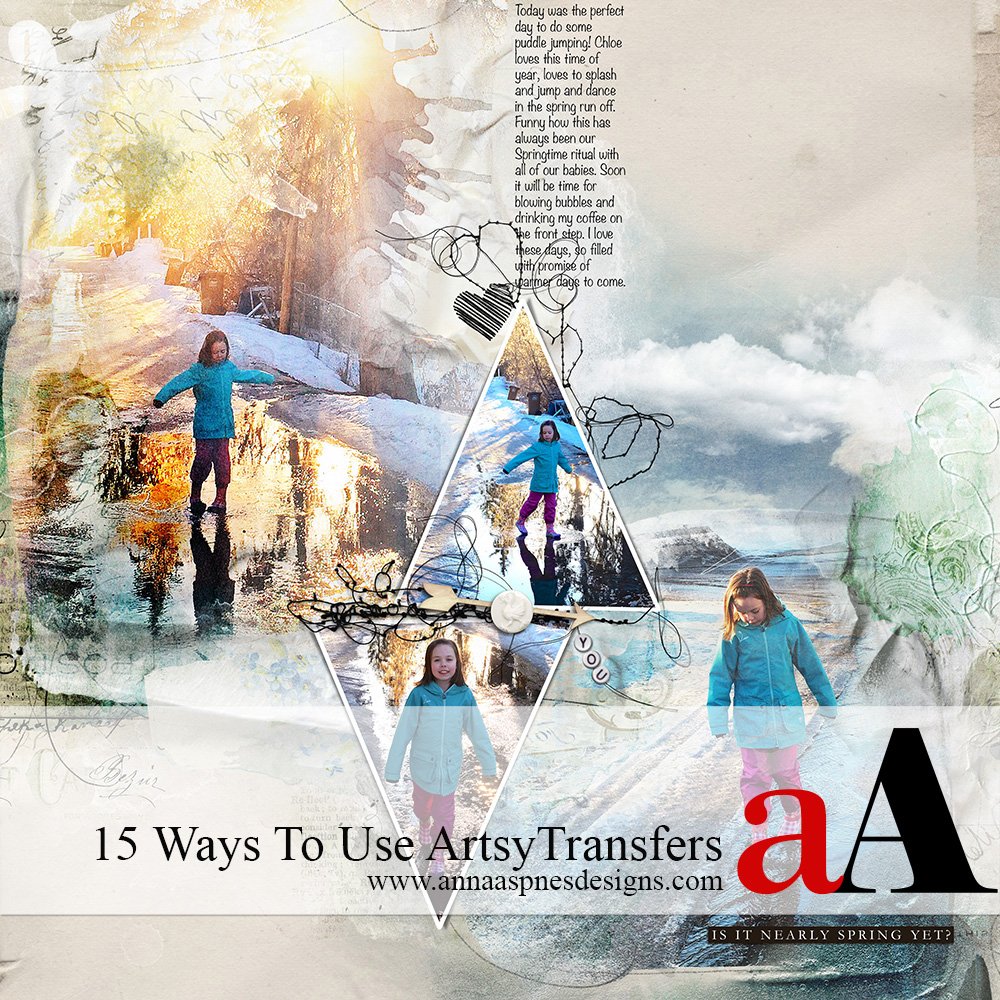
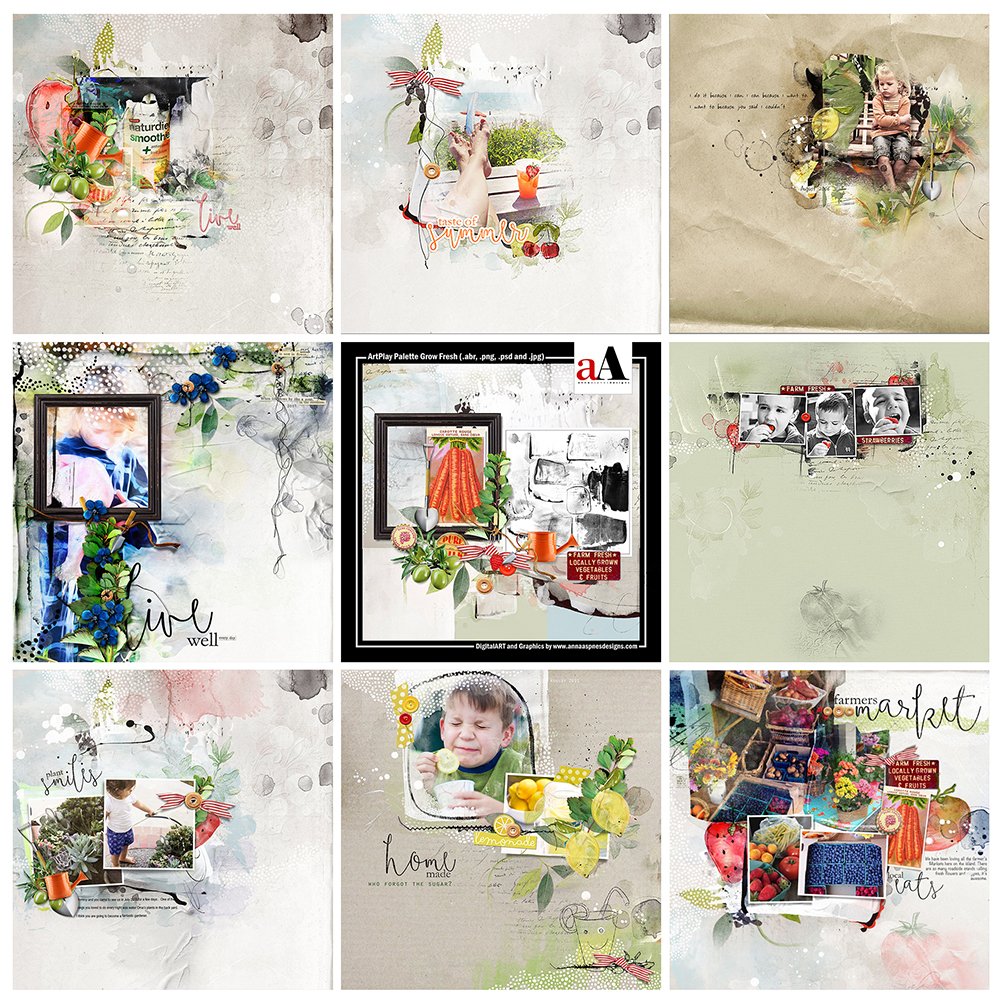
Following, you will find more inspiring ways to use ArtsyTransfers in your layouts. A big thank you goes out to the aA Creative Team for sharing their talent and artwork.
1. Clip Photo to ArtsyTransfer. Select one of the larger paint layers and use as a mask to instantly blend your photo among the layers using the clipping mask function in Adobe Photoshop and Elements.
Changes | Mikki Krueger
2. Modify Layers with Clipping Mask. Clip an artsy paper, transfer, overlay or brush layer to any of the layers to change any of the layers to suit your color palette and preference.
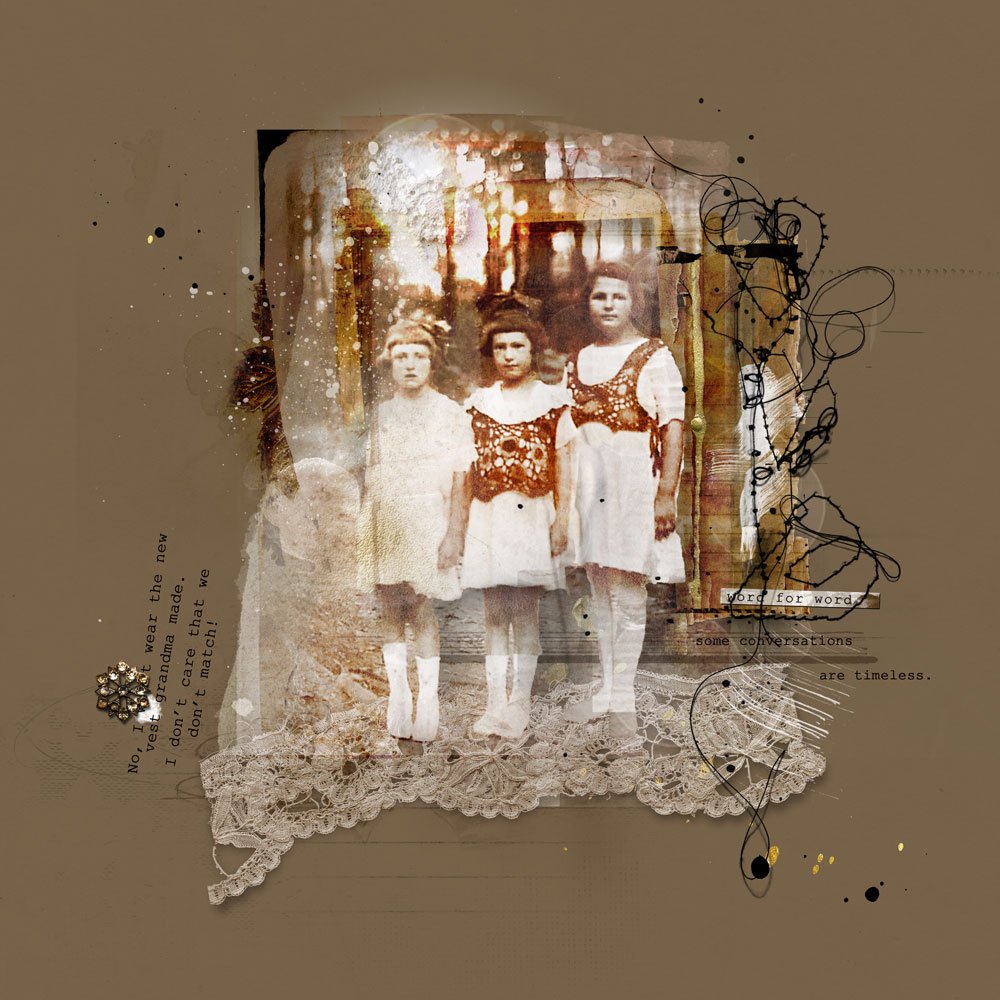
Word For Word | Adryane
3. Recolor Layers. Adjust the color of the layers by using the Hue and Saturation tool. Go to Image> Adjustments> Hue and Saturation (Adobe Photoshop) or Enhance> Adjust Color> Adjust Hue/Saturation (Adobe Photoshop Elements), and move the Hue and Saturation sliders to preference.
POTD | Linda Davis
4. Layer Visibility. Turn the visibility of any of the layers on/off to change the appearance of the ArtsyTransfer. Click on the eye icon next the layer in the Layers panel.
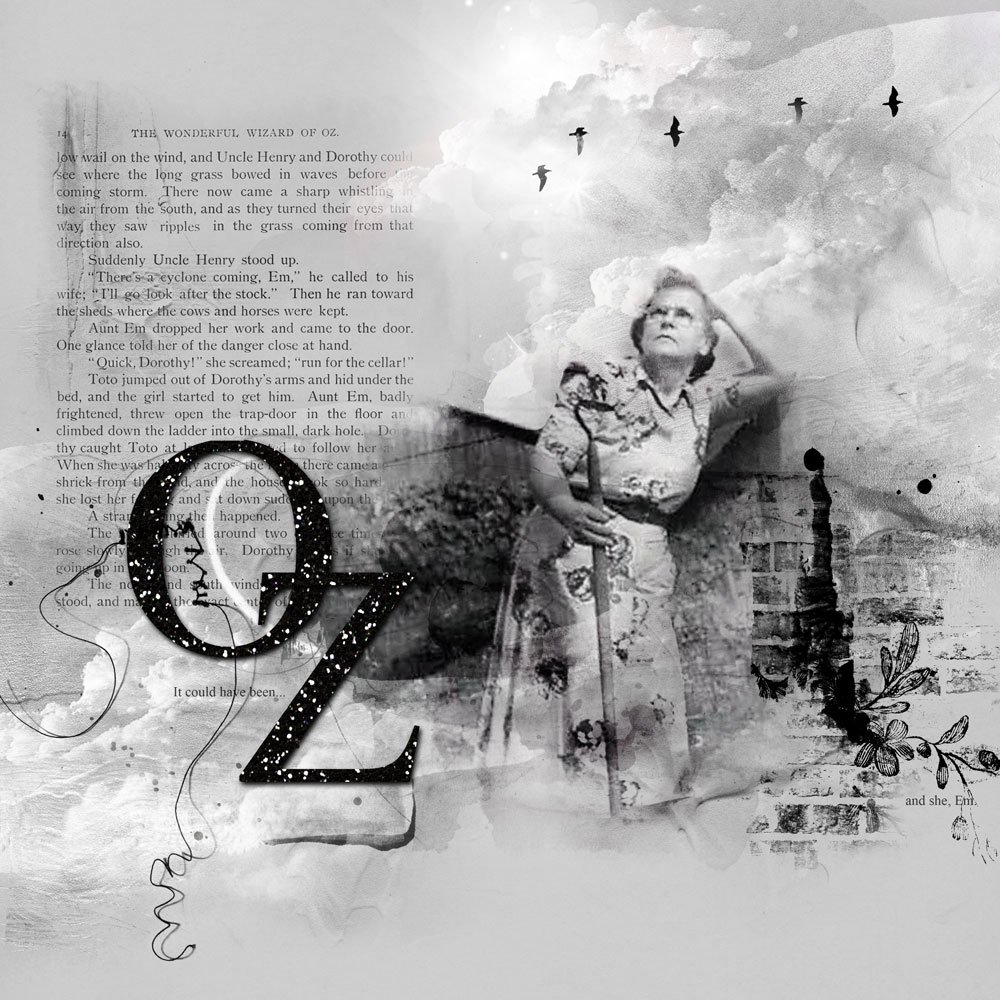
Oz | Adryane
5. Extract Layers. Use one of more of the layers from an ArtsyTransfer independently in a new layout. Select the Move tool from the Tools panel, click on the layer to be extracted in the Layers panel, then drag the layer to a new layout.
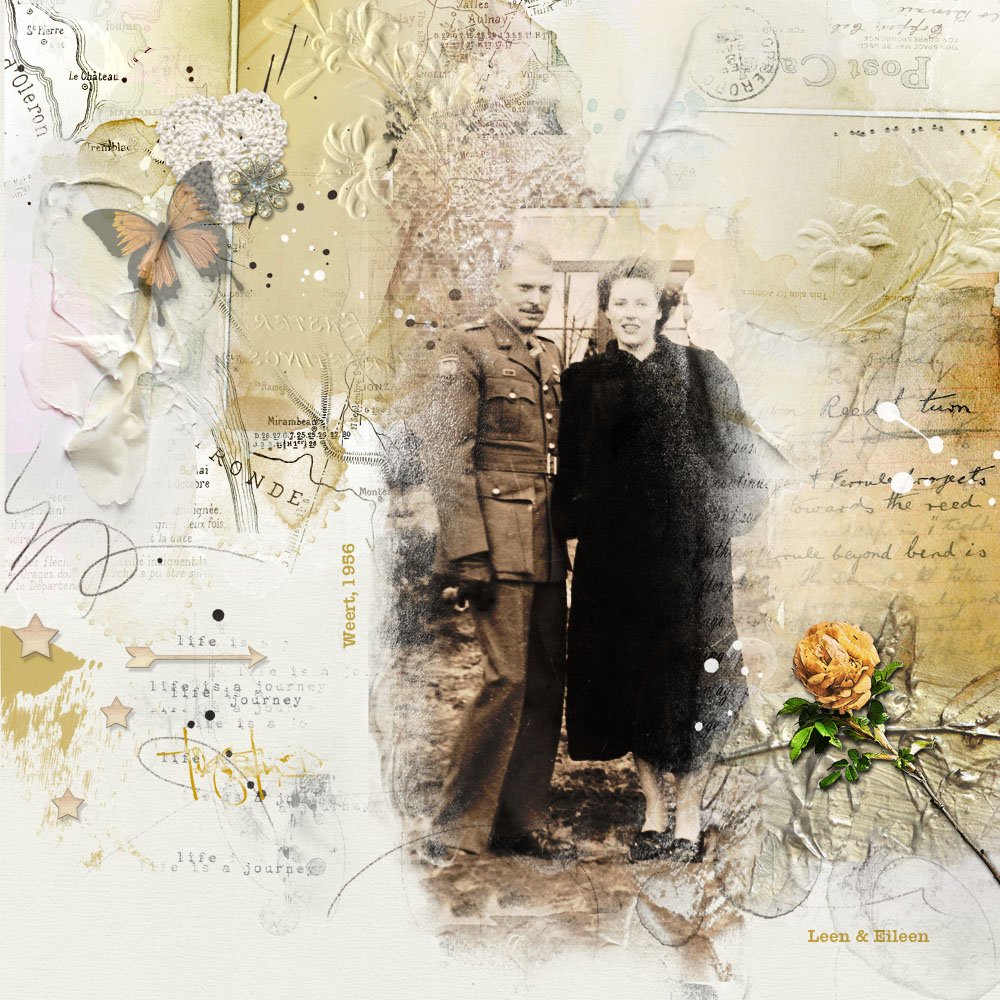
Bontjas | Ellen
6. Create ArtsyKardz. Make your own ArtsyKardz for use in Project Life style or artsy digital scrapbooking pages. Move the transfer onto a solid background paper, clip your photo to the focal paint layer in the ArtsyTransfer, then merge all layers. Crop the composite to the size of your choice.
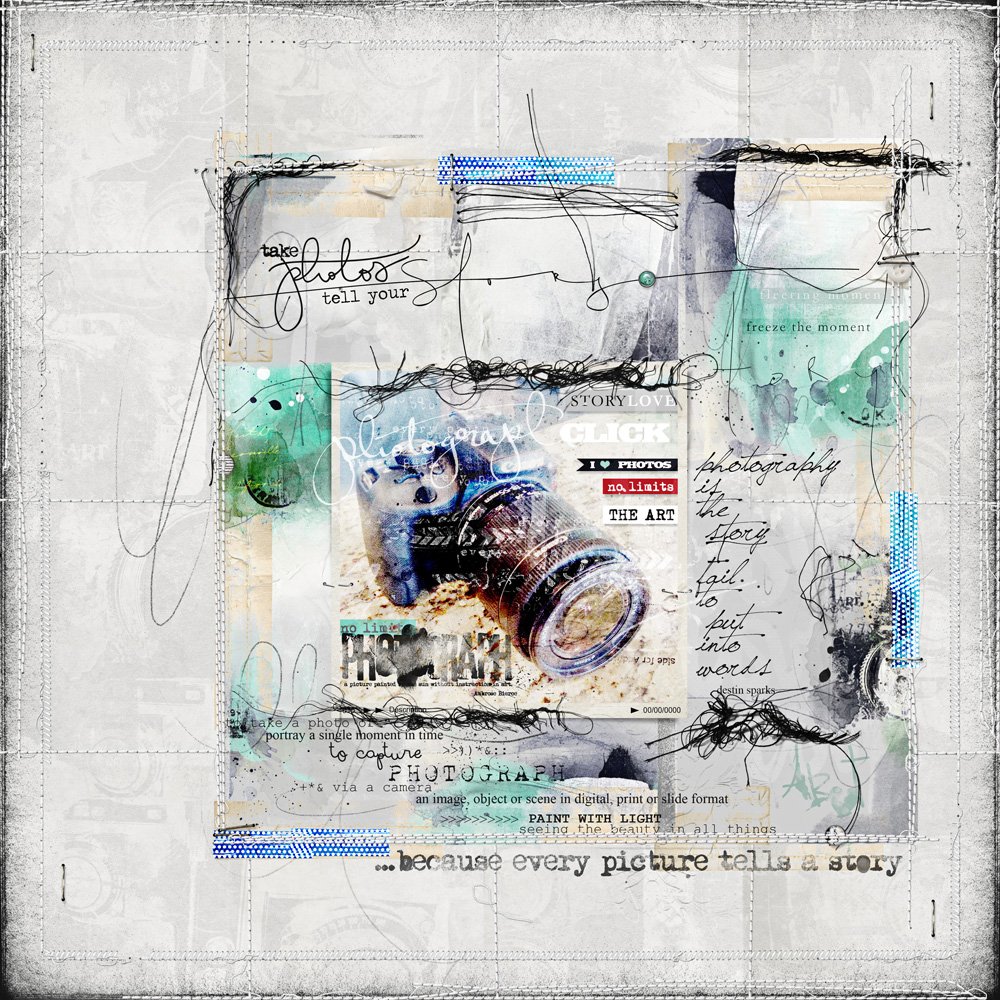
Take Photos | Donna Goar
7. Modify With Brushes. Use the layer mask and brushes technique as outlined in AnnaBlendz LIVE classes to manipulate any of the individual layers in the ArtsyTransfers to suit your needs.
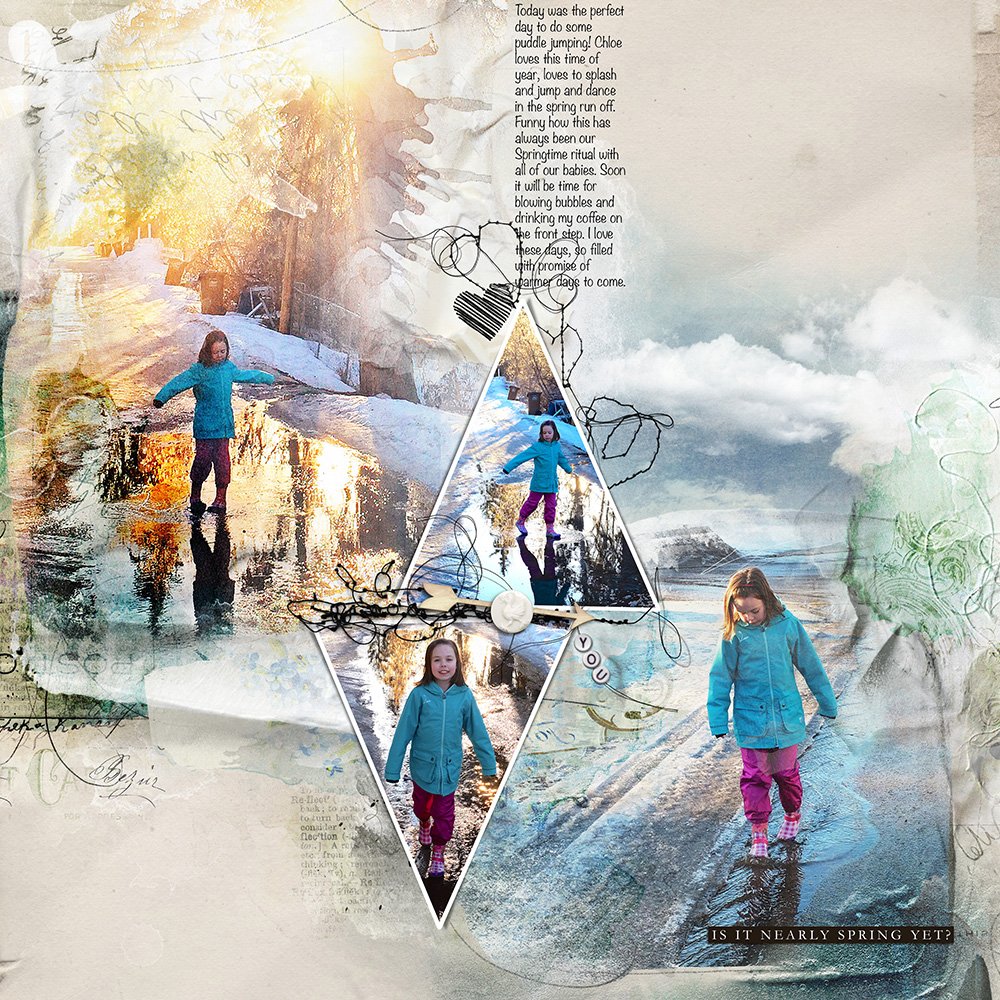
Joys of Spring | Heather Prins
8. Apply Layer Styles. Create instant dimension by applying Layer Styles such as Bevel and Emboss and Drop Shadows. Go to Layer> Layer Styles and select the options of your choice.
9. Mix Layers. Combine layers from multiple transfers to make your own ArtsyTransfer variations.

In A Swing | Linda Davis
10. Blending Modes. Change the blending mode of any of the layers. Click on *Normal* in your layers panel to activate the drop-down menu then select the blending mode of your choice. Hold down the SHIFT key and press the ‘-‘ and ‘+’ keys on your keyboard to scroll through them in succession.
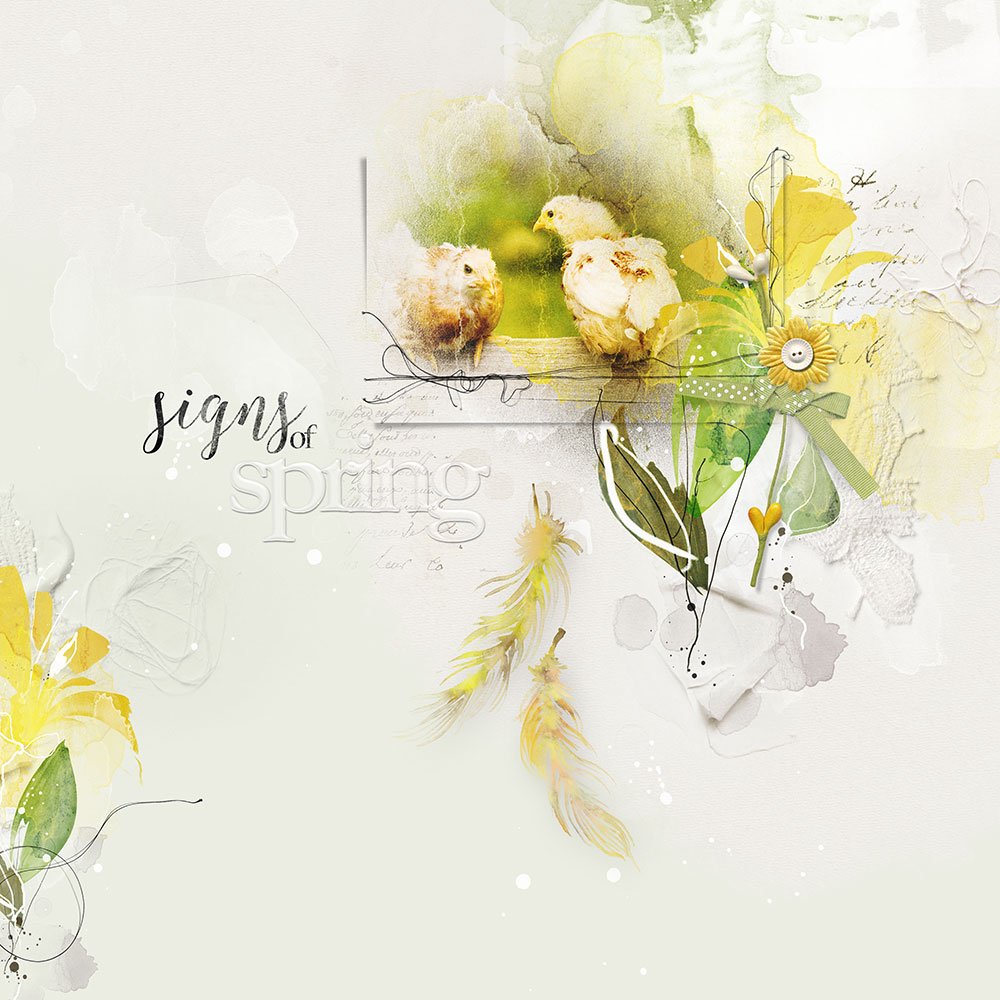
Spring Chicks | Miki Krueger
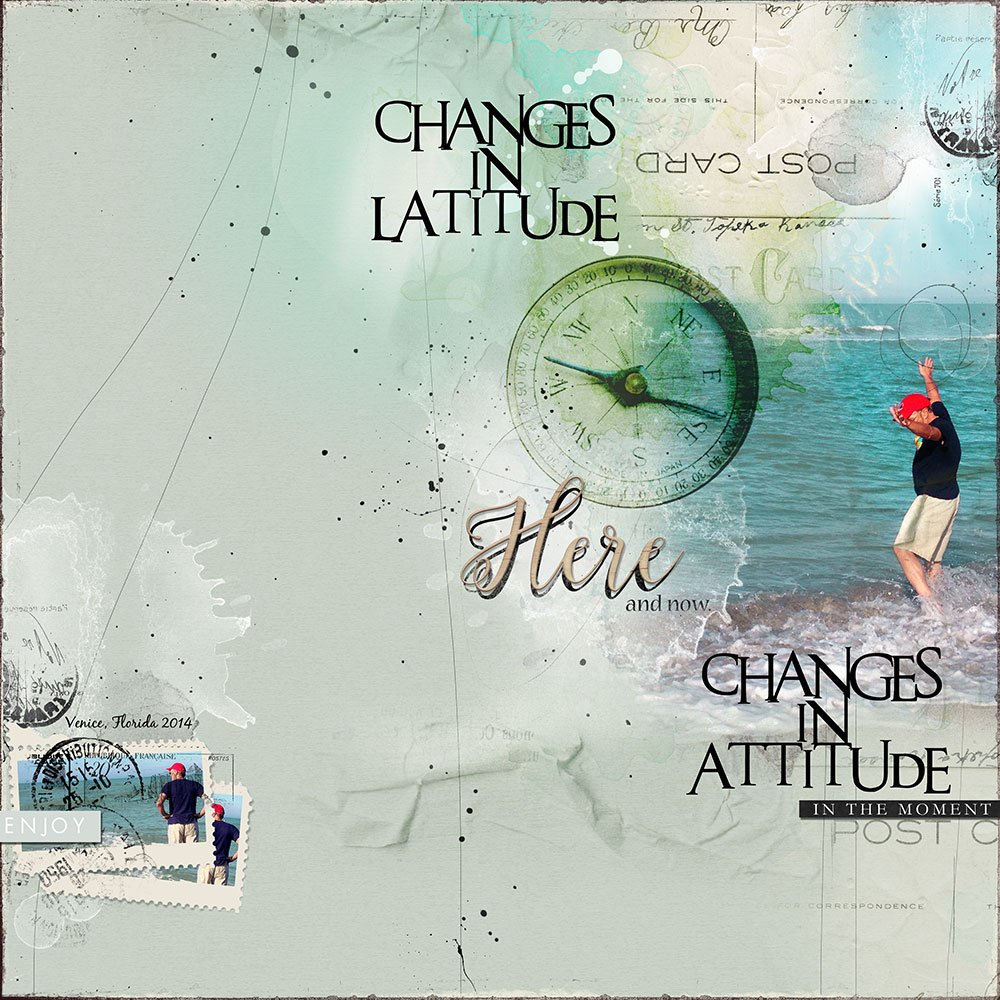
11. Create A Matte. Place a transfer behind a photo, element cluster or journaling to create a matte and draw the eye to a specific area of your layout. An ArtsyTransfer behaves very much like a frame when used in this manner.
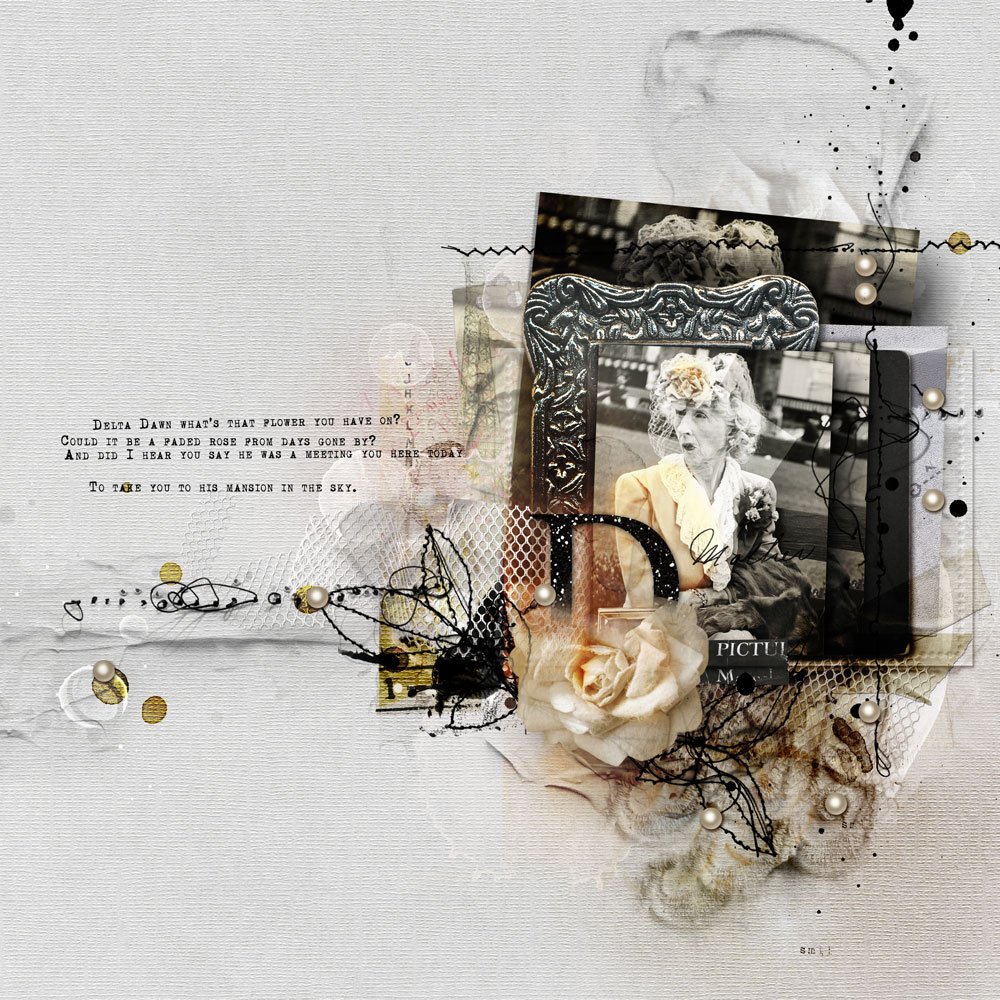
Delta Dawn | Adryane
12. Placement. Place ArtsyTransfers in part or whole over a photo in your layout.
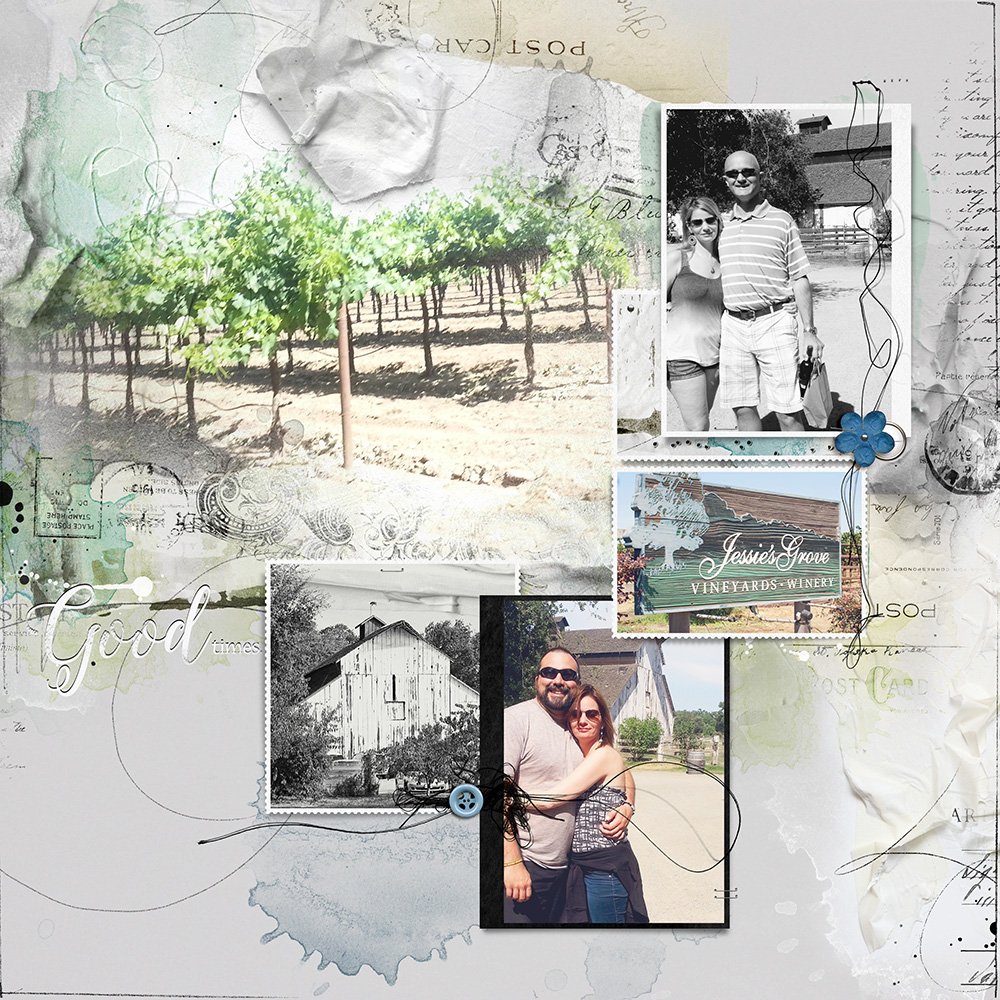
Jessie’s Grove | Lindy Krickbaum
13. Create an Artsy Background. Place ArtsyTransfers in whole or part over a solid paper to create a custom artsy background.
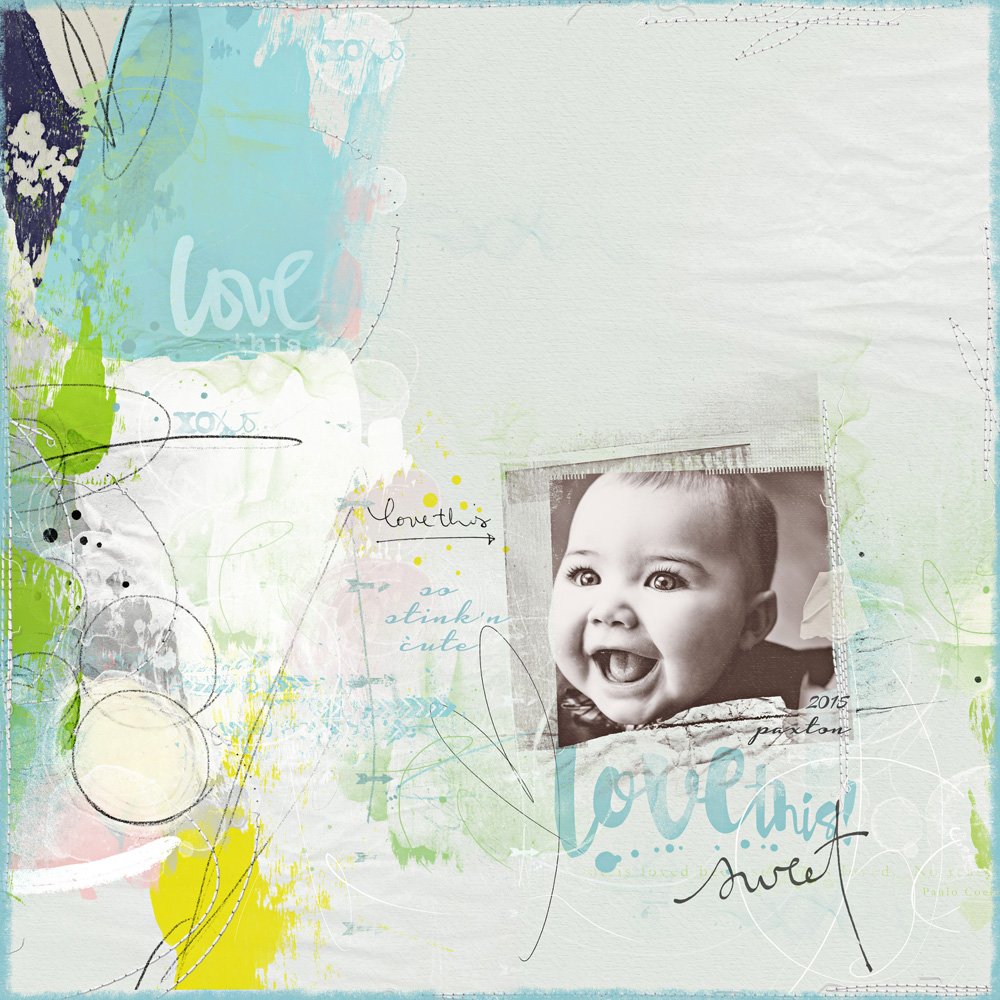
Love This | Donna Goar
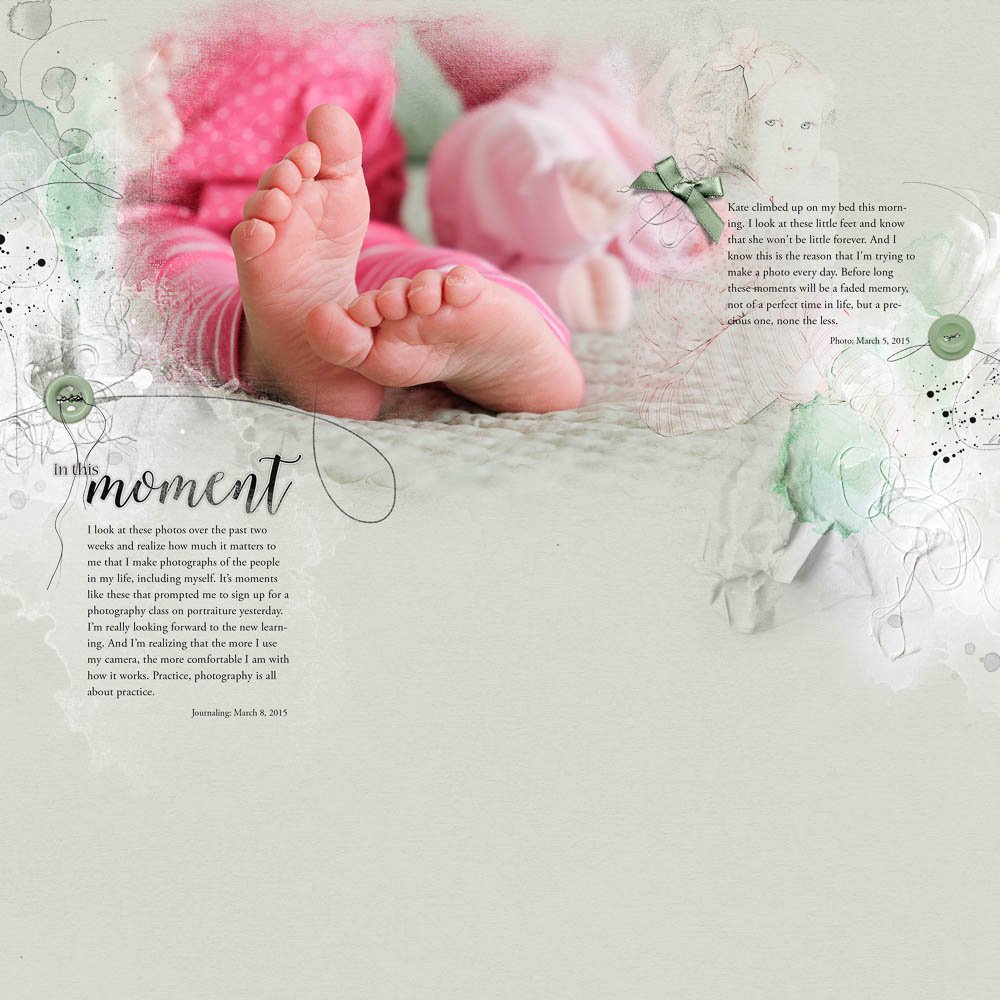
14. Embellish a Blended Photo. Add color and textural interest to a blended image by clipping one or more ArtsyTransfer layers to a blended image.

Young and Free | Donna Goar
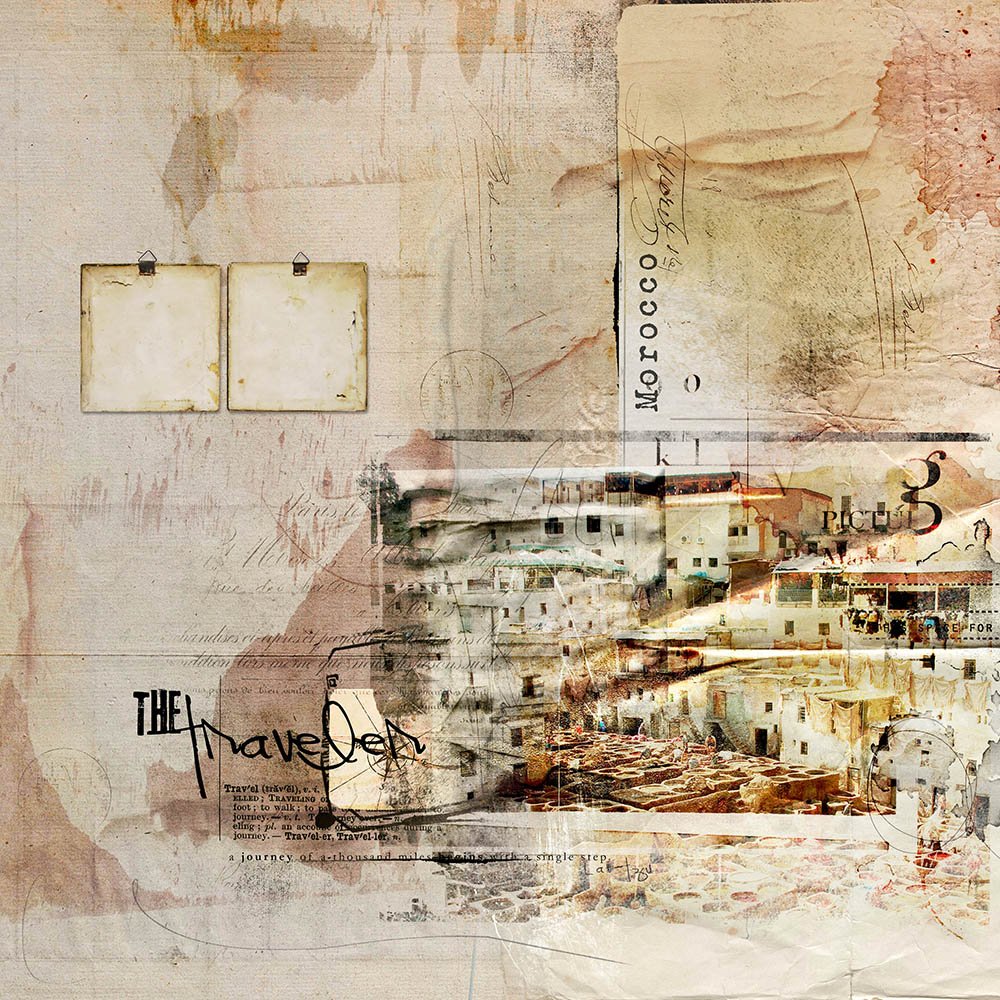
15. Embellish an ArtsyTransfer. Add to an ArtsyTransfer by supplementing the layers with additional brushes, transfers and overlays.
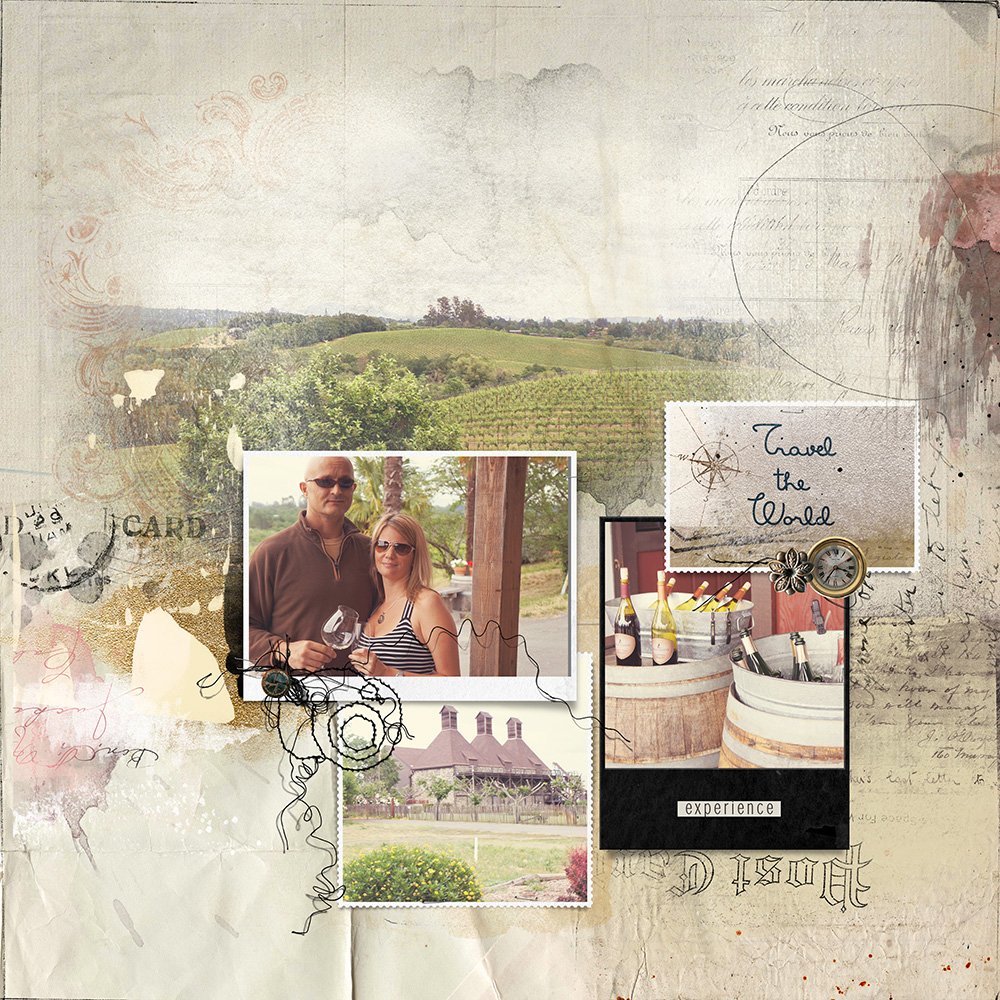
Travel | Lindy Krickbaum


Very helpful suggestions.. I love artsy transfers and am always waiting for the next release!!! Thanks everyone!!
Thanks Pam! Always open to your suggestions 🙂
Wonderful layouts and post! Great tips!
Thanks Monique.