


Creative Team Member, Barbara, shares her techniques for blending papers using FotoBlendz Clipping Masks.
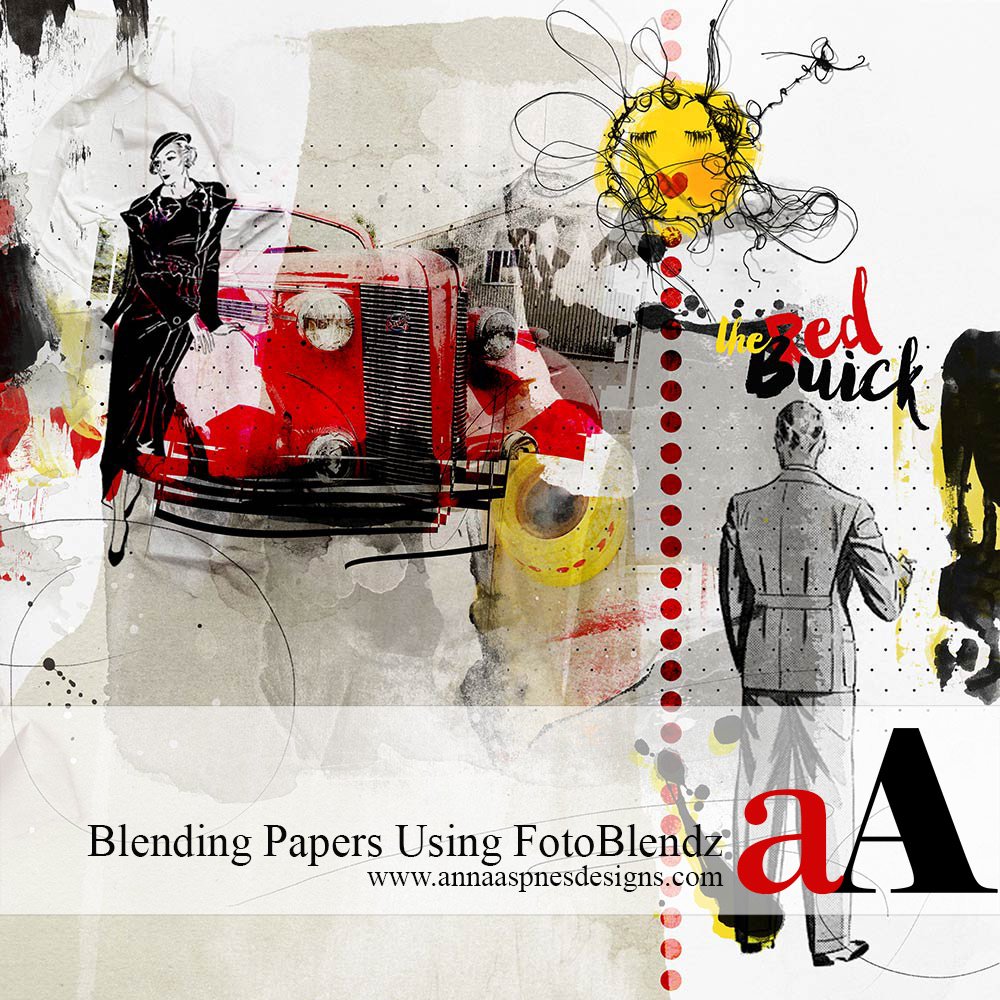
Honestly this didn’t start out to be a layout. I just wanted to play with blending papers, especially a printed paper with masks.
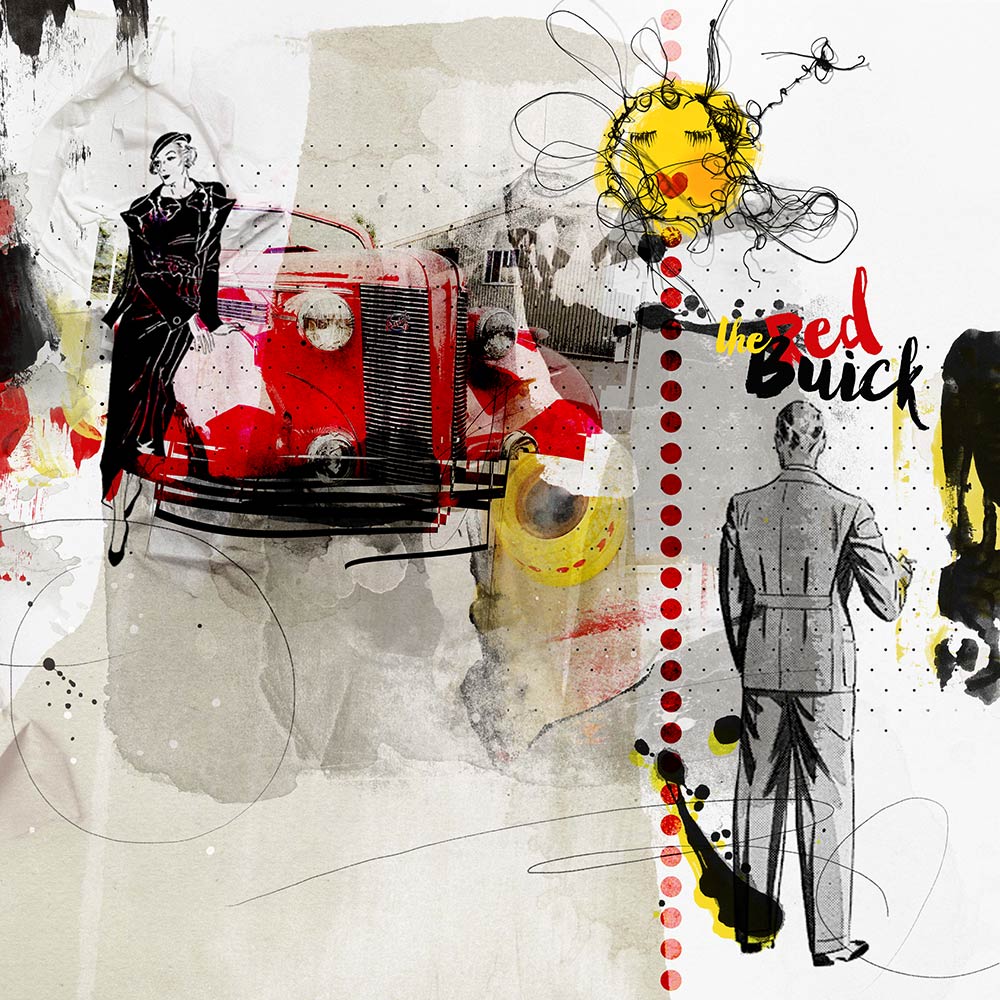
It grew up to be a layout that was a lot of fun to create using ArtPlay Palette My Camera. Even though this was done with FotoBlendz Clipping Masks, brushes would also yield interesting results.
Download the FREE aA Glossary of Terms for more information about the aA product range.
Blending Papers Using FotoBlendz
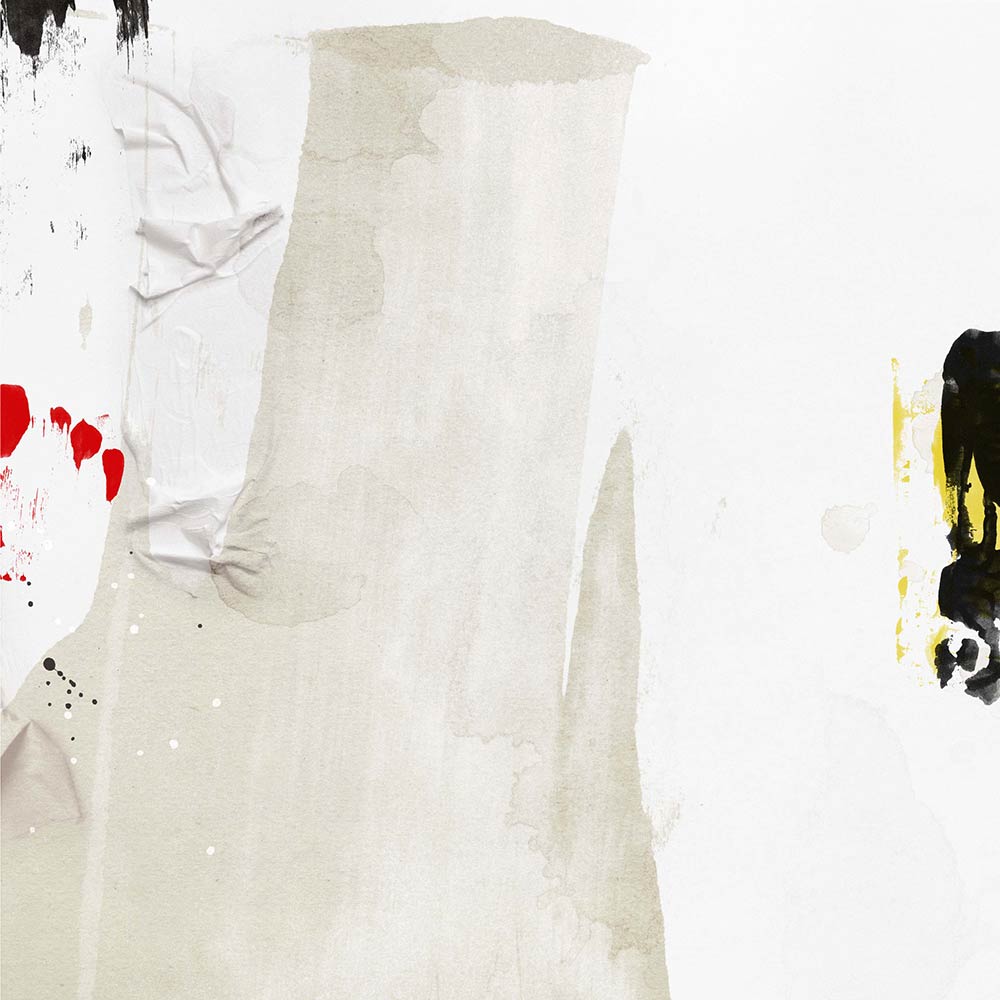
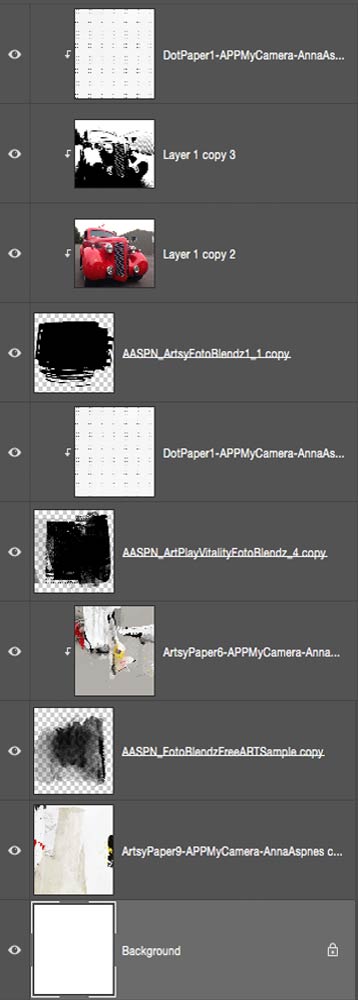
1. Create a Foundation. Create a new 12 x 12 layout at 300 dpi in Adobe Photoshop or Elements. Go to File> New File, and set specifications in the dialogue box as preferred. Open and move your your background paper onto the new layout using the Move tool from the Tools panel. As my foundation I wanted a paper with interest, but still neutral to build my blending. I chose ArtsyPaper 9 from ArtPlay Palette My Camera.
2. Add A FotoBlendz. I used FotoBlendz Free ARTSample and placed it in the middle of the page, lining it up with the painted edges of the foundation paper.
3. Clip an ArtsyPaper to the FotoBlendz. Open an move ArtsyPaper 6onto the layout, positioning the paper over the FotoBlendz clipping mask to show the areas of interest. Clip the paper to the mask by holding the cursor between the paper and mask while holding down the OPTION (Mac) or ALT (PC) button on your keyboard.
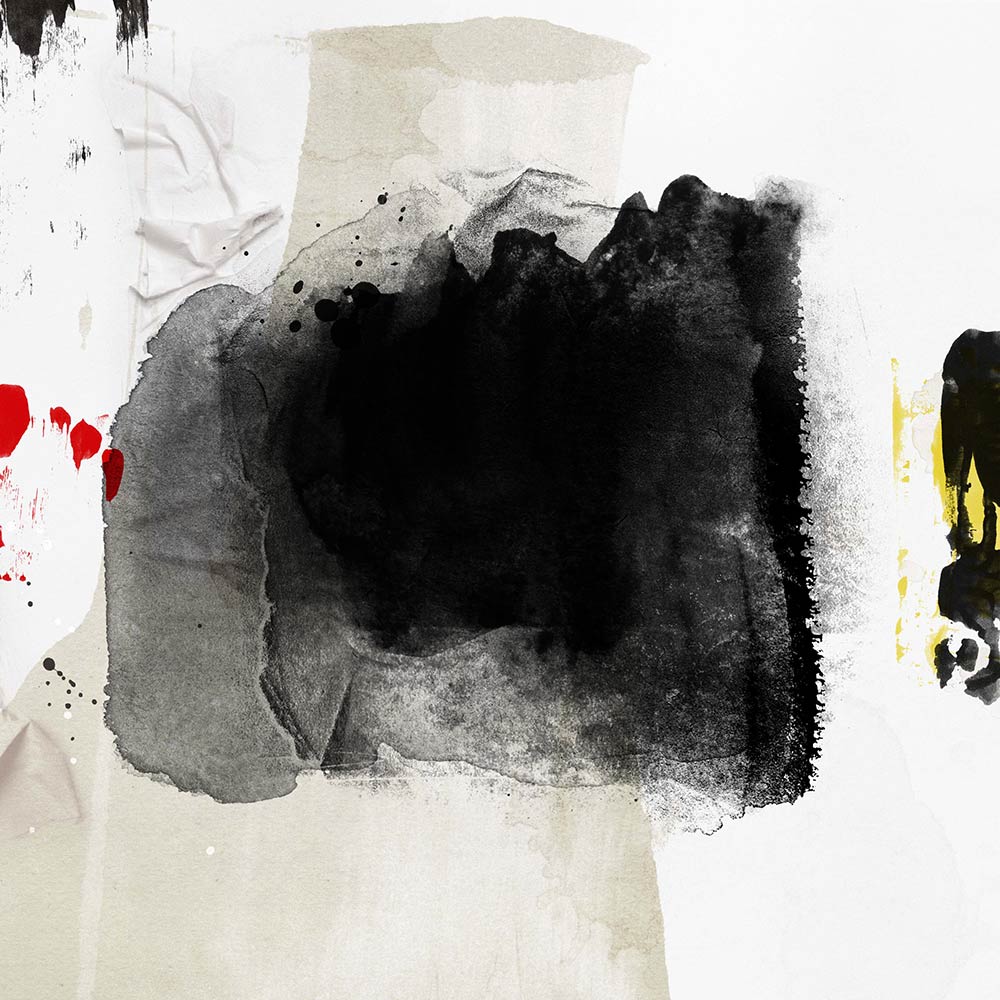
 4. Experiment with Blending Modes. Experiment by applying different Blending Modes to your FotoBlendz clipping mask layer. I liked Linear Burn the best, creating a new paper. At this point it was still an experiment and I wasn’t worried about this becoming anything I would save.
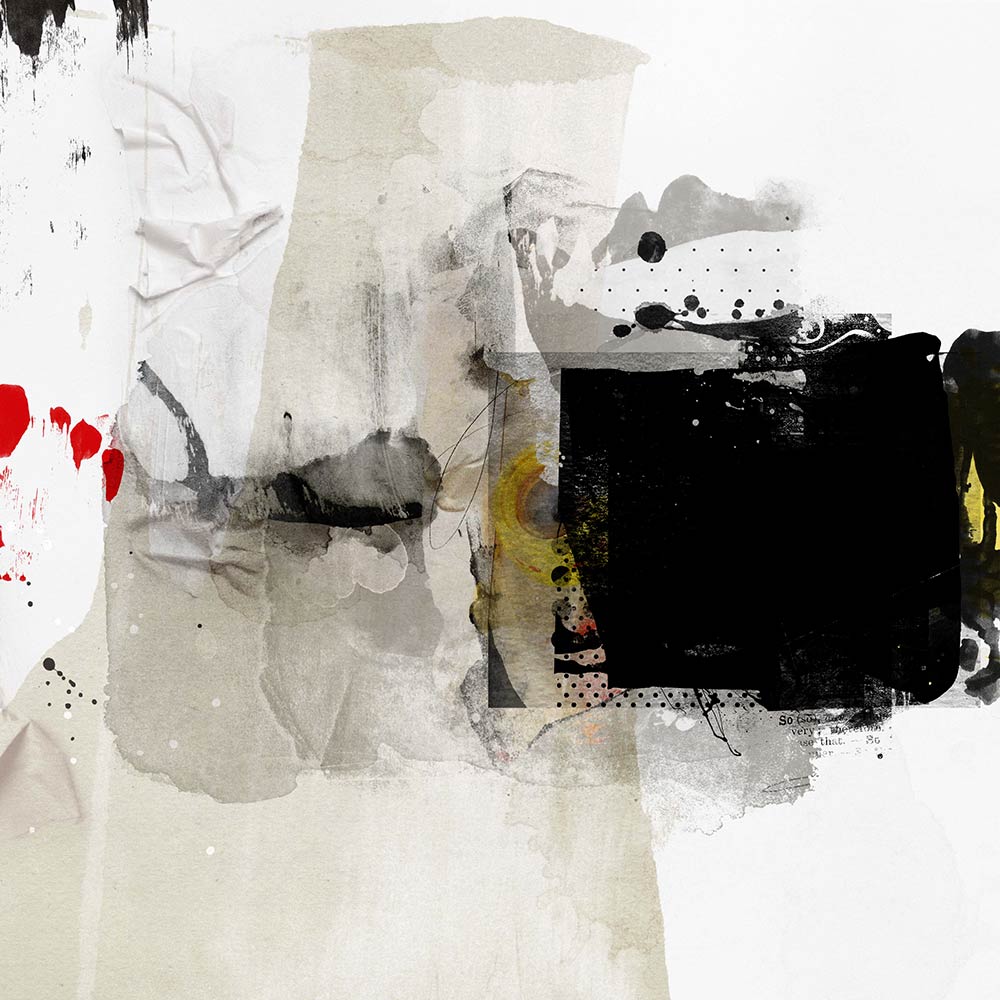
5. Add Another FotoBlendz. Open an move FotoBlendz 4 from ArtPlay Vitality FotoBlendz onto the layout, placing it at the right edge of the page.

6. Add a Patterned Paper. Knowing I wanted to use the dotted paper from ArtPlay Palette My Camera, it was a good time to use it here, creating another element to the paper I was building. Again, holding the cursor between the paper and mask while holding down the OPTION (Mac) or ALT (PC) button on your keyboard, I was able to clip the paper to the mask using the clipping mask function. Press CTRL + G (Elements) or CTRL + ALT + G (Photoshop) on your keyboard to clip one layer to another.
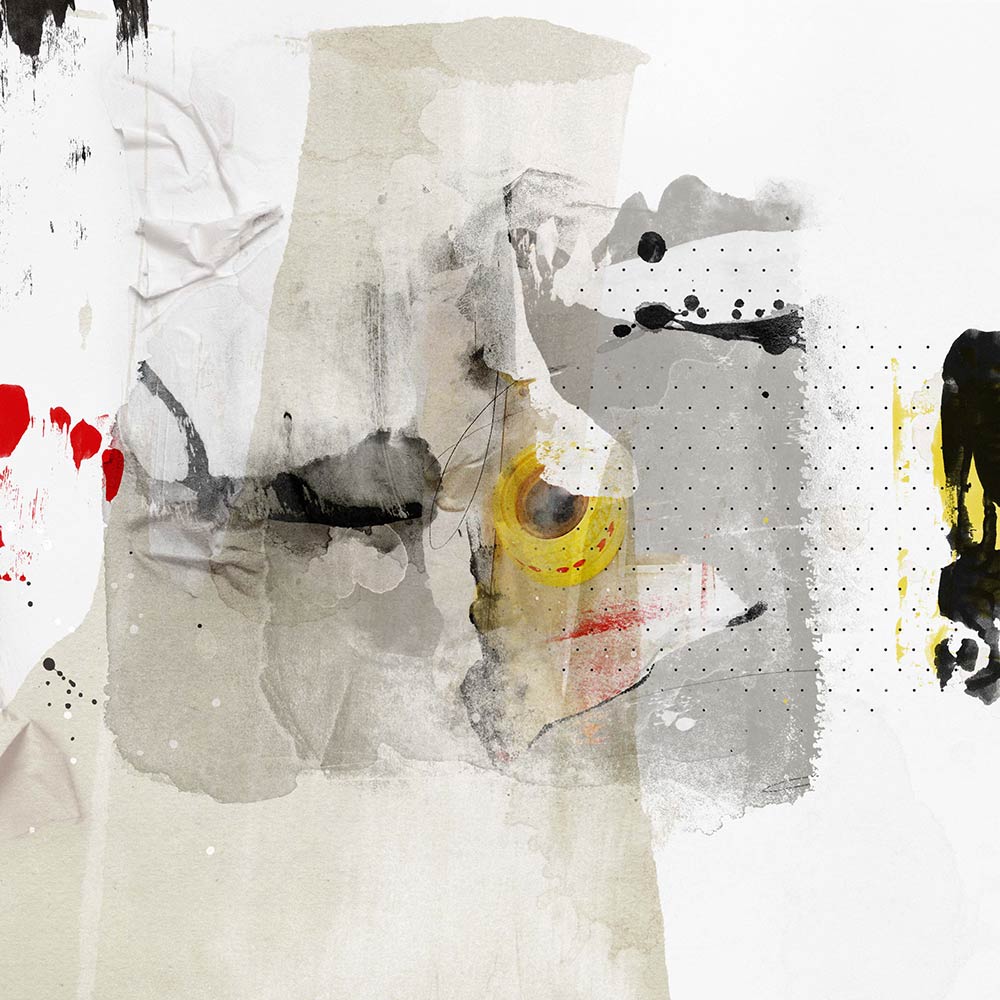
7. More Blending. Repeat step 4, experimenting with Blending Modes. I blended the FotoBlendz clipping mask layer by applying the Darker Color blending mode remove the white background of the dotted paper and just leave the dots and the painted edge of the original background paper.
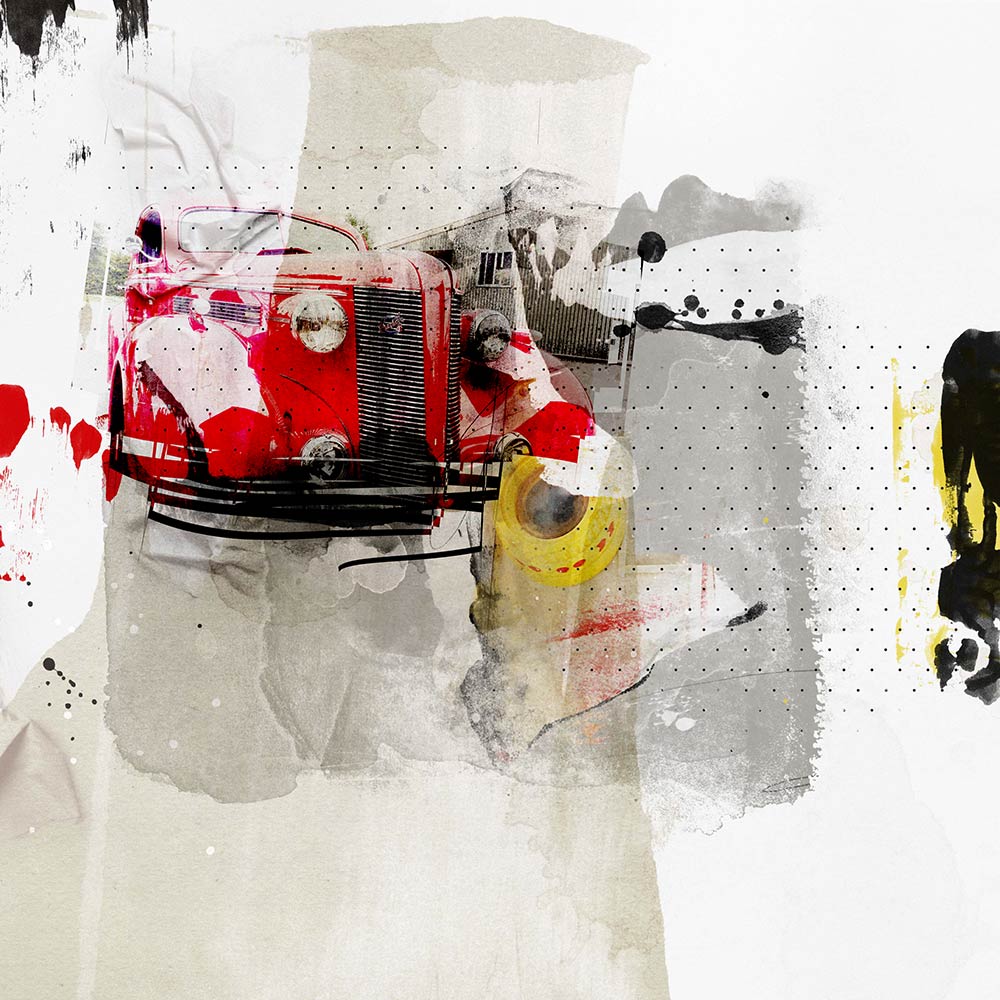
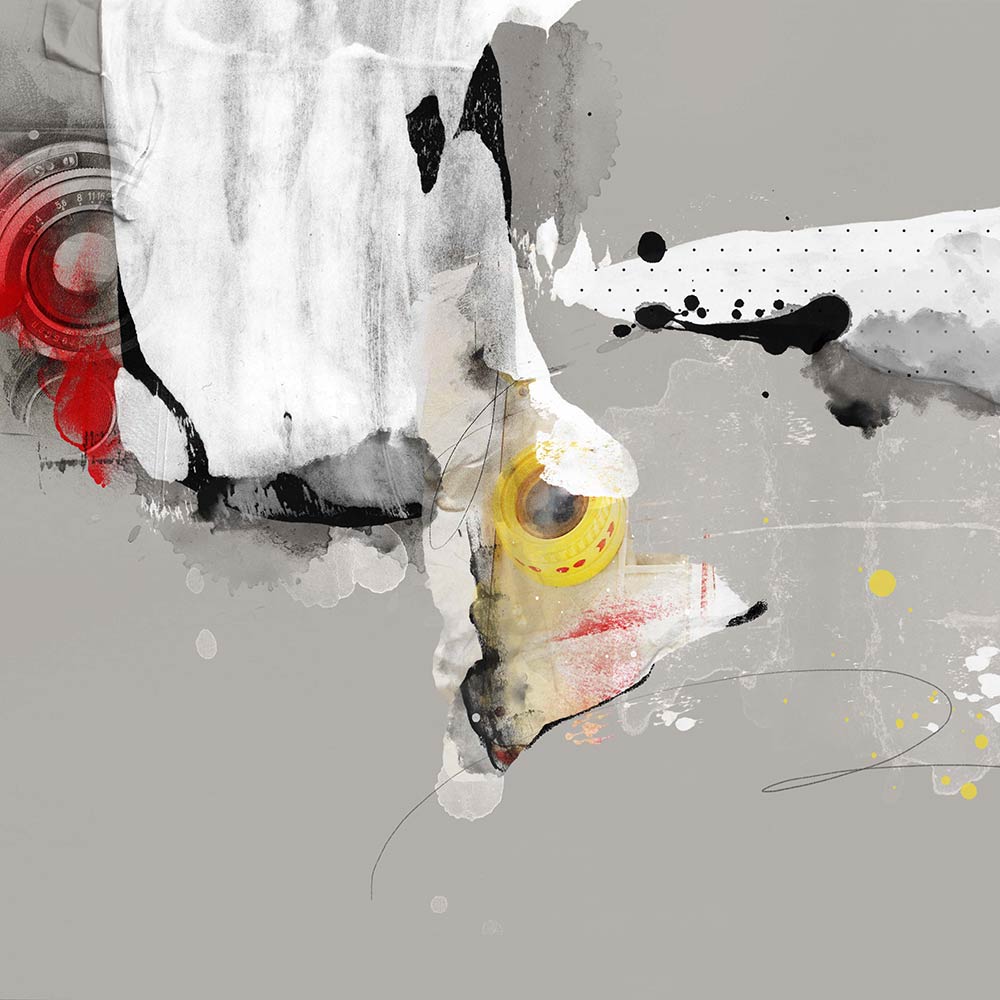
8. Choose a Photo. Choose a photo that will best fit the colors of the ArtPlay Palette, move it onto your page and clip it to another FotoBlendz clipping mask as described above. I used a clipping mask from Artsy FotoBlendz No. 1. I added a Threshold effect to my photo. In the Layers panel, click on the top layer. Go to Image> Adjustments> Threshold.
 9. Blending Modes. The Blending Mode applied to the Artsy FotoBlendz clipping mask is Color Burn, the photo is Normal and the Threshold layer is Lighten reduced to 38% Opacity. Blending modes enable the background textures to show through each of the layer by varying degree.. I also clipped the dotted paper positioning above the photo layers to the Artsy FotoBlendz clipping mask, with the Darken blending mode applied.
Note About Experimentation. It is from here that I created the rest of the layout, still not really knowing what it was to become. In closing, I just want to say that it’s really a wonderful exercise to open something with the intention of just playing and not having a preconceived notion of the end result. Unexpected surprises happen that make your art grow when you are blending papers using FotoBlendz clipping masks.
Click on the above photo for additional process notes and supplies used.


Thank you for the tutorial for this wonderful layout. The retro is so fun. I never think about “threshold” but now I can’t wait to try it.
Thank you so much Danesa! Glad it was inspiring for you. I love using the Threshold, you just never know what fun affect you get when you blend it to your photo. Always happy accidents.
Thanks for the tutorial. Very clear explanation. I am always confused about what layer the blending modes should be on … the photo layer or the clipping mask layer. I think you’ve cleared it up for me. The threshold effect is still a little confusing to me. Need to practice. Great tutorial!
Thank you Chaelene! Yes, 99% of the time if use the mask layer with the blending modes, but sometimes, if I’m not getting the effect I want, I will also blend the photo layer also, just to see what happens. That’s what I love about Photoshop, nothing is set in stone and you can undo if you don’t like it. The Threshold effect is something you just have to play with because every photo is different. I find the less detail in the photo the better the outcome. And there again, you can undo what you don’t like.