

Today, Creative Team Member, Adryane is sharing her Cutout Title Tutorial in Adobe Photoshop.
This tutorial can also be completed using Adobe Photoshop Elements.

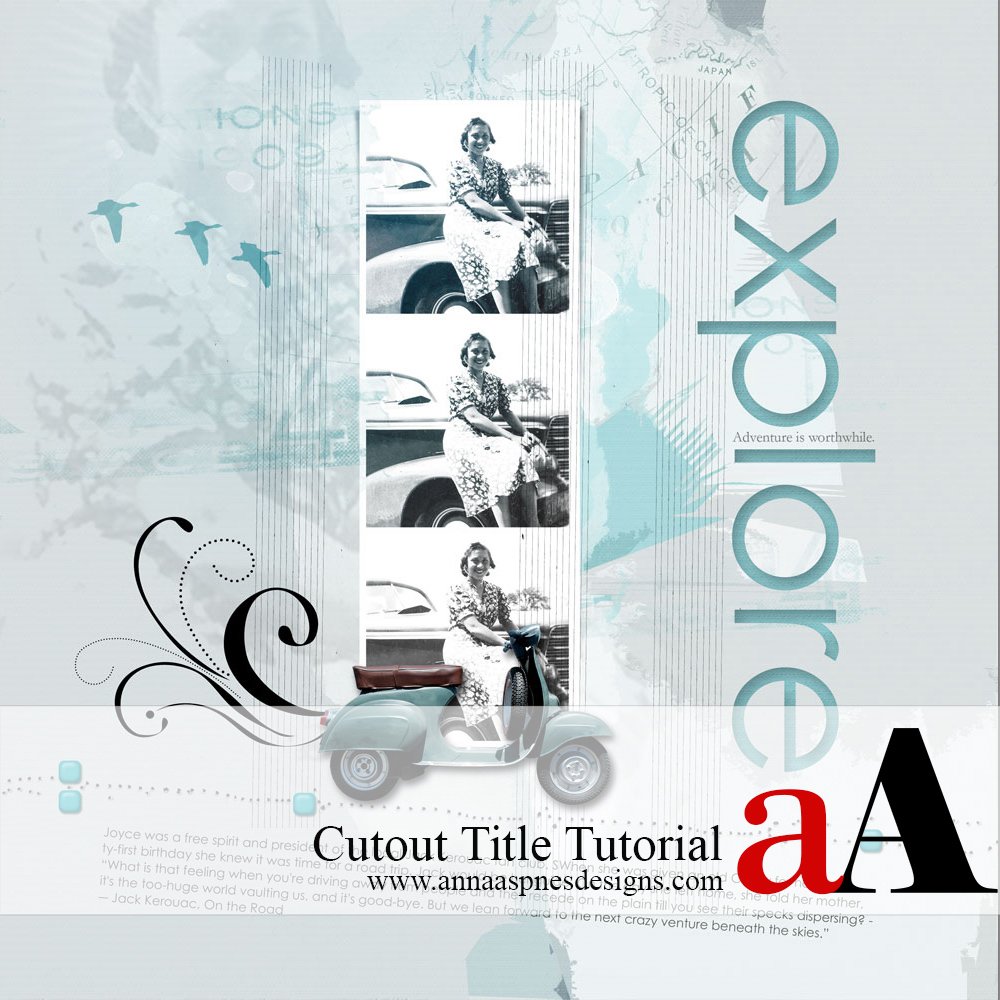
Cutout Title Tutorial

1. Design Your Page. Design the main parts of your page, including photos and elements that you are not likely to move. For example, it’s best not to include your journaling in this step because journaling often changes either in size, placement, or wording as a design develops.
2. Create a Composite Image. When you are done with the main parts of your design, create a composite image. To do this use CTRL + ALT + SHIFT + E. This will create a copy of all of your visible layers. While you could also merge your visible layers at this point, it is not an approach I use because the layers are not preserved and changes can be difficult or require starting over.

3. Place a Solid under Your Composite Layer. Move your new composite layer to the top of your layer stack. Place a new solid under this layer. I chose a solid from ArtPlay Solids Adventure.

4. Position Your Title. I chose the word “explore” and typed it on its own layer using the font Century Gothic. You could also use WordART for this step. I think this effect looks best on a “clean” title because of the shadow we will add in Step 6.

5. Add a Layer Mask to Your Composite Image. Add a Layer Mask (Layer > Layer Mask > Reveal All) to your composite image, then go back to your title layer and with that layer selected, CTRL + left click on the layer. You should see marching ants around your text. Now, click on the layer mask you added to your composite and press Delete. (Note: When you do this, be sure to have your foreground color set to white and your background color set to black.) Press CTRL + D to stop the marching ants and turn the visibility of the text layer off. You should now be able to see the color of the solid layer through your composite.
6. Add a Drop Shadow to Your Composite Layer. Add a drop shadow to your composite layer. This will give depth to your cutout title. I used Blend Mode (Multiply), Opacity (36%), Angle (120°), Distance (33px), Spread (0), and Size (62px).

7. Add Journaling. As a final step, you can add your journaling, FotoGlows, or other Elements that finish off your page.
Click on the above photos for additional process notes and Anna Aspnes Digital Designs supplies used.


Recent Comments