

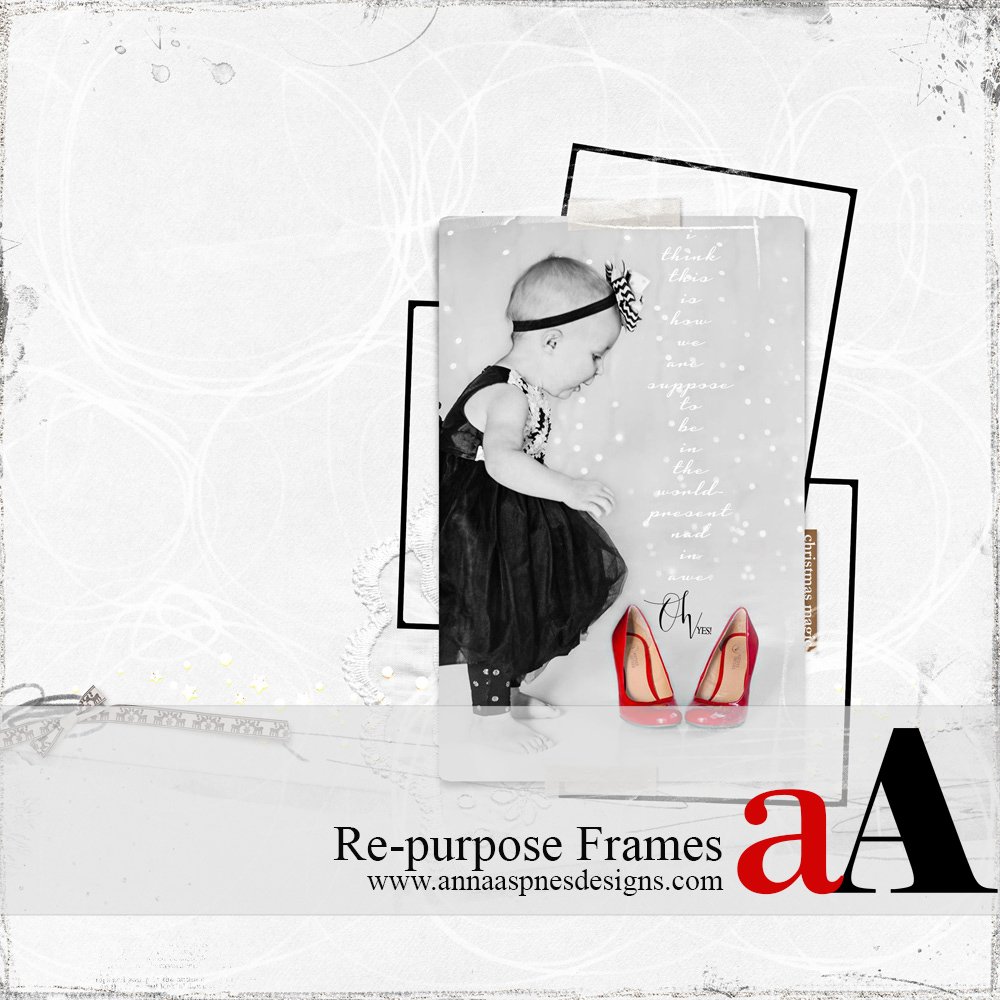
Creative Team Member, Donna, shares a tutorial on how to re-purpose frames in this framed focus tutorial for Adobe Photoshop or Elements.

Frames are a wonderful asset when used to clip a photo or paper to the clipping mask layer, but when we think ‘outside the box’ and ‘re-frame’ our creative thought process, frames can be utilized as elements in the design of your page layouts giving you even further mileage with your ArtPlay Palettes.
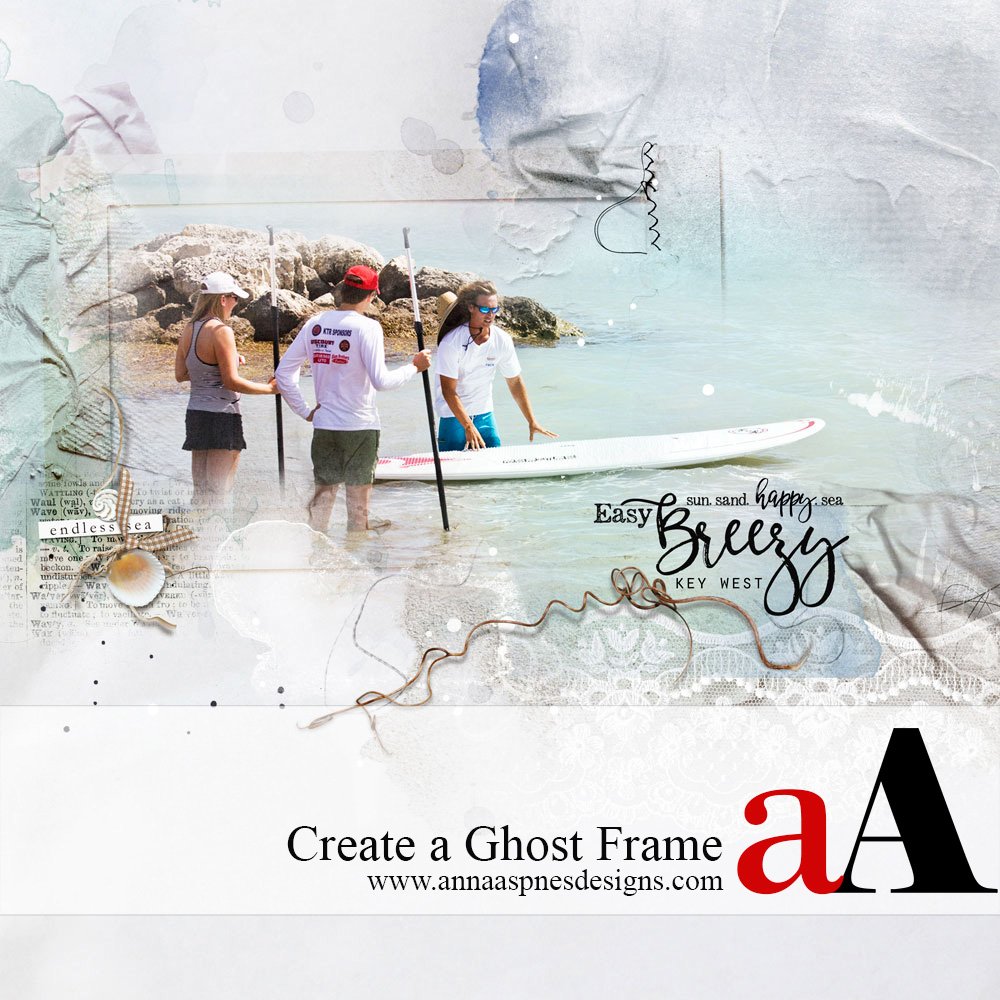
Framed Focus Tutorial

Create Foundation. Clip a photo to the frame mask layer of a .psd format frame. Resize and re-position the frame as preferred using the Move tool from the Tools panel.
Resize. With the Bounding Box option checked in your option, hover your cursor over the corner point of the Bounding Box to yield a double-ended diagonal arrow. Right click your mouse, drag inward/outward and release to make smaller or larger. Click on the check mark on the Bounding Box (Elements) or at the top of your screen (Photoshop) to accept the transformation.
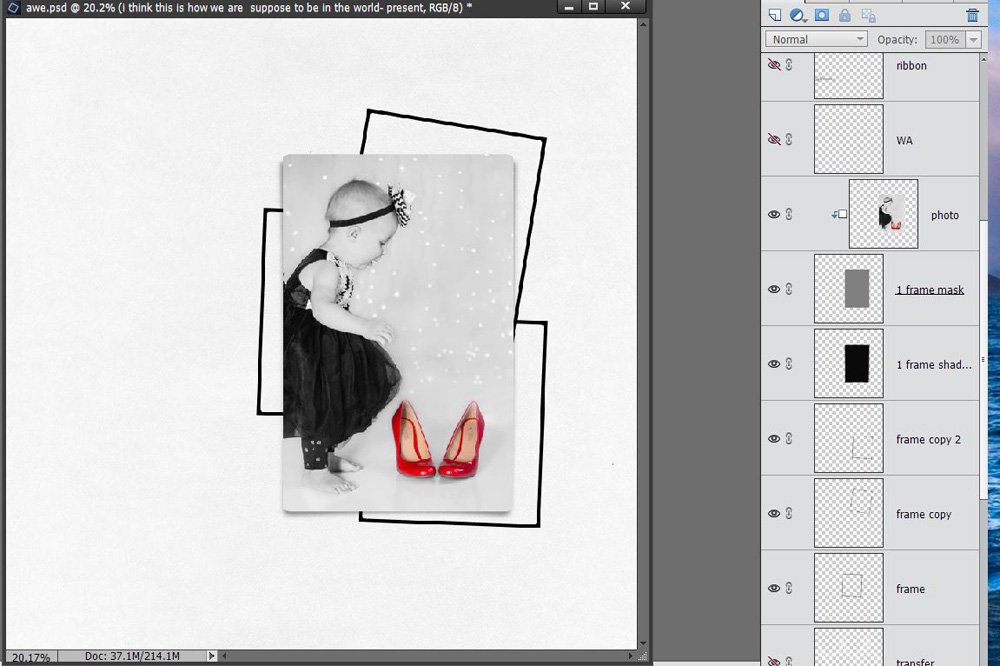
Create Focus with Frames. Place three .png format frames behind the focal photo to create a matte and anchor the photo to your layout. This draws the eye to the main image to create focus. Rotate the frames as preferred to provide additional visual interest.
Resize. With the Bounding Box option checked in your option, hover your cursor over the corner point of the Bounding Box, then pull outward from the corner slightly to yield a double-ended arced arrow. Right click your mouse, drag rotate and release to tilt the .png frame layers. Click on the check mark on the Bounding Box (Elements) or at the top of your screen (Photoshop) to accept the transformation.
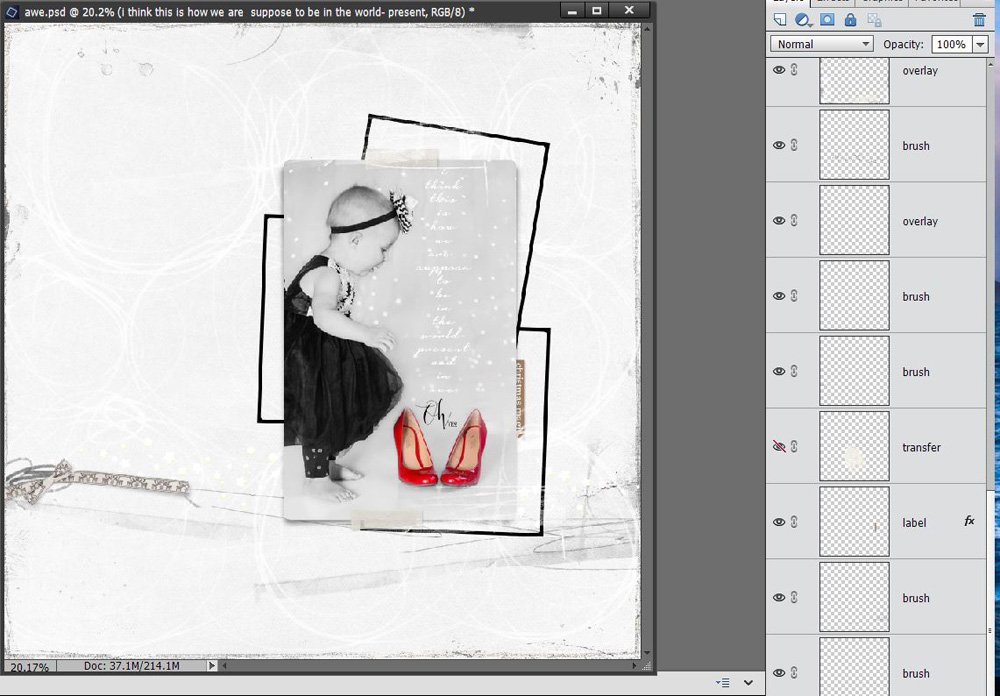
Embellish the Layout. Open and move additional elements on your layout to include ArtStrokes, Brushes, Elements and WordART . Layer these element on your layout to support the motif of your page. Go to File> Open, select element and double-click to open. Move the element onto you layout using the Move tool from the Tools panel.
More Options. When you ‘re-frame’ how an element can be incorporated into the design, you open the door to even more artsy options in working with Anna Aspnes Designs digital scrapbooking and artistry product range.
Consider layering the same frame or multiple different frames, regardless of whether you choose to use the .psd or .png form of a frame.
Apply Blending Modes to any of the frame layers. Click on ‘Normal’ in the Layers panel to activate the drop-down menu and click to select any of the displayed options.
Line up the frames, scatter them, resize, rotate or apply a combination of techniques in your next layout.
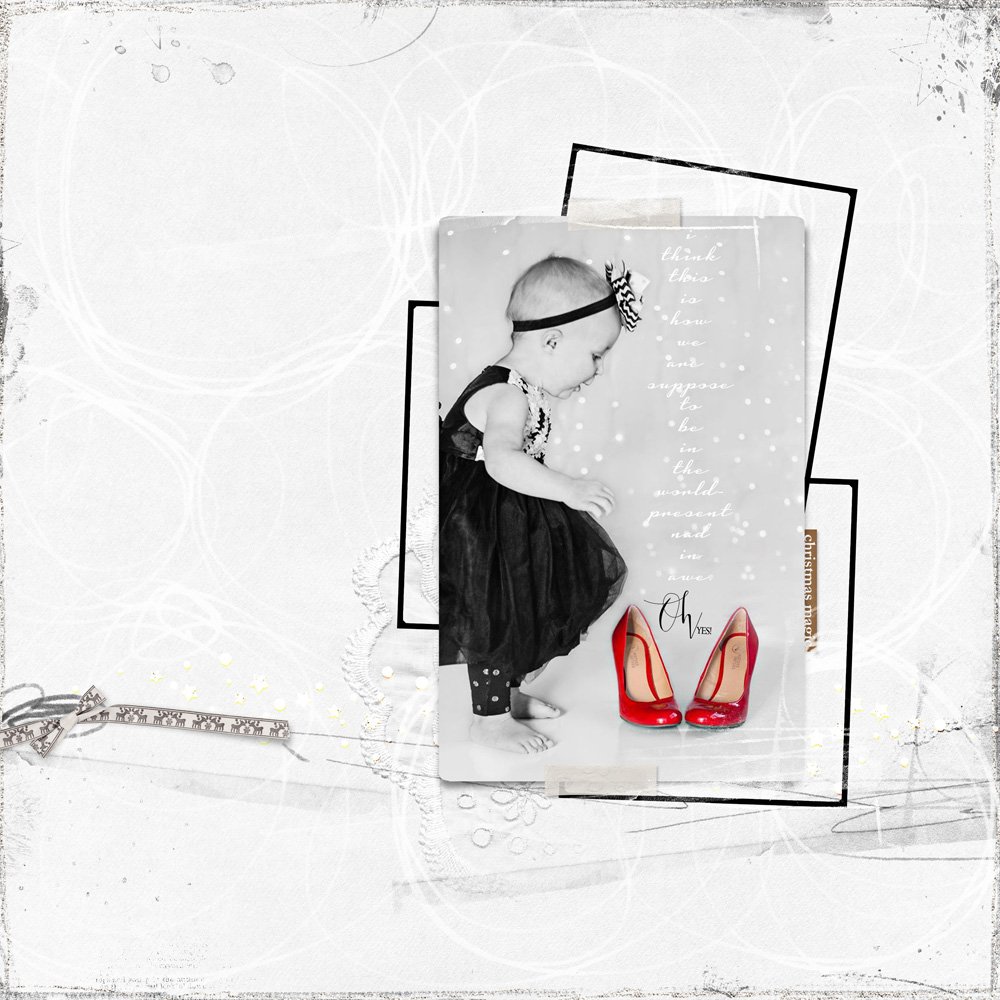
Share your page design using this framed focus tutorial in the Anna Gallery – We always love to see what you create!
Click on the above photos for additional process notes and Anna Aspnes Digital Designs supplies used.


Recent Comments