

Creative Team Member, Barbara, shares how to create a dreamy look in this FramedMasks tutorial for Adobe Photoshop or Elements.

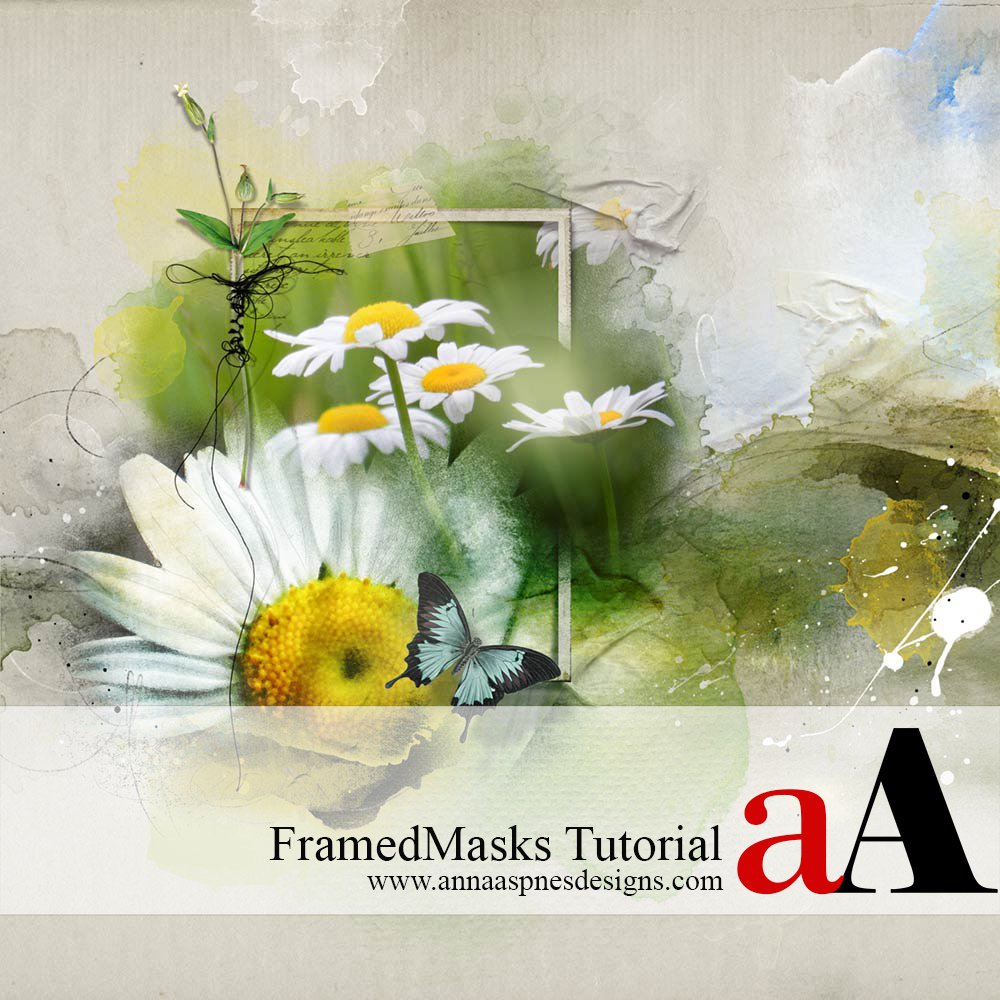
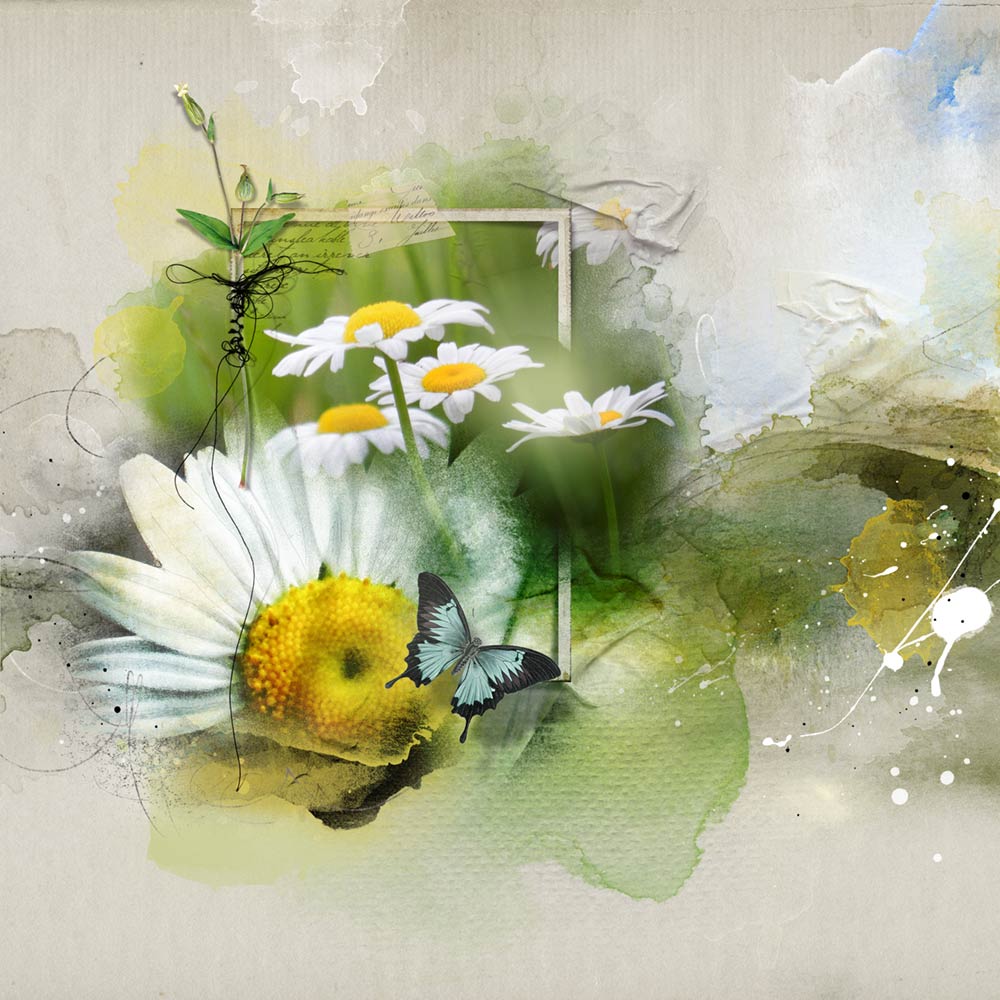
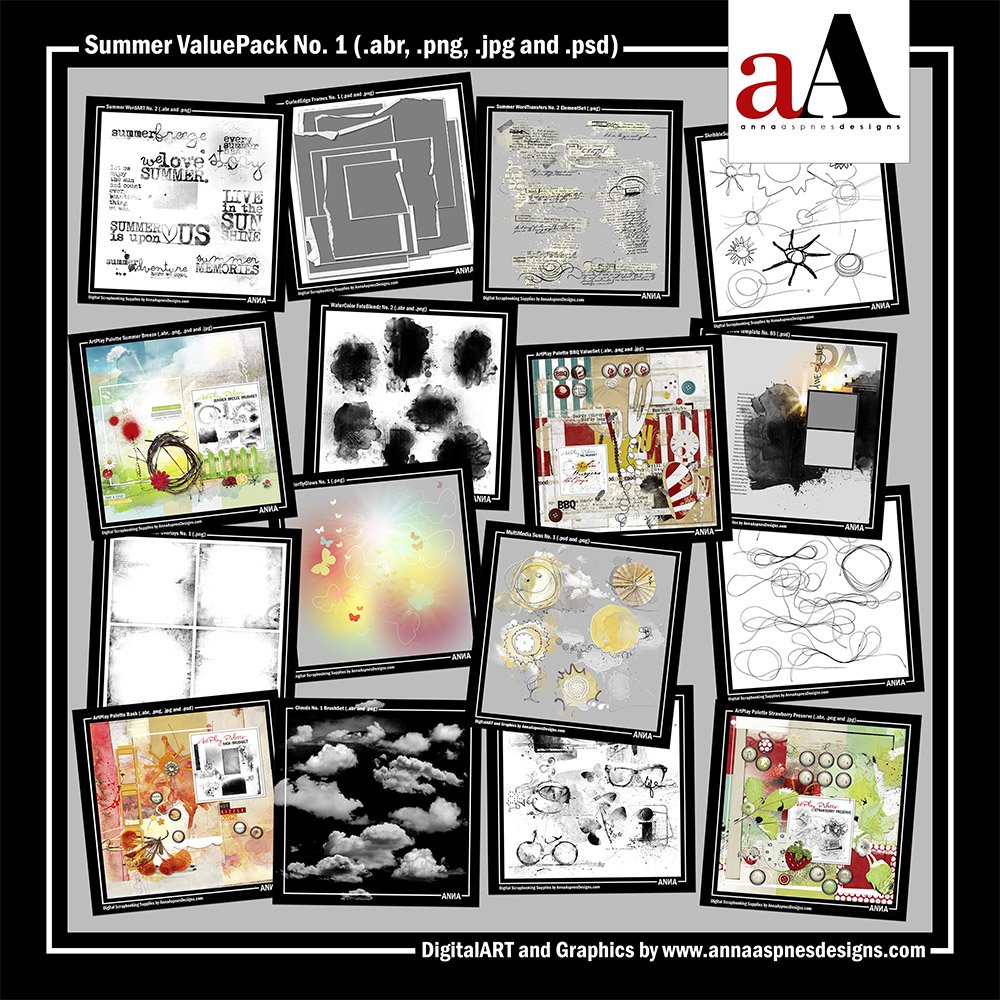
I wanted to create a dreamy, summery layout with one of my favorite flowers, daisies, layering them on masks and adding a little frame. I hope this simple FramedMasks tutorial process makes you want to play with masks and frames yourself. I used two photos with ArtPlay Palette Mountain High, FramedMasks No. 2 and a mask from MultiMedia Frames No. 3. This layout is called Summertime.
FramedMasks Tutorial
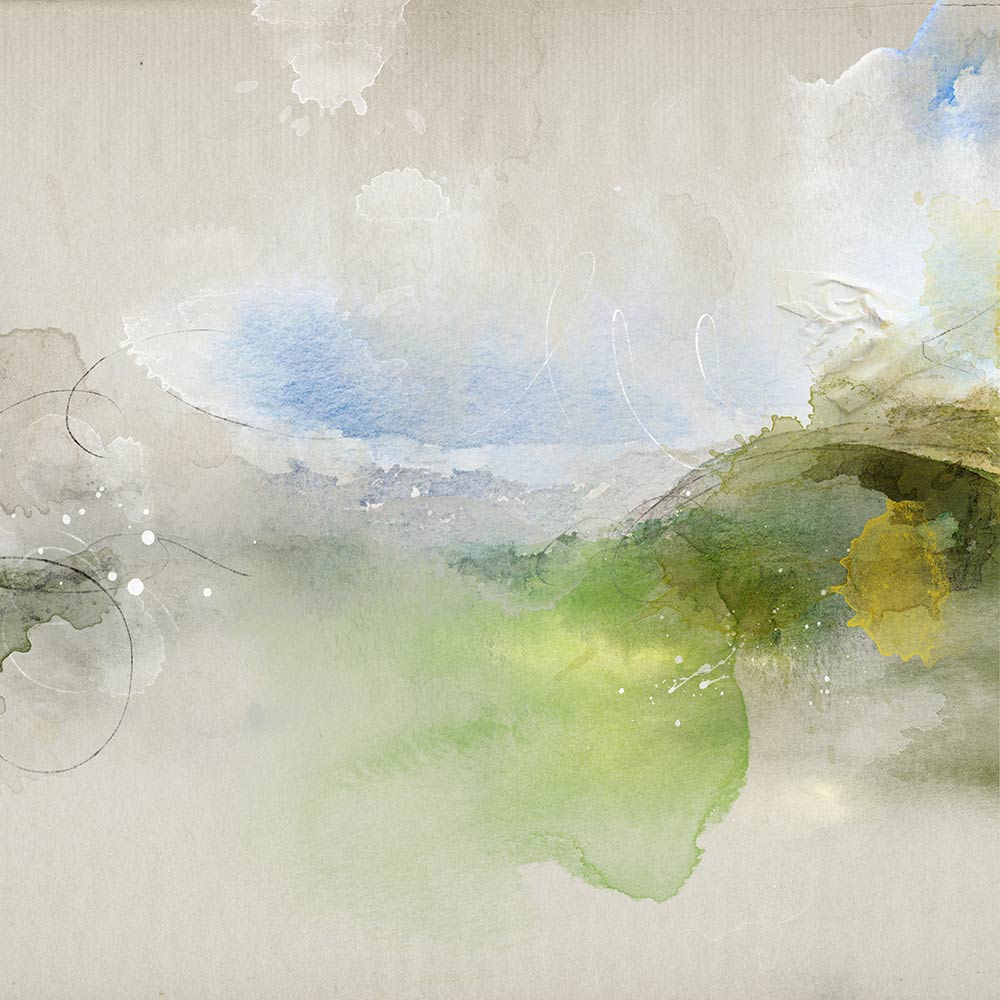
1. Chose Your Paper. Create a new 12 x 12 layout at 300 dpi in Adobe Photoshop or Elements. Move an ArtsyPaper onto your layout using the Move Tool form the Tools Panel. I chose ArtsyPaper 2 and placed Overlay 1 from the ArtPlay Palette Mountain High across the middle of the page.
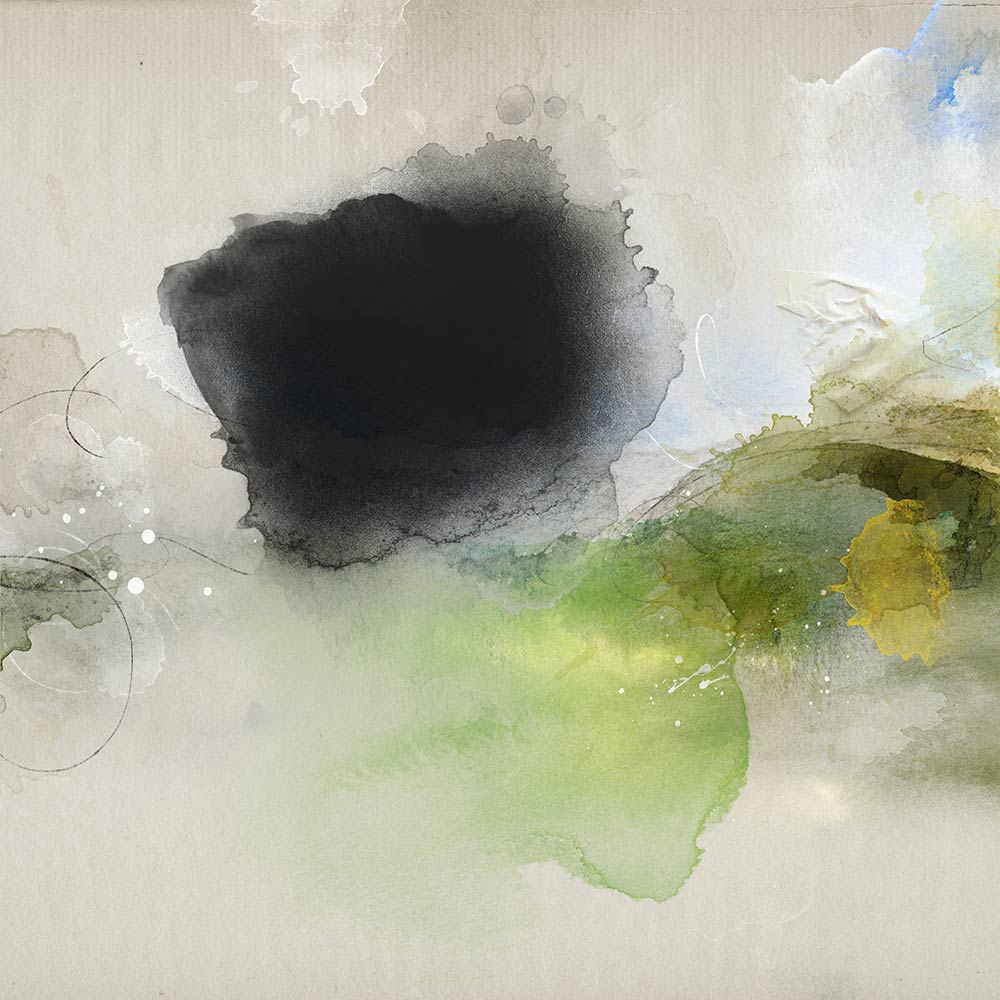
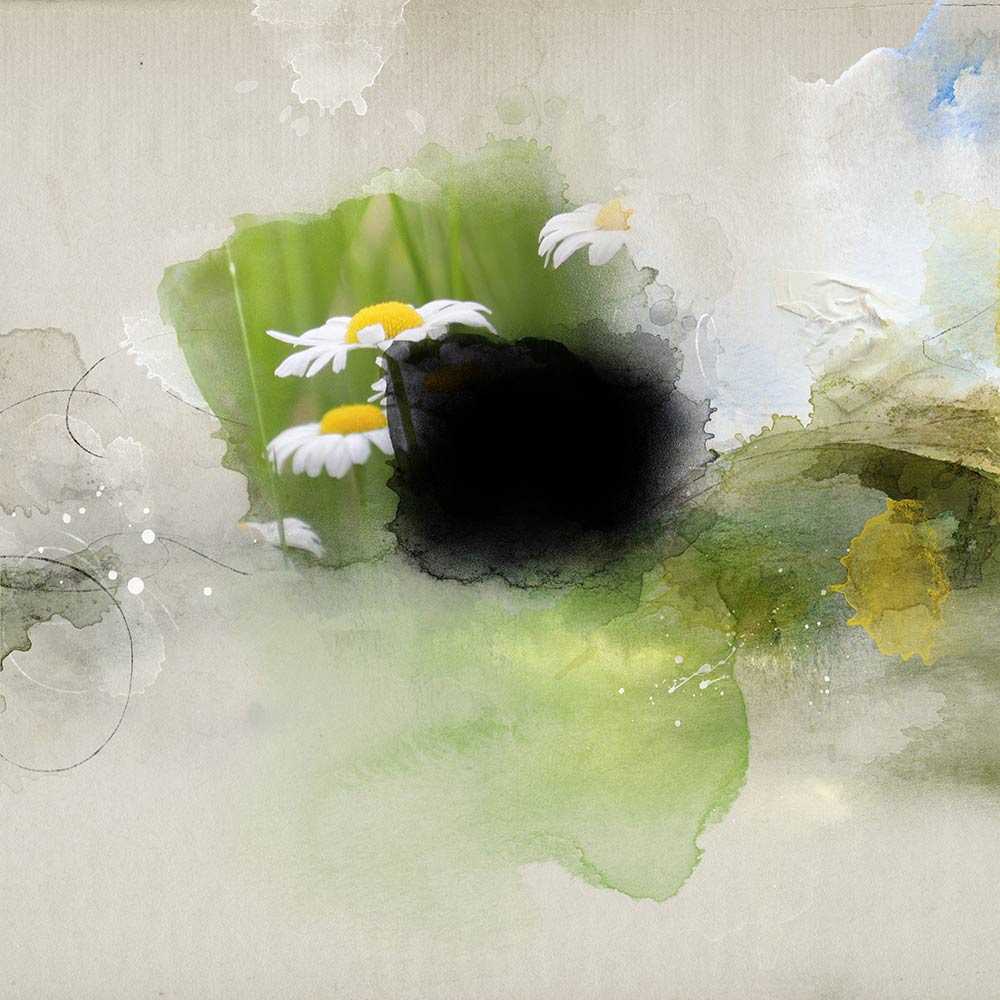
2. Place the Mask and Photo. Move a mask from FramedMasks No. 2 onto the page as desired. You can resize, flip or move it later if needed.
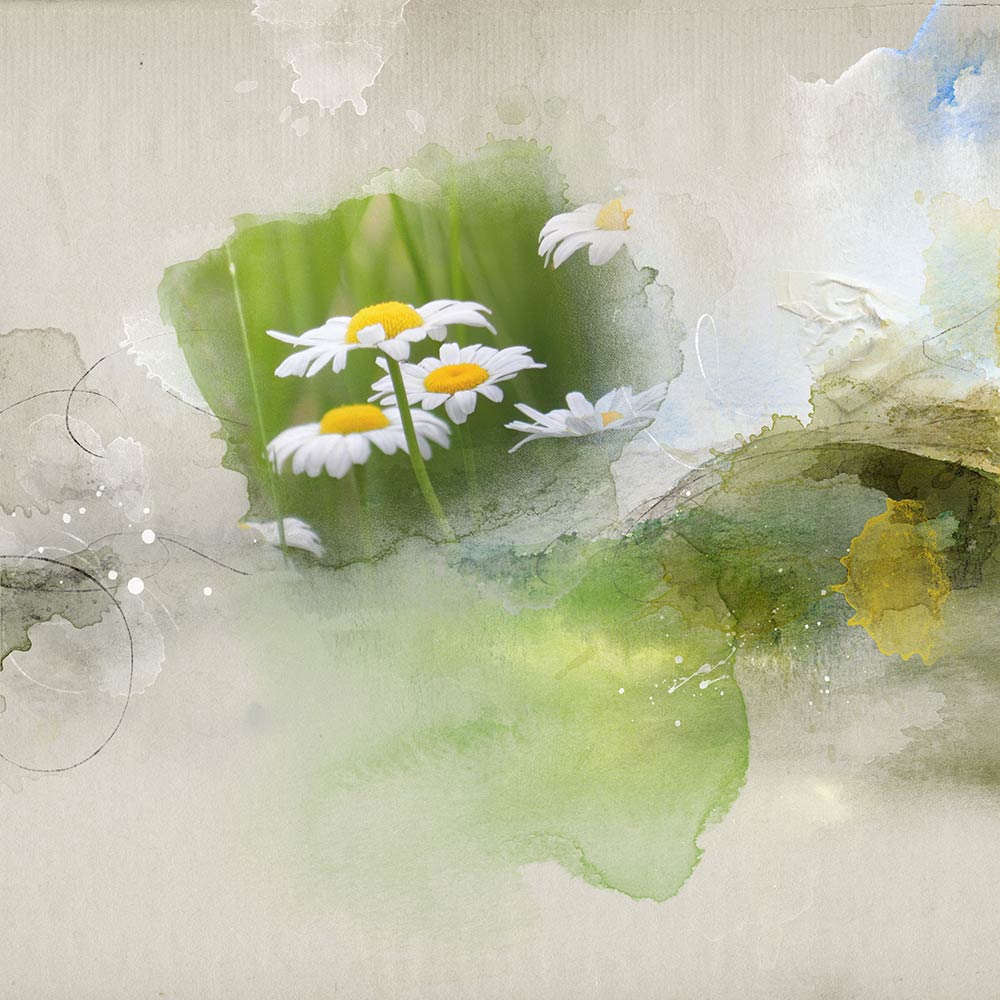
3. Clip the Photo to the Mask. Move the desired photo onto the layout and clip it to the mask using the OPT/ALT key while holding the cursor between the line of the two layers with the downward arrow showing. Resize and position the photo as needed.
4. Copy the Mask and Photo. Make a copy of the mask and photo, I resized the mask and placed it slightly to the right of the main mask and photo then clipped the photo, thereby revealing a little more of the daisies in the photo. Experiment with Blending Modes, Normal worked best for my photo.
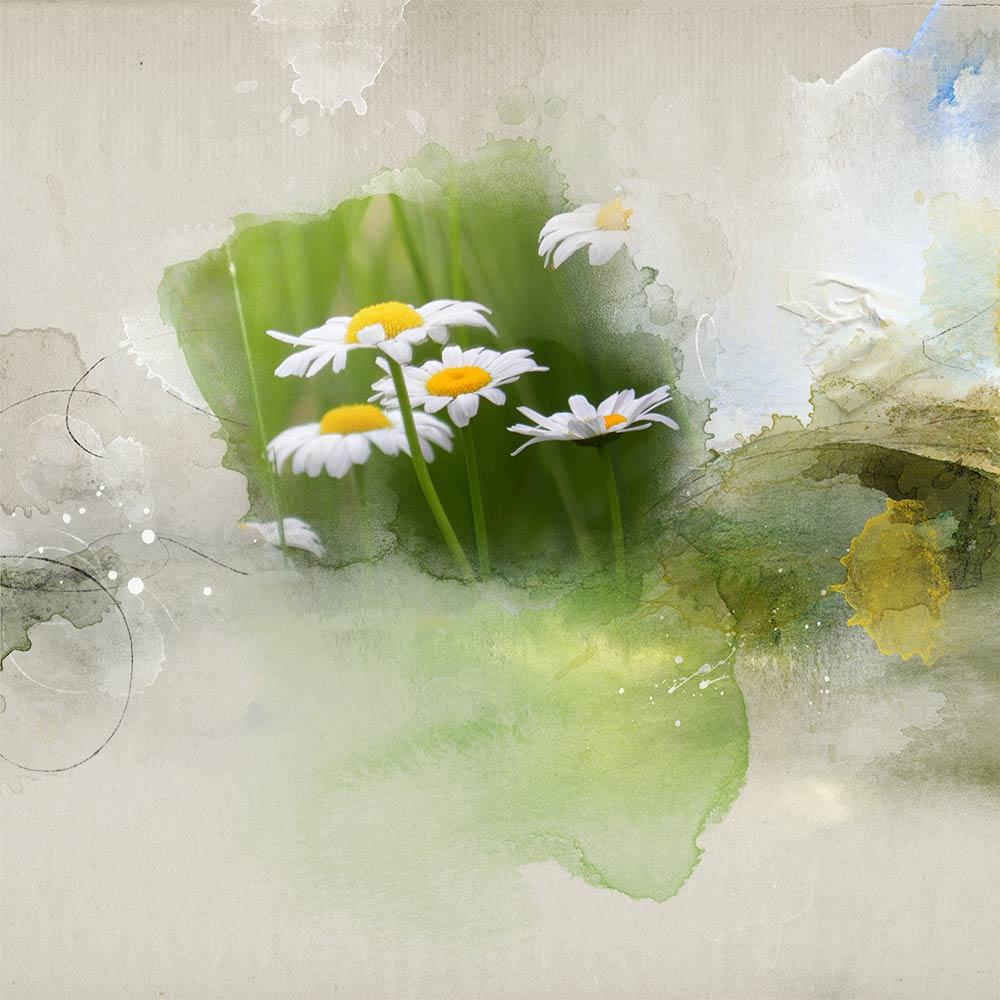
5. Repeat Step 4. Repeat step 4. I placed the mask and photo to the left of the main mask and photo. This is all subjective and how it works with your photo. I manipulated this mask by selecting the mask while the photo was clipped to it, and bringing up the bounding box, then holding down the CMD/CNTRL key and going to a corner handle of the bounding box and just shaping the mask to my liking at the corner.
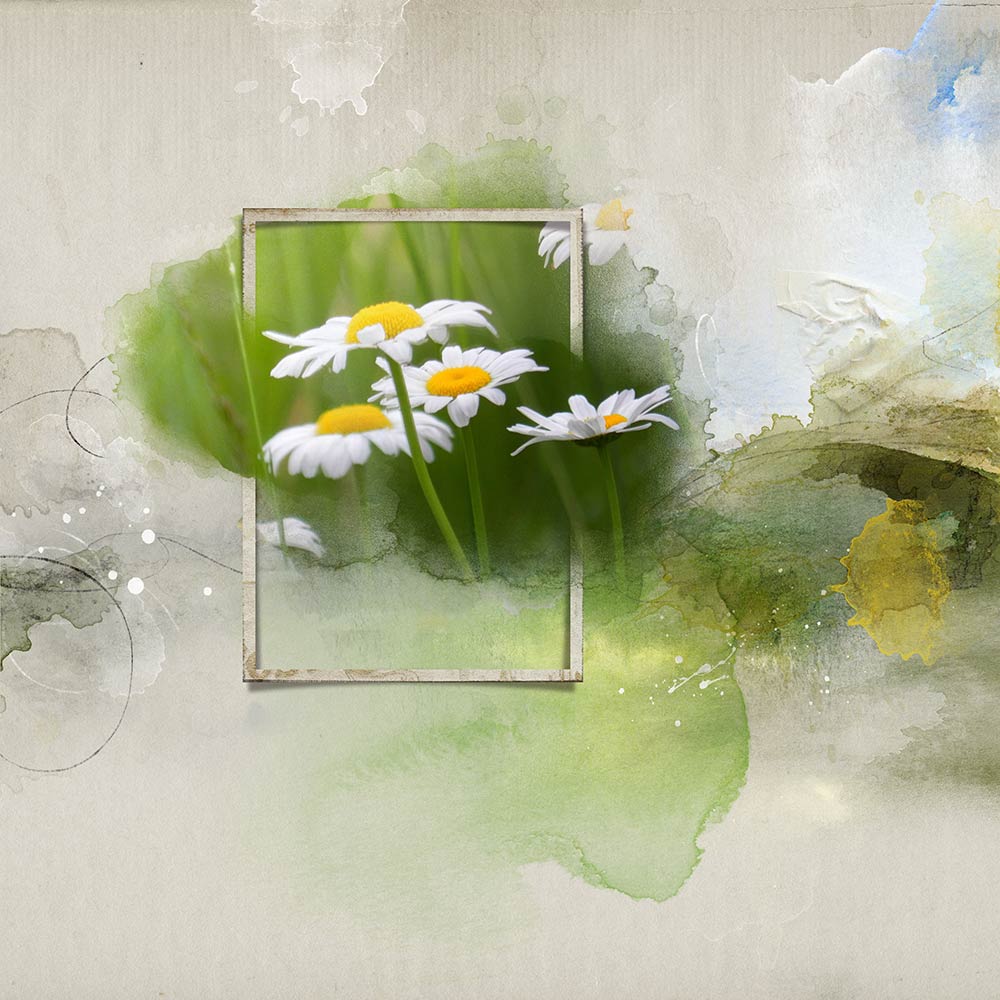
6. Place the Frame. Place the frame underneath the Right Mask/Photo in the layers panel. I placed the frame and shadow thereby sandwiching it in-between the layers.

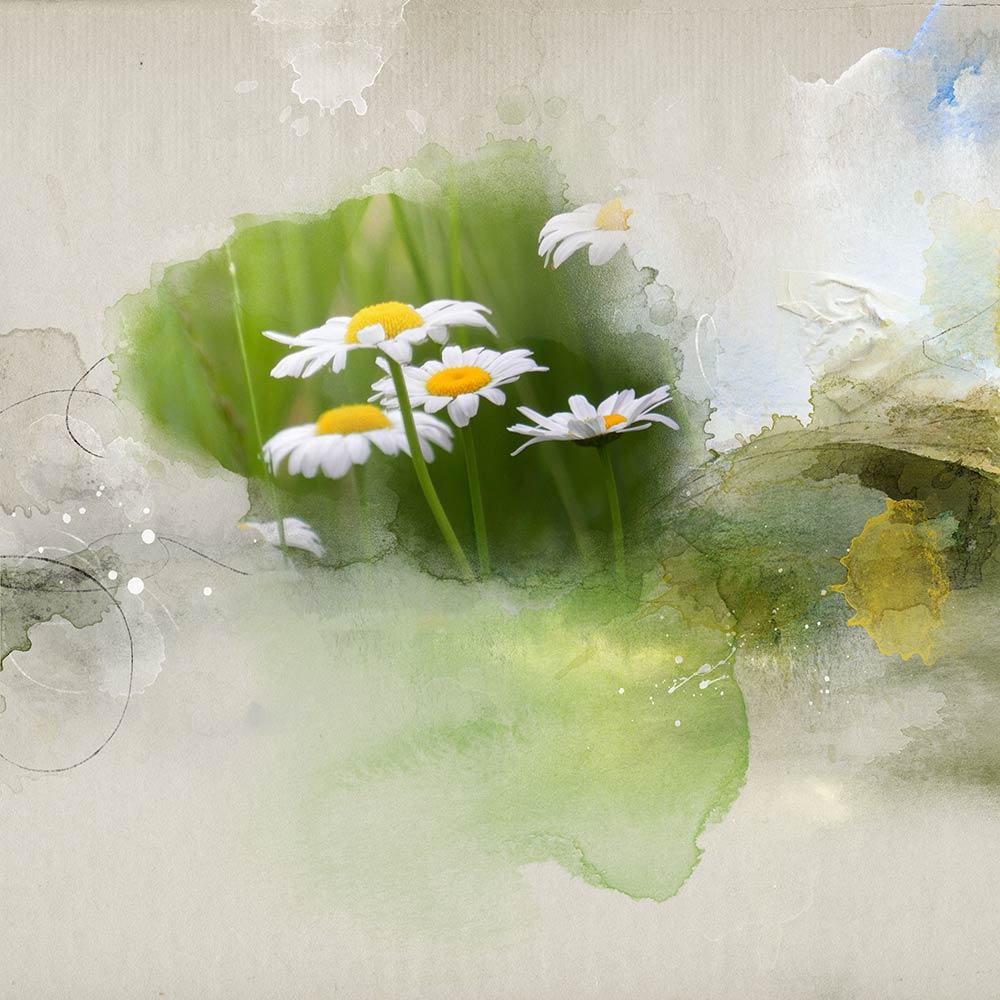
7. Complete the layout. Add final touches to the layout. I used a mask from the MultiMedia Frames No. 3, placed it above all the other layers at the bottom left of the other layers and clipped my second daisy photo to it. Add textures and elements throughout the layout as desired
Click on the above photos for additional process notes and Anna Aspnes Digital Designs supplies used.


AWESOME!!!!!!! Barbara , Save as
Thank you so much. Very beautiful…
Well written, Barbara. You made things very clear, and I appreciate the step by step style.
beautiful page!!
Love it! I am going to give it a try and hope for something half as nice! Thanks for sharing.
Beautiful results and very easy to follow tutorial!