

Creative Team Member, Marianne, shares her techniques for resizing and rotating a template in her reformatting templates to 8 1/2 X 11 inch tutorial for Adobe Photoshop.

Reformatting Templates

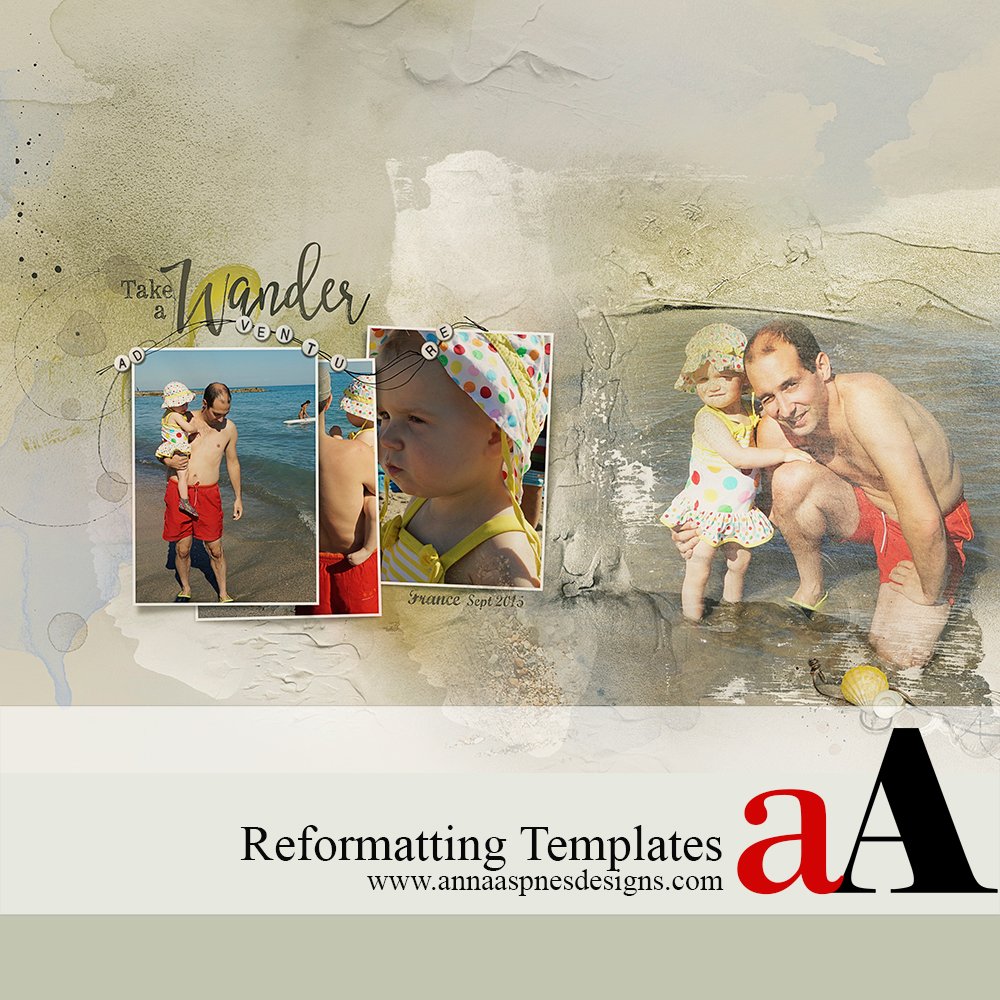
1. Select Template. Open a template from the Artsy Templates digital product range. For this layout, I chose Artsy Layered Template No. 231.


2. Create New Layout. Create a new file in the desired size. Go to File> New (File). Note that I selected the letter size format option from the U.S. Paper format.

3. Rotate. Optionally rotate the new document by 90 degrees if you prefer a landscape over a portrait orientation. Go to Image> Image Rotation> 90° Clockwise.

4. Move Template Layers. Drag all the layers from the template file to the new document. Select the top layer in the Layers panel, hold the SHIFT button on you keyboard, then click on the bottom layer to highlight all layers. Use the Move Tool from the Tools panel to drag the layers into your new layout.

5. Make Size Adjustments. Resize the template layers to that one edge of template is the same width/height as the longest edge of the new document. Ensure all layers in the Layers panel are selected, click on the corner of the bounding box and hold down the SHIFT key (Photoshop) or check the Constrain Proportions box at the bottom of your screen (Elements) to resize all the template layers.
Note that the Bounding Box option is available at the top (Photoshop) or bottom (Elements) of your screen when you select the Move Tool from the Tools panel. Check the box to activate/deactivate as preferred.

6. Move Layers. You also have the option of moving any of the layouts existing outside of the bounds of the canvas and re-position as preferred.
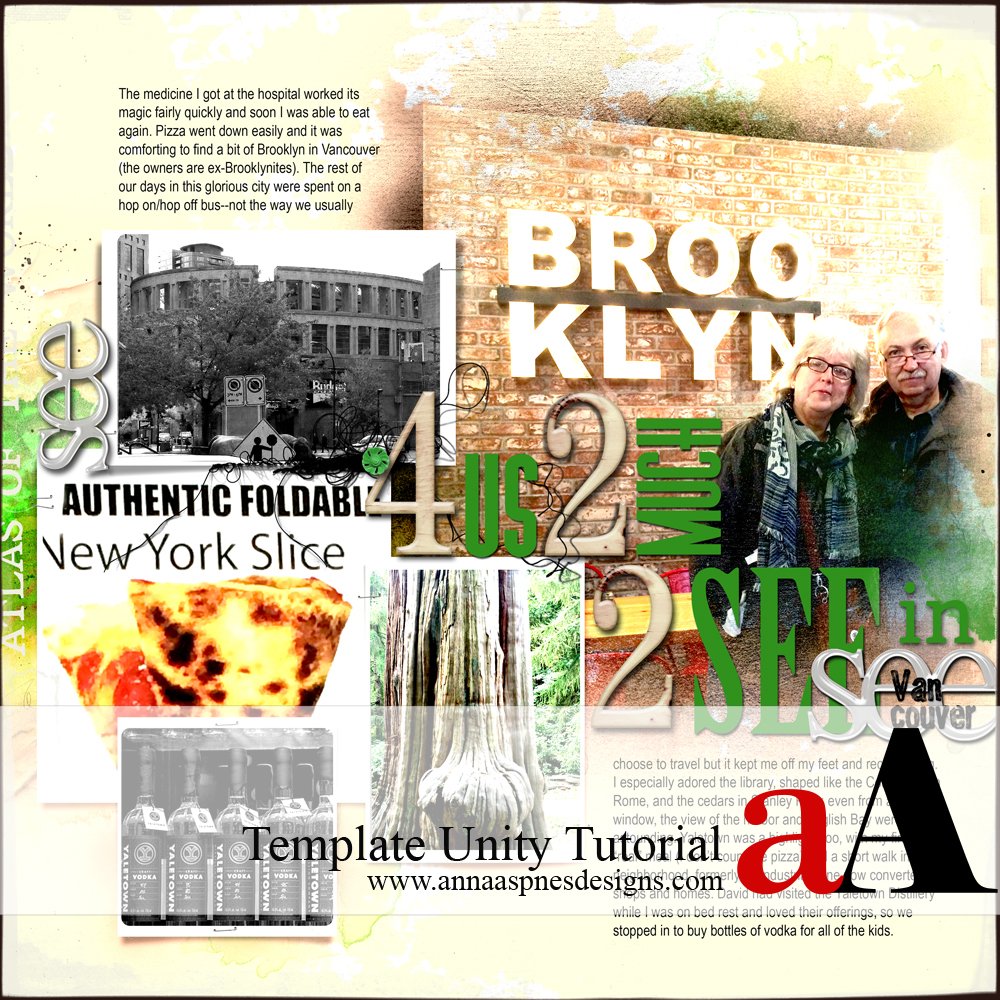
7. Embellish. Populate the template to preference. Clip your photos to the mask layers in the template, recolor and/or add your choice of DigitalART products. You may find it helpful to turn off all the layers in the Layers panel, except the ones you are using at any given time. This will enable you to tune out any distractions during the creating process.

Click on the above photos for additional process notes and supplies used.


Recent Comments