


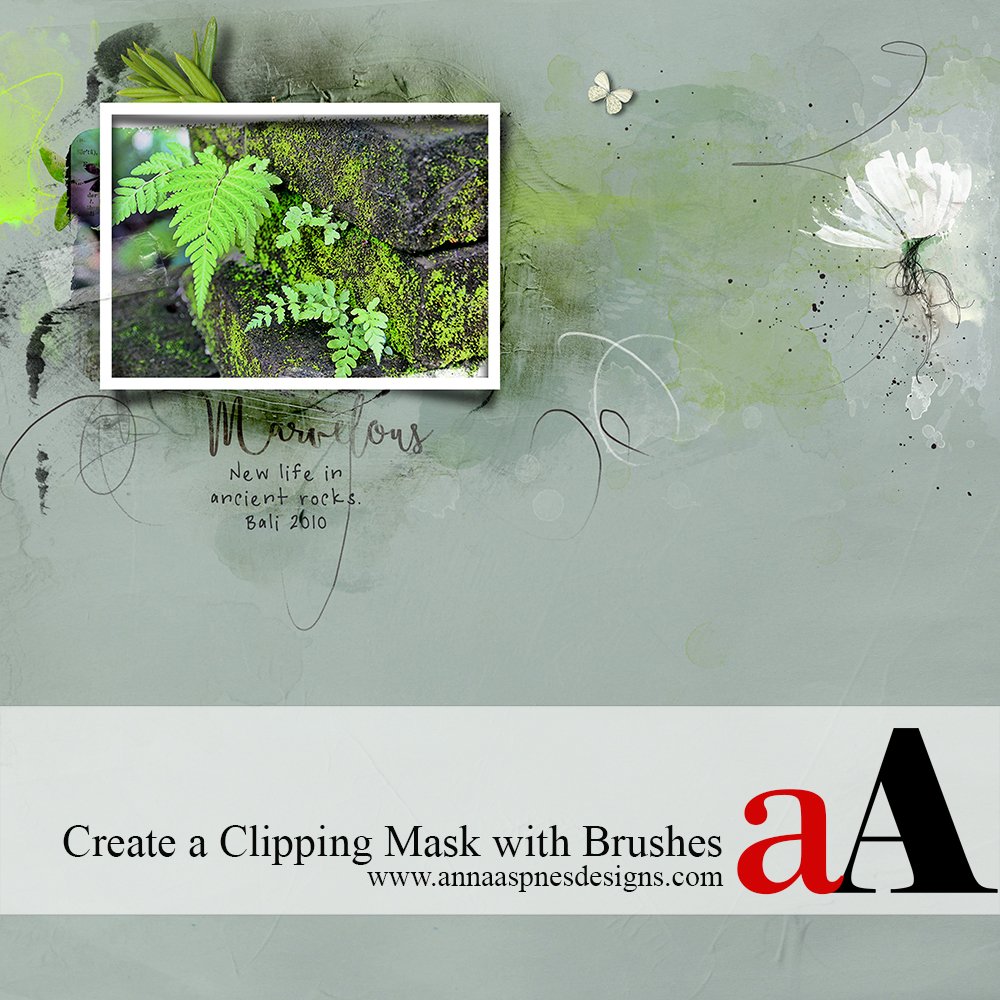
Creative Team Member, Suzie Griffith, shows us how to create a clipping mask using brushes in Adobe Photoshop.
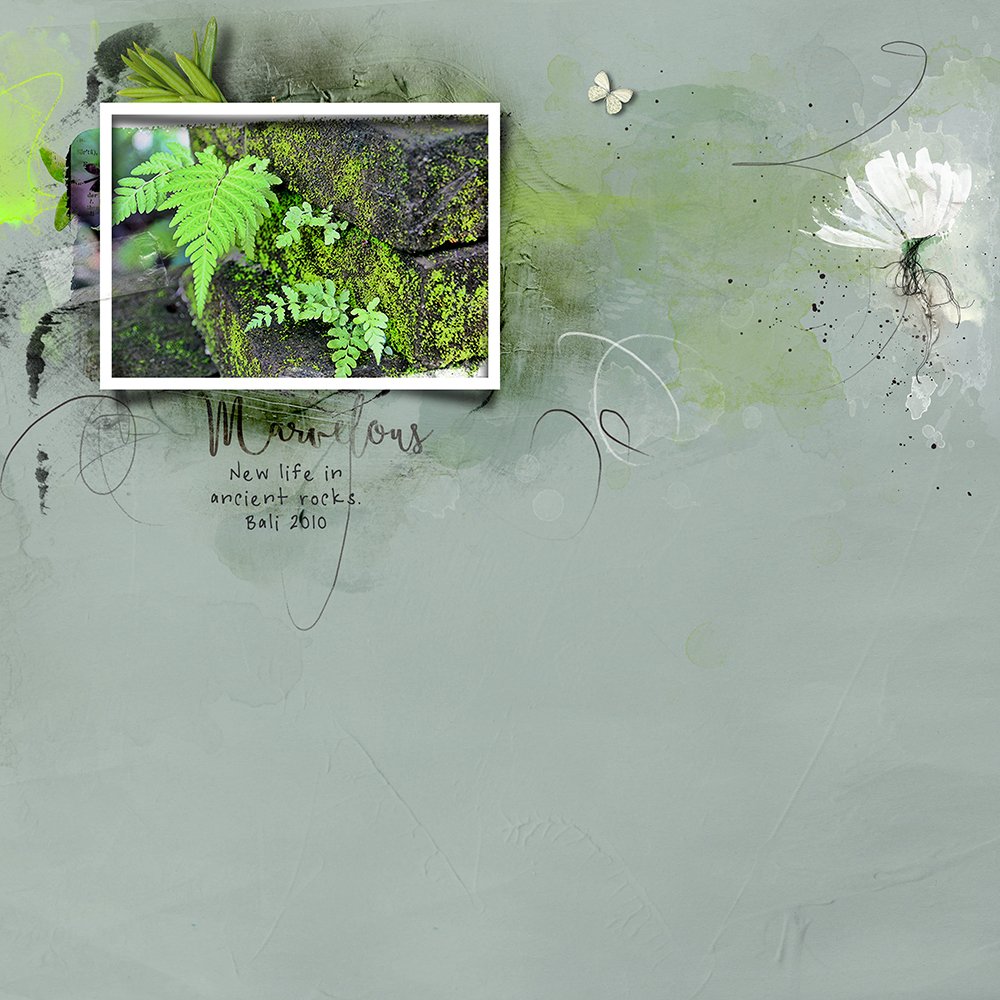
1. Create a Foundation. Create a new 12 X 12 layout at 300DPI. Open and drag your photo onto the layout. Create a new layer under the photo and rename it “mask”. This will be where you create your mask using brushes.

2. Clip your Photo to the Mask. Clip your photo to the empty mask layer (Ctrl+Alt+G) – of course your photo will disappear as there is no mask there yet.
3. Load your Brush Set. Go to Edit > Presets > Preset Manager > Load to load your desired Brush Set. Begin stamping the brushes onto the mask layer. Continue stamping the brushes until you have the desired portions of your photo revealed.
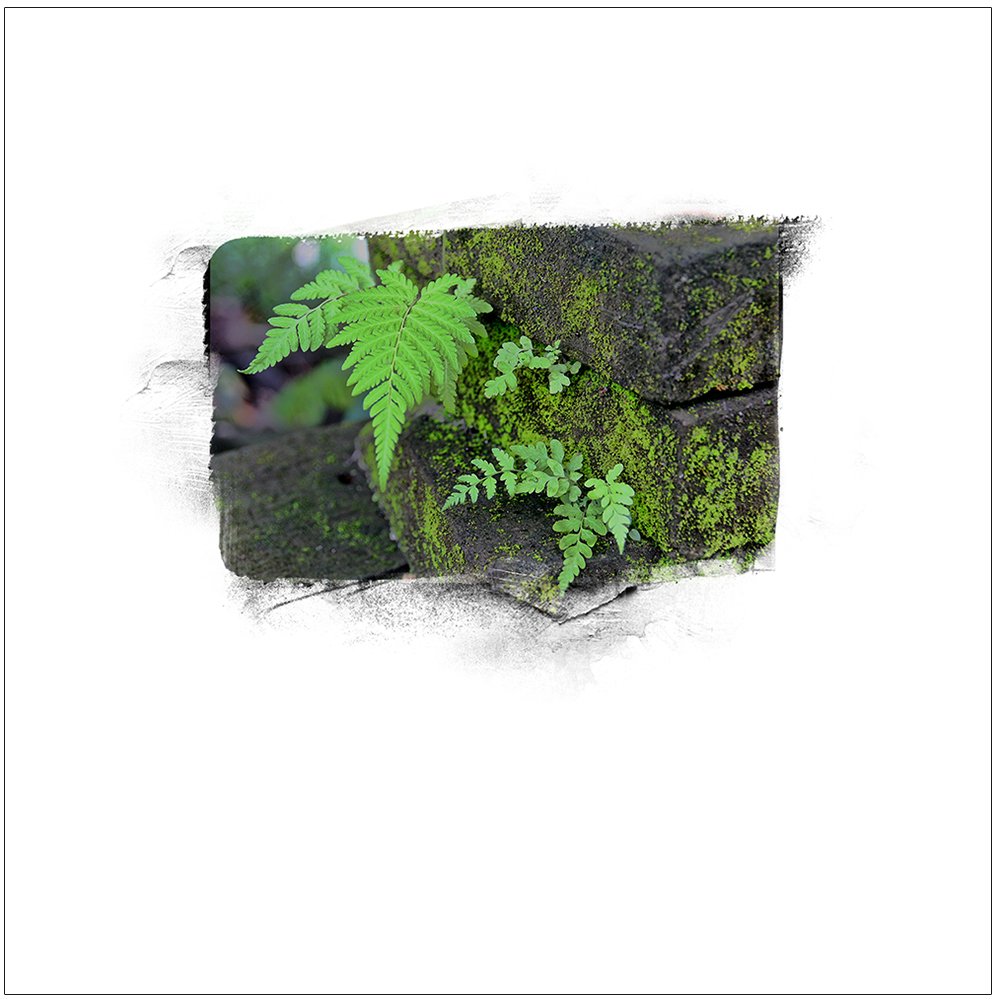
Note: You may find it easier to have a copy of your photo and fade it to about 20-30% so you can see where you are brushing and where the borders are.
Click on the above photo for additional process notes and supplies used.


Fun and so easy!
I admire this article for its well-researched content and excellent wording. I got so involved in this material that I couldn’t stop reading. I am impressed with your work and skill. Thank you so much.
Excellent and decent post. I found this much informative. I’m impressed by the details that you have on this web site. Thank you for this post.
Happy you enjoyed it 🙂