


Guest Creative Team Member, Laura, shows us how she customizes an Element using FotoGlows in Adobe Photoshop.
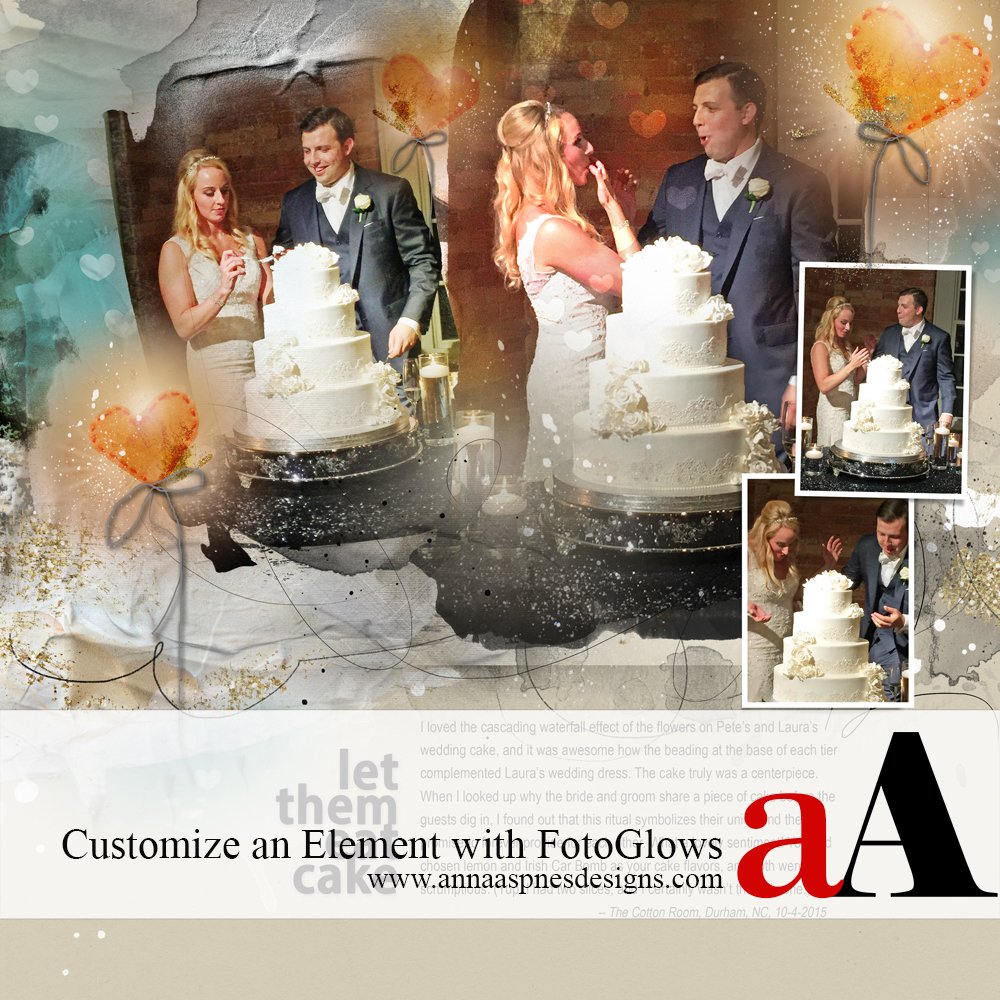
FotoGlows will add beautiful light to your work and can be customized in many ways. Here I customized the FotoGlow to support the wedding/love theme of my layout.
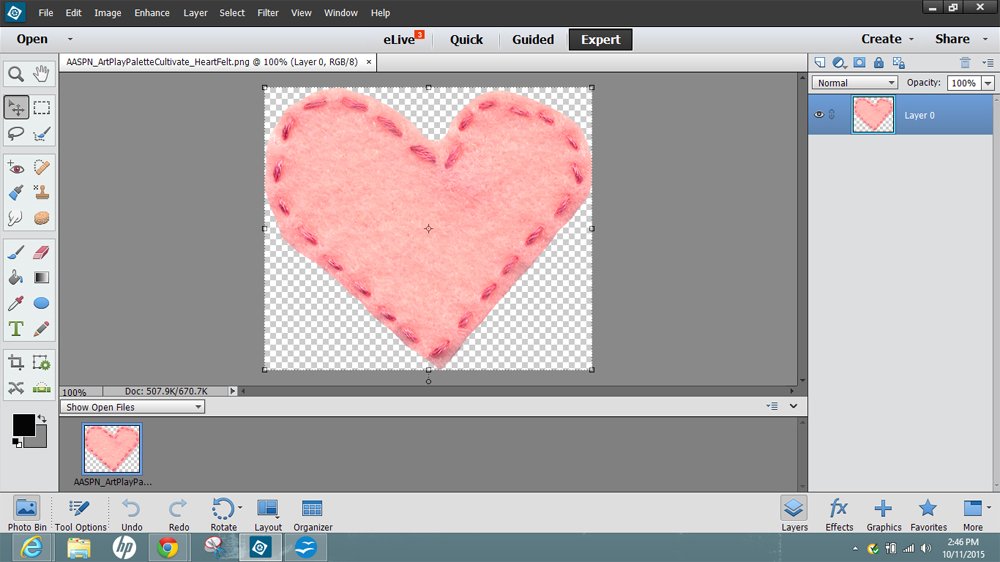
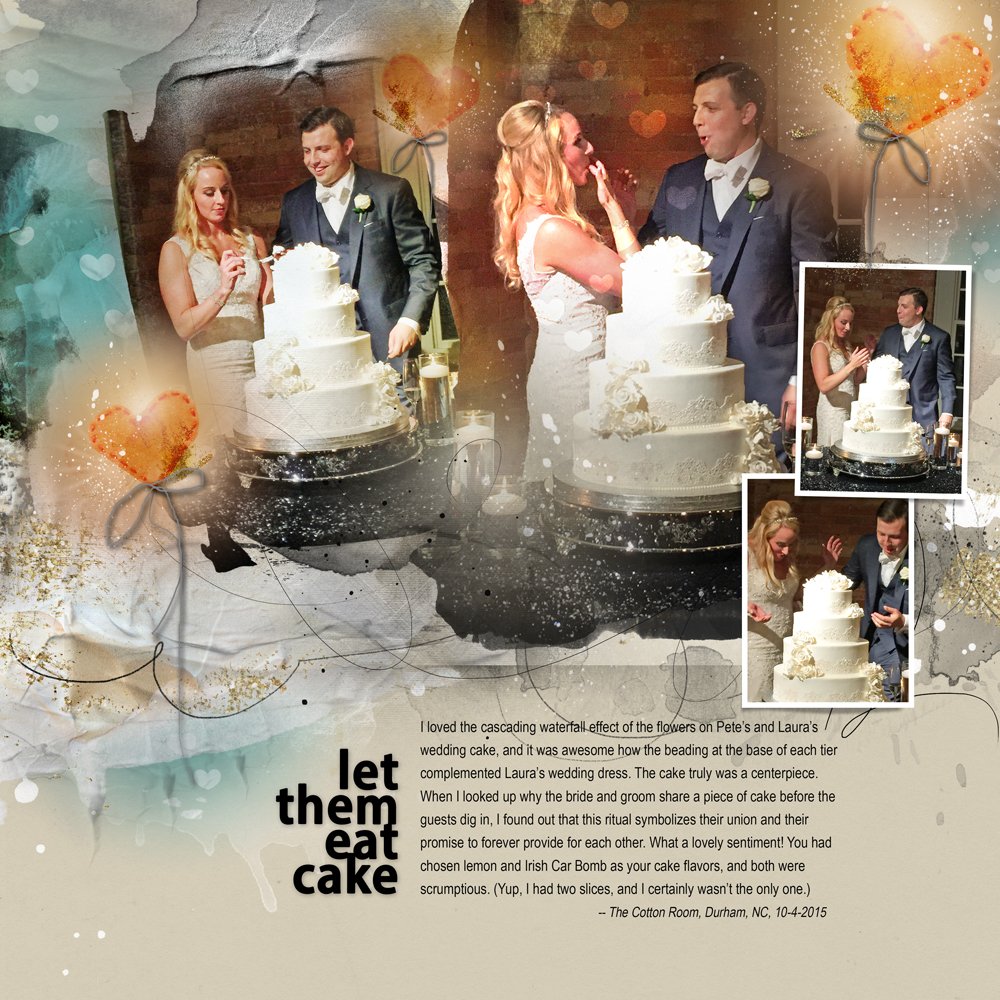
1. Place the Element. Open and drag an element of choice onto your layout. I chose the felt heart from ArtPlay Palette Cultivate.
2. Place Fotoglows. Depending on the desired effect, the FotoGlows can be placed under and/or over your element layer. Here I used a combination of FotoGlows from WarmGlows No. 8, layering three FotoGlows under the heart element and one FotoGlow (duplicated) above it.
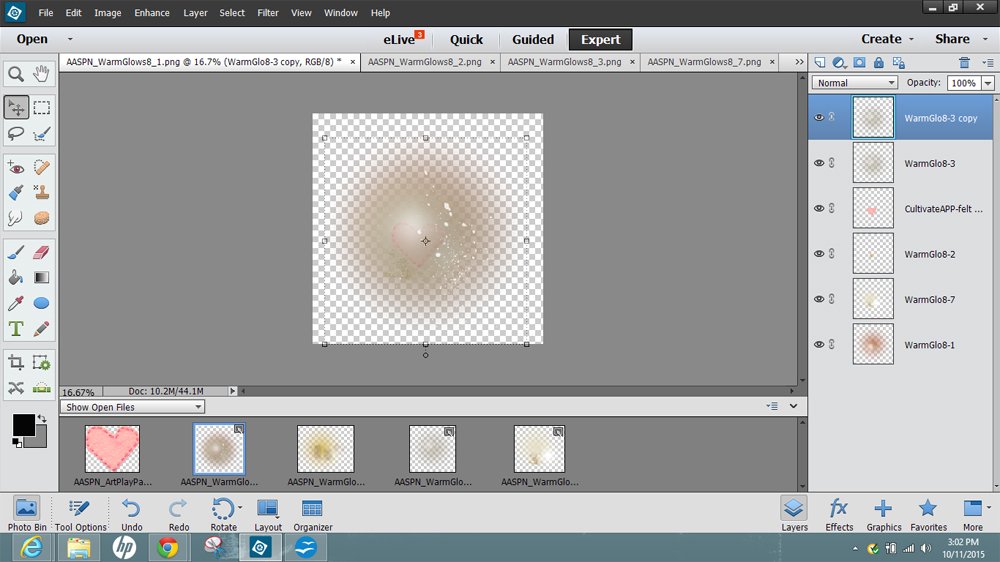
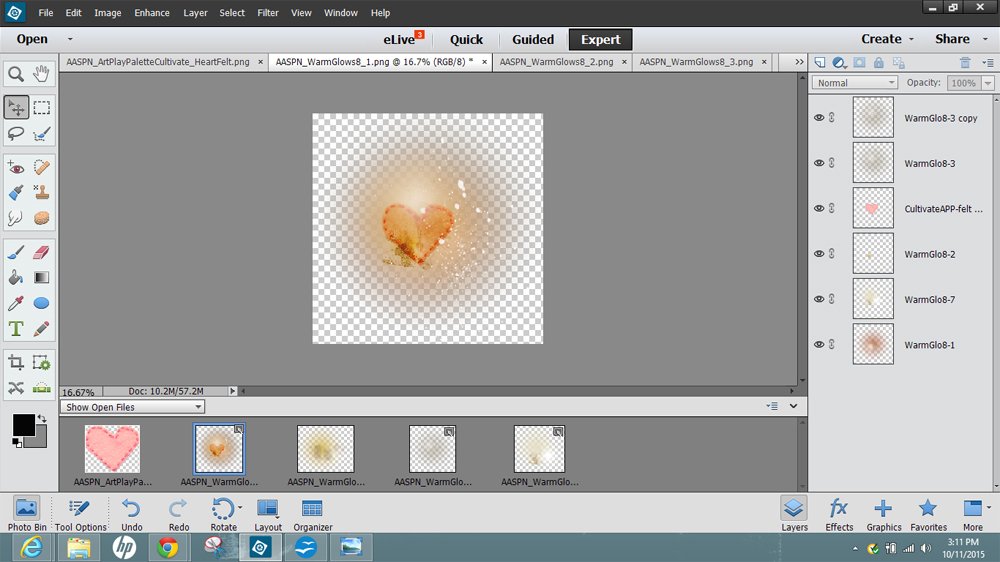
3. Apply Blending Modes. Experiment with different Blending Modes until you achieve the desired effect. I left the first FotoGlow on normal, applied Linear Burn to the second and third FotoGlows, Color Burn to the Heart Element, and Hard Light for the top two FotoGlows.
4. Position your Element. Position your customized element with FotoGlows on your layout, duplicating it if desired.
Click on the above photo for additional process notes and supplies used.


Terrific tutorial!
You’re the best, AD!
Great tutorial Laura!
Thanks very much, Linda!
I just tried it !.it is fantastic…thank you Laura
Whoohoo! So glad to hear Berry18! I’ve been doing a lot of it, even customizing skulls…all for the season, right?
Love your blog and store – so glad to be a newbie with you!
Thanks Elizabeth – Welcome to aA Designs! Please shout if you have questions.