

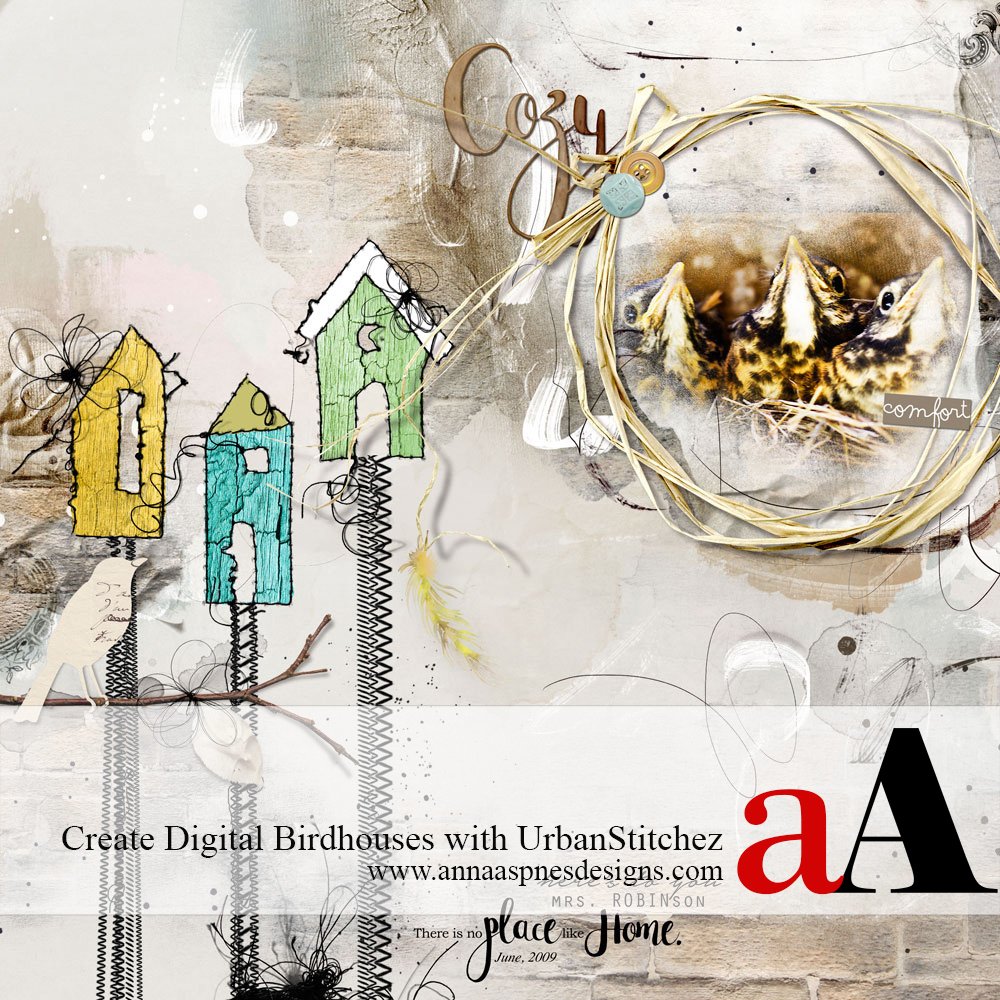
Creative Team Member, Miki, shares her process for UrbanStitchez Custom Designs to create digital birdhouses with UrbanStitchez Home No. 1.
Note that you can create other UrbanStitchez custom designs and shapes using the aA Stitching product range.

UrbanStitchez Custom Designs

1. Create a Foundation. Create a new 12 x 12 layout at 300 dpi by going to File> New.
Open (File> Open) and drag the digital paper of your choice onto the layout using the Move tool from the Tools panel. ArtsyPaper1.jpg from ArtPlay Palette Hearth was used for this page.
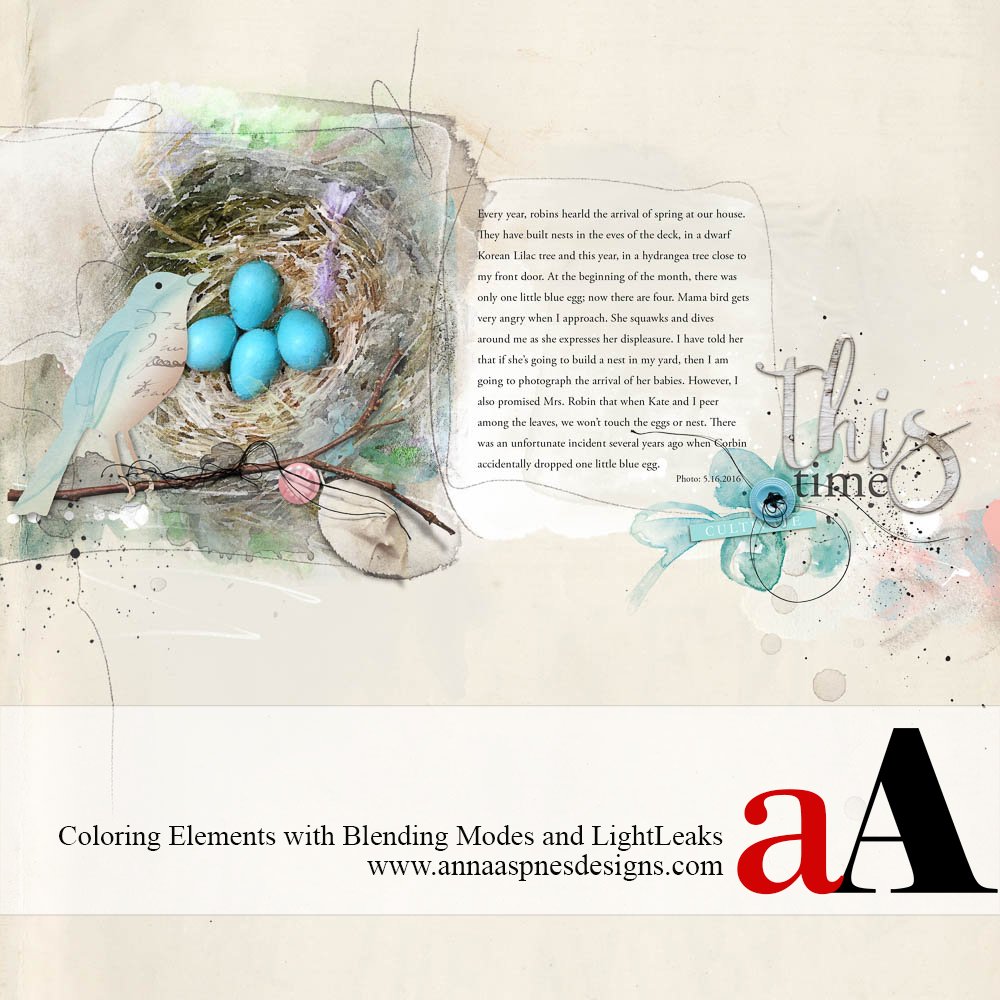
Open and select the image you want to use and place it on the page using the Move tool from the Tools panel.
Next select a FotoBlendz/Clipping Mask. (Anna has a plethora of FotoBlendz clipping masks and Brushes that can be used, depending on what shape or style you want.) I used several masks from the AnnaBlendz Artsy 7. Re-size and rotate the mask as desired using the Free Transform tool. Press the CMD+T (Mac) or CTRL+T (PC) buttons on your keyboard.
Begin layering the FotoBlendz clipping masks over the photo. Move and adjust them to fit.
Once you are satisfied with the coverage, duplicate your photo layer by pressing the CMD+J (Mac) J or CTRL+J (PC) buttons on your keyboard so that the number of photo layers is equal to the number of clipping mask layer.
I like to link the photos together in case I need to move them around or re-size the photo. The link icon is found at the bottom of the Layers panel in Adobe Photoshop. If you are working in Adobe Photoshop Elements you will need to select the layers to be linked in the Layers panel and then click on one of the paper clip icons next to any of the selected images.
 2. Color the Birdhouse. Select the UrbanStitchez Home png. files that you want to use and move them on to the page. Choose the Polygonal Lasso tool found in the Tools panel (Shift+L). Use the Polygonal Lasso tool to outline the UrbanStitchez Home and click to place a point in the selection. You will notice marching ants appear when you return where your started and click on the starting point to complete the selection.
Create a New Layer below the UrbanStitchez Home by clicking on the New Layer icon at the bottom (Adobe Photoshop Elements) or bottom (Adobe Photoshop) of the Layers panel and fill the selection on the New Layer with the color of your choice using the Paint Bucket tool in the Tools panel (Shift+G). Deselect (CMD/CTRL+D) to remove the selection and repeat the same steps to color the other UrbanStitchez Homes.
Erase the area around the windows or remove imperfections in your coloring using the Eraser tool from the Tools panel (Shift+E).
To add texture to the birdhouse, select a textured transfer, clip it to the color filled layer. Press CMD/CTRL + ALT + G (Adobe Photoshop) or CMD/CTRL + G (Adobe Photoshop Element), and change the Blending Mode of the texture layer to Hard Light at the top of the Layers panel. Transfer1.png (bark) from ArtPlay Palette Wilderness was used.

 3. Create the Birdhouse Base. Select multiple StraightLine Stitched png. files and place them under the UrbanStitchez Home files to create birdhouses.
 4. Embellish. Finish the page by adding WordArt, Textures, Stitching, ArtsyTransfers and Brushes.

Click on the above photo for additional process notes and supplies used.
What UrbanStitchez custom designs will you make next?


Recent Comments