

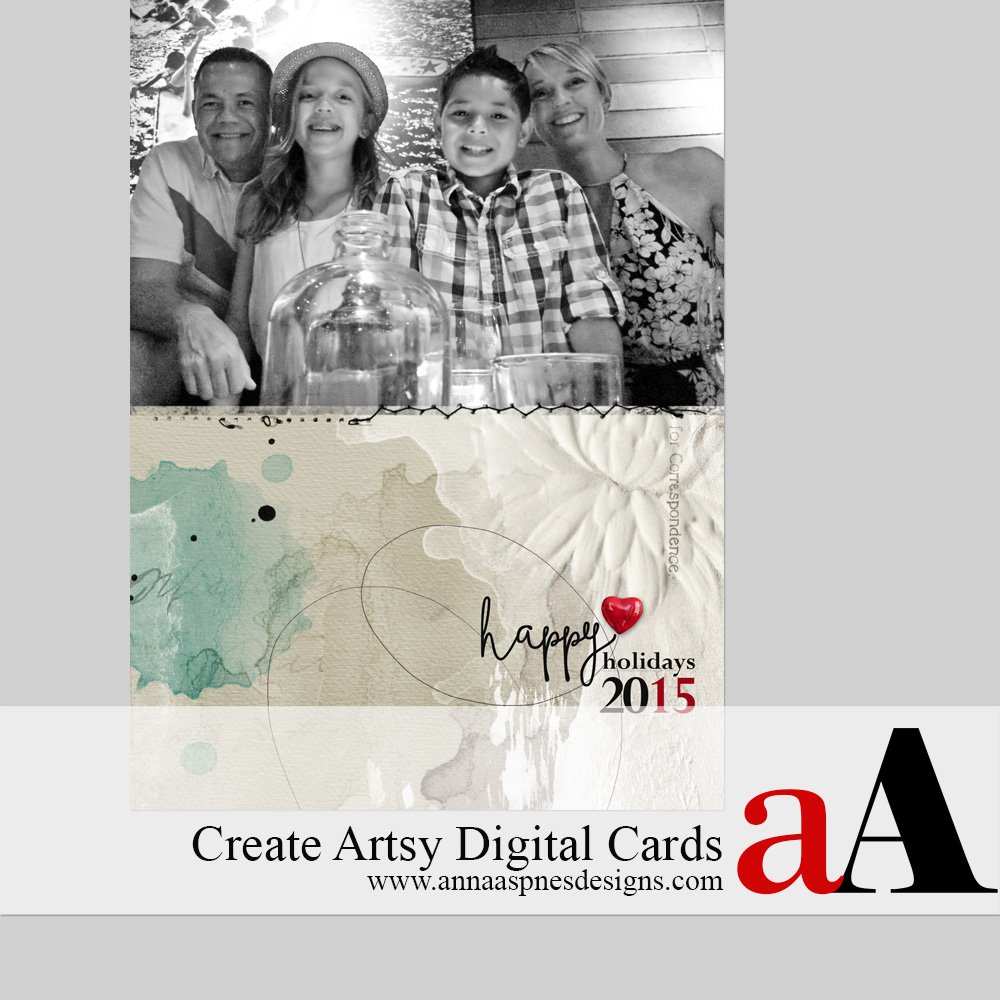
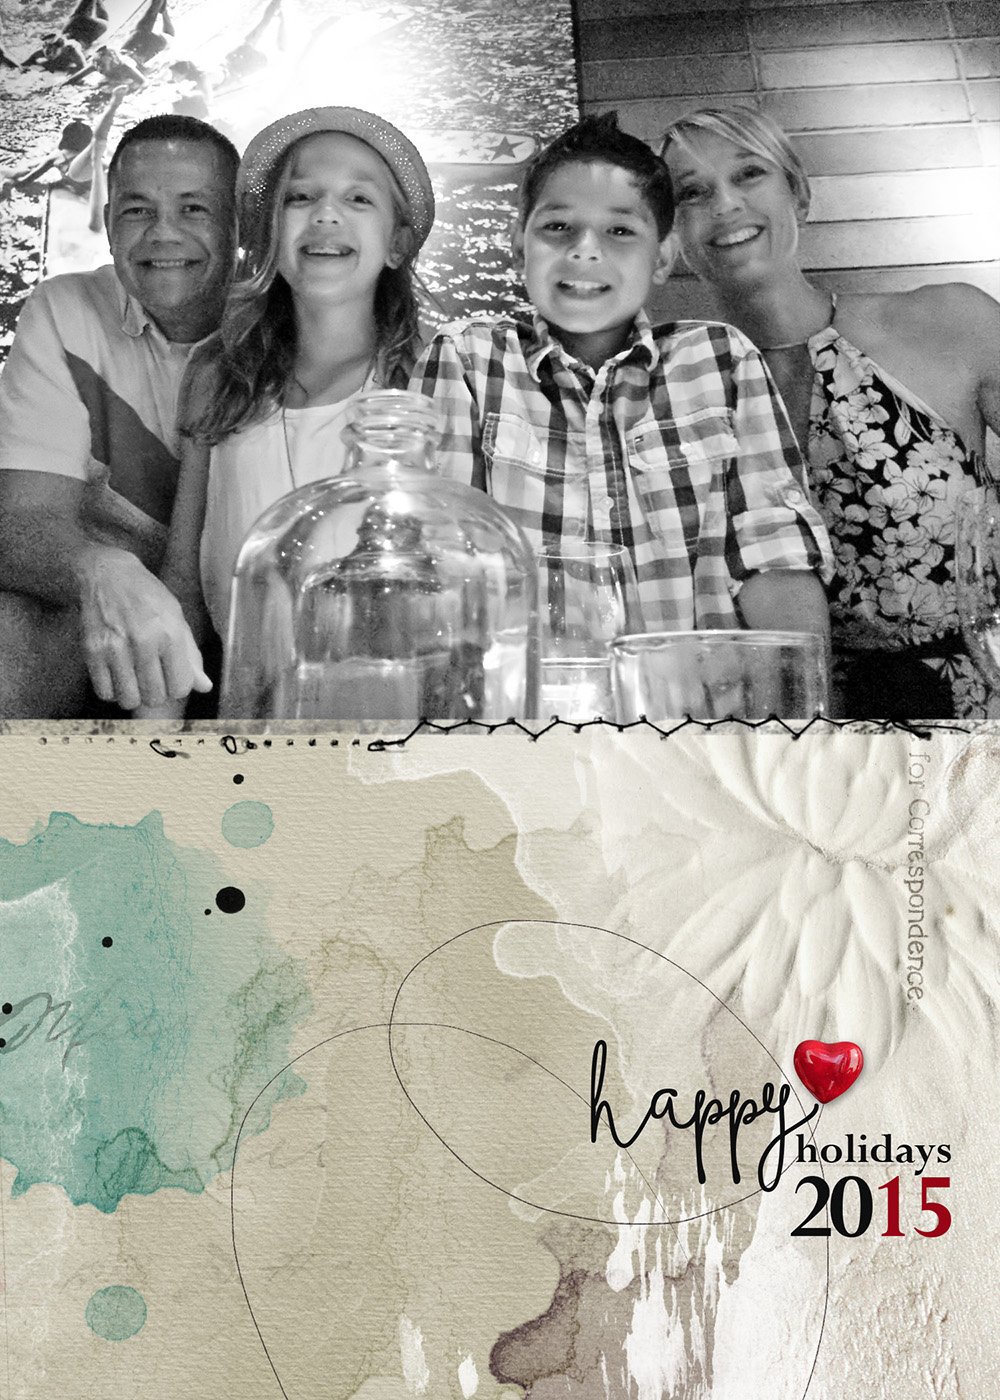
 In the latest newsletter mailing from aA Designs, I shared my Christmas card for 2015, making the template available to AnnaNews recipients. If you haven’t already, can subscribe here.
My 2015 Christmas card does not showcase the most technically perfect photo by any stretch, but it’s my favorite family capture of the year, taken by friend using an iPhone in poor light on my 4oth Birthday. Sometimes sentimentality over-rules perfection.
I do not tend to print my cards as many of the recipients are located around world. I opt instead for emailing the digital file with a year in review letter, saving on both paper and time NOT standing in long lines at our local post office.
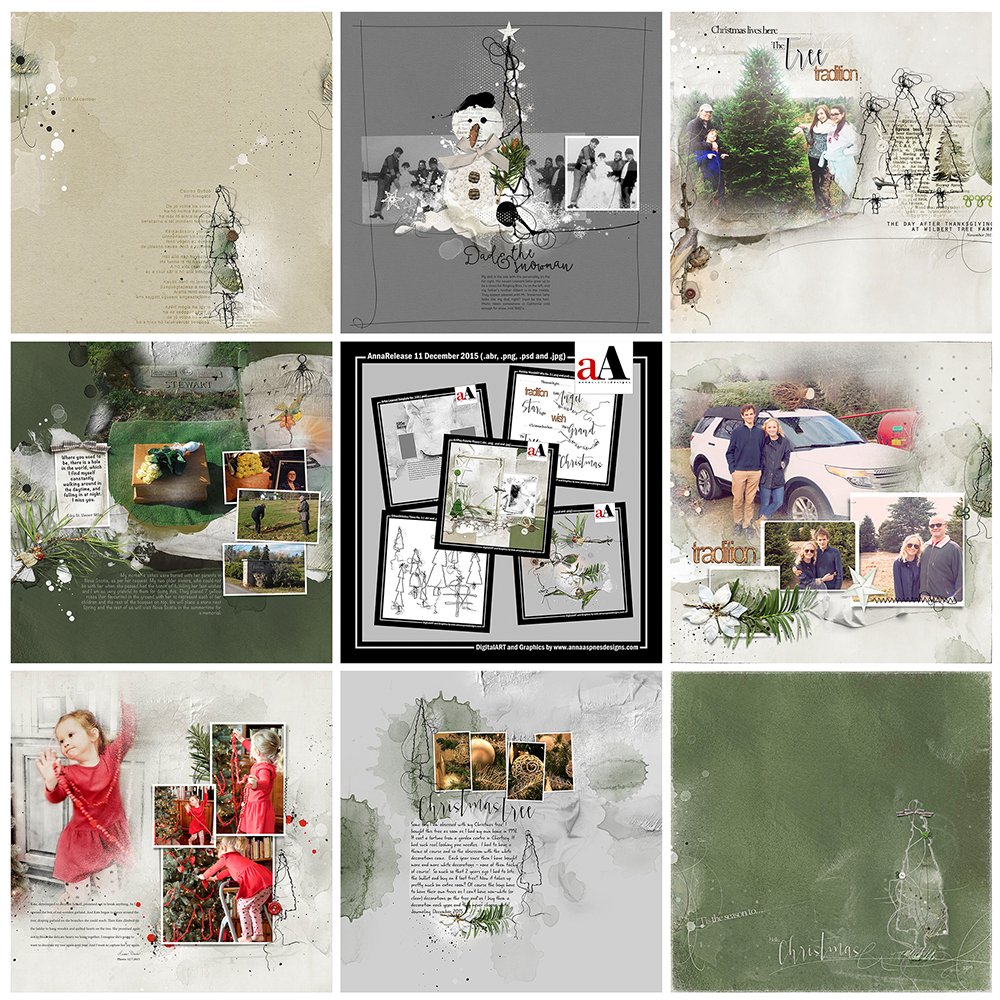
There are lots of different approaches to creating DigitalART holiday cards, either with or without photos, but the process is much the same as creating a DigitalART layout on a smaller scale. In theory, it’s also easier because you have a smaller canvas to work with.
Try the following simple 5-step process for creating a digital artsy card in Adobe Photoshop or Elements, and modify as preferred.
- Card Size. Determine the orientation (portrait or landscape) for your card and create a New Layout at 300DPI in your desired size. Note that the card size will be determined by the options offered by your chosen print vendor or personal preference. Popular sizes include 5 X 7 and 4 X 8 inches for example.
- Foundation. Select an artsy or solid paper from an ArtPlay Palette of choice and re-size to 6 X 6 or 8 X 8 inches if preferred. This enables you to use a larger portion of the design area on your card.
- Focal Point. Create a focal point by adding a photo or image of you choice. You might choose to make an element such those found in the MultiMedia product series as demonstrated here and here. Photos can be clipped to masks such as those found in Templates or FotoBlendz using the clipping mask function in Photoshop or Elements. You can also blend an image into your background using the techniques outlined in AnnaBlendz LIVE.
- Sentiment. Type your greeting in the font(s) of choice or use an appropriate WordART element. The words support the whimsical landscape in this design.
- Embellish. Create visual interest and dimension by adding brushwork through the use of BrushSets, Elements or Stitching. Love the use of elements here which could completely transpire to a greeting card here.
P.S. Don’t overthink it. Often less is more.
See more inspiration here.


Recent Comments