

Today, Creative Team Member Marianne is sharing her technique to create an Artsy Digital Scrapbooking Photo Titles for Adobe Photoshop and Elements.
Marianne uses an Artsy Layered Template as a foundation and creates a clipping mask for her photo using Type.
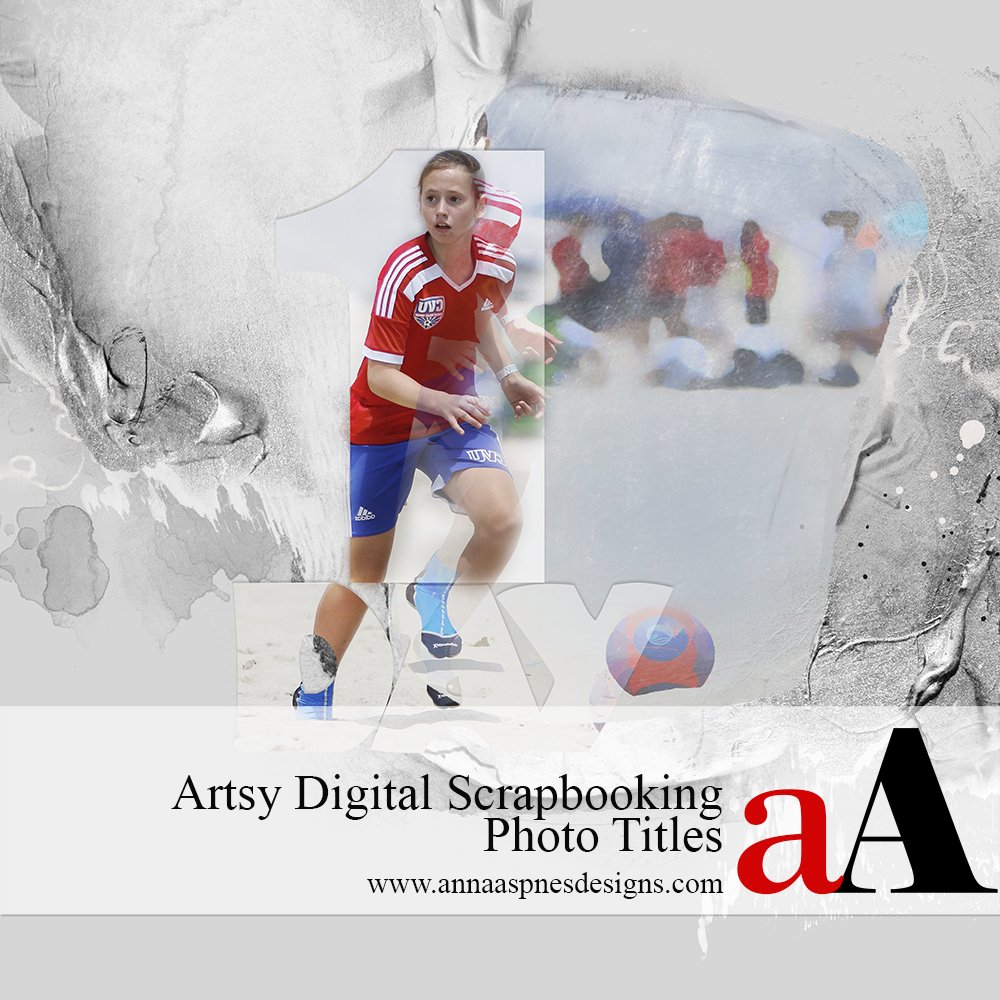
Artsy Digital Scrapbooking Photo Titles
 1. Select Artsy Template
Make an Artsy Layered Template selection of your choice.
Open Template 5 from Artsy Template MultiPack No. 11.
Select ALL FotoMask, frame, and shadow layers in the Layers Panel and drag them to the ‘Trash/Bin’ icon to delete.
 2. Add Type
Build title mask using the Type Tool.
Create Select the last or top layer in your Layers Panel.
Choose the Horizontal Type Tool from the Tools Panel and make desired Font and Size selection.
You will need a nice bold Seri/Sans Serif font and make it really big – I used Impact at 372 pt.
Rasterize the font layer by right clicking on the Type layer to activate the fly-out menu and select Rasterize Type.

3. Enlarge Type
Make the surface area of the Type larger using the Selection Tools.
Increase the width of the type by making a long thin rectangular selection using the Rectangular Marquee Tool from the Tools Panel.
Copy and Paste (CTRL/CMD + C/V) the selection. Notice the selection is now deposited on a New Layer.
You can make this selection wider by stretching the edges of the Bounding Box slightly.
Merge the Type and pasted selection, by selecting both layers in the Layers Panel, then go to Layer> Merge Layers.

4. Build A Mask
Create a mask using multiple Type layers.
Type another word in the font you want to use.
The word ‘day’ was typed in the Touch of Nature font.
Adjust the Size and the Tracking of the characters from the Character Panel. Go to Window> Character.
Tracking is the spacing between characters.
Note that the Character Panel is available in Photoshop only. In Photoshop Elements, you can Type the characters on New Layers and move them closer together.
Rasterize the word layer and merge with the number layer.

5. Create Clipping Mask
Add your photo to the mask to create a shaped photo.
Clip your photo layer to the Type mask. Go to Layer> Create Clipping Mask.
I duplicated the photo layer and applied a Dry Brush Filter to enhance visual interest.
6. Embellishments
Complete your artsy digital scrapbooking layout.
Populate the template from the bottom up, clipping digital papers to the various mask layers ore Recoloring as desired.
You can also add Transfers, Brushes and Elements to create visual interest in your artsy digital scrapbooking pages.
Find more tips to help create an Artsy Digital Scrapbooking Photo Titles here.
Did you you find this helpful?
Post your layouts showcasing some of these techniques and please share this post using the social media channels below.


Recent Comments