

Today, Margó is sharing a Blended Photo Artistry Effects with ArtsyKardz technique.
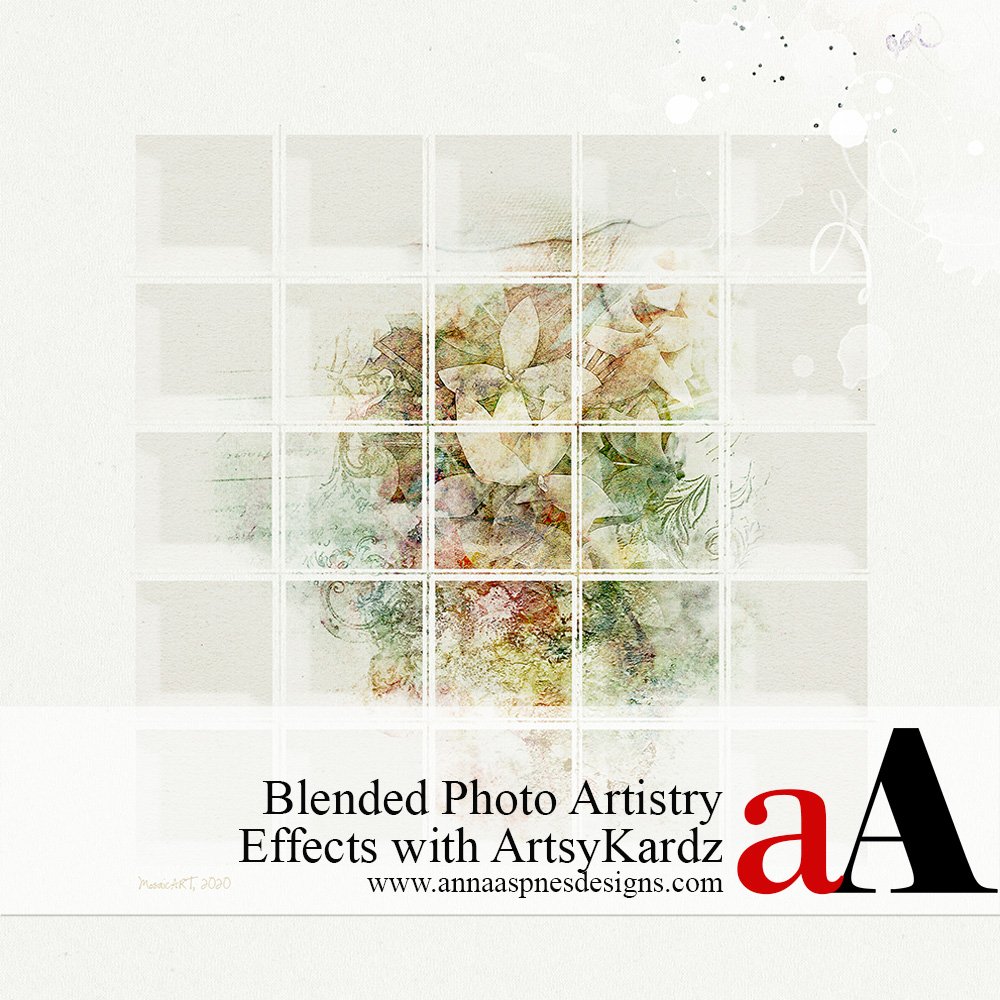
Blended Photo Artistry Effects with ArtsyKardz
Introduction
Colorize with ArtsyKardz, Blending Modes and Filters.
Learn how to:
- Modify ArtsyKardz to Colorize black and white images.
- Use Groups to organize multiple layers.
- Apply a Filter effect to multiple layers.
- Create a Custom Mask using template layers.
1. Create Layout Foundation
Create a white fill layer, add a black and white focal point before merging the layers.
- Go to File> New and create a layout at 12 X 12 inches and 300 DPI.
- Click on the ‘New Layer‘ icon in the Layers Panel.
- Go to Edit> Fill (Layer), select the color white and click OK.
- Open and move file#4 from Tropical Flowers No. 1 onto the ‘white filled’ layer using the Move Tool from the Tools Panel.
- Select BOTH the ‘white filled’ and ‘tropical flower’ layers in the Layers Panel.
- Go to Layer> Merge Layers (CTRL/CMD + E)
- Create a duplicate ‘copy’ layer by dragging the merged layer to the New Layer icon in the Layers Panel (CTRL/CMD + J)
- Click on the eye icon next to the ‘original merged’ layer to turn off the visibility.

Screen 1 – Create Black and White Layout Foundation
2. Colorize Image
Use ArtsyKardz to colorize the black and white image foundation.
- Apply a Screen Blending Mode to the ‘black and white image’ layer.
- Open a variety of brightly colored ArtsyKardz and move them on top of the ‘black and white image’ layer.
- Select all the ArtsyKardz layers in the Layers Panel.
- Go to Layer> Create Clipping Mask to clip the ArtsyKardz files to the ‘black and white image’ layer.
Note. The ArtsyKardz adopt the Screen Blending Mode property when clipped to the ‘black and white image’ layer.
Modify any of the ArtsyKardz layers to colorize the black and white image.
- Resize and/or Rotate the ArtsyKardz.
- Apply a Layer Mask and modify with Brushes.
- Change the Blending Mode of the ArtsyKardz layer.
Tip. Go to Layer> Group Layers to organize ALL layers in a folder.

Screen 2 – Colorize layout foundation using ArtsyKardz and Screen Blending Mode.
3. Apply Special Effect
Use a Filter and Blending Modes to apply a mosaic effect to the entire image.
- Select the ‘original black and white’ layer and turn on the visibility by clicking on the ‘eye’ icon next to the layer.
- Drag this layer up the Layers Panel and deposit directly above the Layer Group.
- Go to Filter> Filter Gallery> Texture> Mosaic Tiles.
- Use the following settings: Tile Size: 4, Grout Width: 1; Lighten Grout: 10).
- Click OK.
- Apply a Soft Light Blending Mode to the ‘filter’ layer.
- Save the image in .psd and .jpg format.
Tip. You may need to adjust the Filter values to best suit your image and achieve desired texture depth and sharpness.

Screen 3 – Add a Filter to multiple grouped layers.
4. Create Custom Mask
Merge 2 template layers to create a modified grid-style mask for your colorized image.
- Go to File> New and create a new 12 X 12 inch layout at 300 DPI.
- Open and move a Solid Paper from the ArtPlay Palette of your choice as your layout foundation.
- Open ‘Clean Masks’ and ‘Stitched Overlay’ #3 files from 12 X 12 Stitched Templates No.1.
- Move and place BOTH layers in the center of your layout foundation.
- Select the two layers and go to Layer> Merge Layers.
- Select the Solid Paper and ‘clean mask’ layers and use the Alignment options at the top of your screen to perfectly center the grid.
- Move and place the ‘colorized image’ layer over the top of the ‘clean mask’ layer.
- Go to Layer> Create Clipping Mask to clip the image to the ‘clean mask’ layer.
Note. The stitching overlay adds a really interesting effect to the mask layer.

Screen 4 – Create a custom grid mask using 12 X 12 Stitched template layers.
5. Embellish Your Design
Add DigitalART supplies to enhance the visual interest of your design.
- Clip Solid Papers to the Clipping Set and adjust the Blending Mode so they behave as a subtle Color Overlay.
- Apply different Blending Modes to the custom ‘grid’ mask to elevate Color and Light Properties.
- Up-level your custom clipping mask design with Layer Styles such as Bevel and Emboss.
- Add Transfers and Overlays or paint-style brushes to lead the eye around the design.
- Personalize with ‘Time and Place’ details. (Font: CK Ali’s Hand)

Screen 5 – Apply special effects to your DigitalART supplies to add subtle enhancement.
DigitalART Supplies
Click here to see a complete list of DigitalART used in this photo artistry layout design

Mosaic photo artistry layout by Margó Juhász.
Summary
Create blended coloring and style effects using more traditional digital scrapbooking designs.
- Clip ArtsyKardz to a black and white image and modify to create subtle color effects.
- Apply a Filter effect to multiple layers using Blending Modes.
- Merge 2 Template layers to create an unexpected Custom Mask design.
- Adjust the Blending Mode of your DigitalART supplies to enhance your layout design.
See also:
And if you enjoyed this Blended Photo Artistry Effects with ArtsyKardz technique post, please consider sharing using the social media buttons below.


Recent Comments