


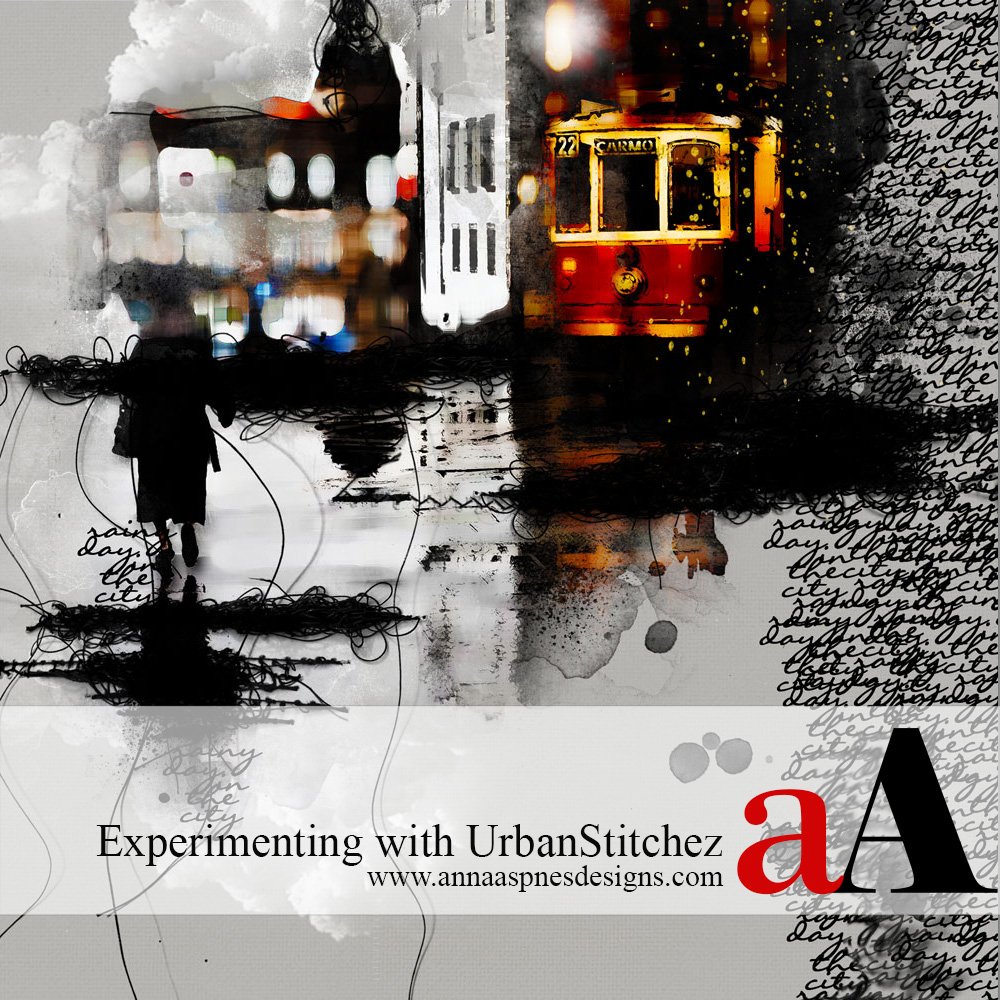
Creative Team Member, Linda Davis shares how to create depth and dimension with UrbanStitchez on this two page spread.
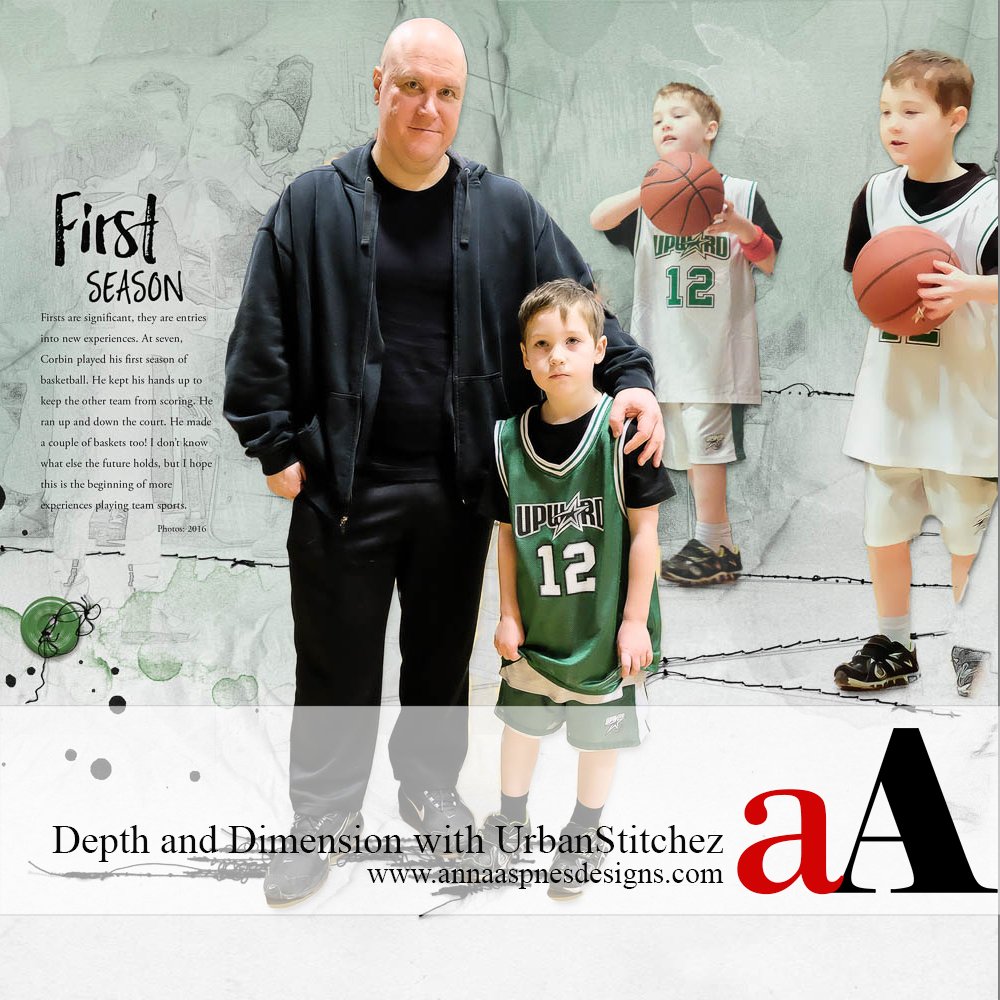
Create Depth and Dimension with UrbanStitchez
Anna Aspnes’ UrbanStitchez are a favorite for adding depth, dimension and texture to my scrapbooking pages. After extracting my grandson and creating sketches from copies of the photos, I blended the sketches into my page with layer masks. Once my photos and sketches were in place, I considered how I might create more depth on my page.
Add UrbanStitchez
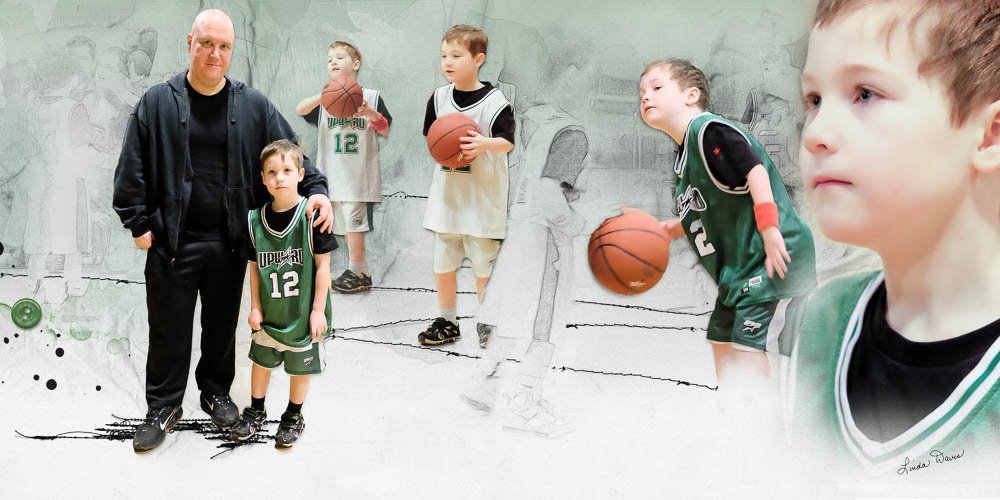
I began experimenting with the UrbanStitchez. I dragged a png file of UrbanStitchez 5_9, a fine gauge stitch, onto my document below all the extractions, but above the taped textures and layers from 8×8 Artsy Template No. 1. I positioned the first png file roughly along the foreground line between the sketched player on the right and the extraction of my grandson dribbling the ball. I added a layer mask. With a small, hard round brush I masked out any stitching that appeared where I didn’t want it over the sketch or extraction. I added two more copies of the same png file over the foreground line, flipped one horizontally for variety and added a layer mask to each in order to hide unwanted stitches running along the line in the sketch.
Repeat Using Additional UrbanStitchez
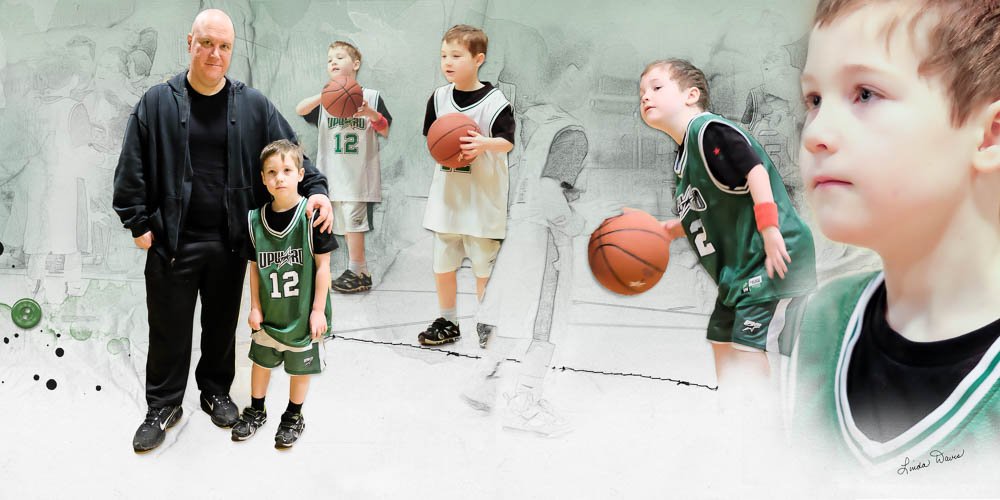
I followed the same process for adding stitching to each of the other sketch lines, but I chose a different stitch for each row. In all cases, I did not increase the stitch size. Instead I pieced png files together by overlapping the stitching. Then I added layer masks so that they looked like one continuous line. I also used the mask to hide any unwanted stitching that might show above a leg or foot. For the second and third rows of stitching, I used png files from UrbanStitchez No. 7. Finally, I grounded my grandson and his dad with two more UrbanStitchez from UrbanStitchez No. 2.
Note: I could also have used the .abr brush file of the stitches and stamped each on a new blank layer. As described above, I would have added layer masks to erase unwanted stitches.
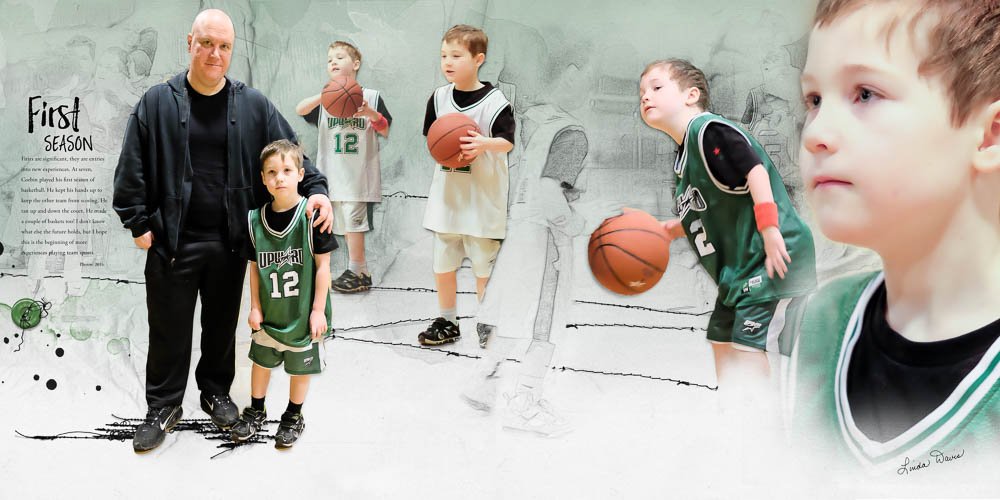 By placing the UrbanStitchez over the basketball court lines, I emphasized the depth in the scene and added dimension to my page. I also used the UrbanStitchez to ground an extraction. UrbanStitchez are a great tool for adding depth and dimension to a page.
Click on the above photos for additional process notes and supplies used.


Recent Comments