

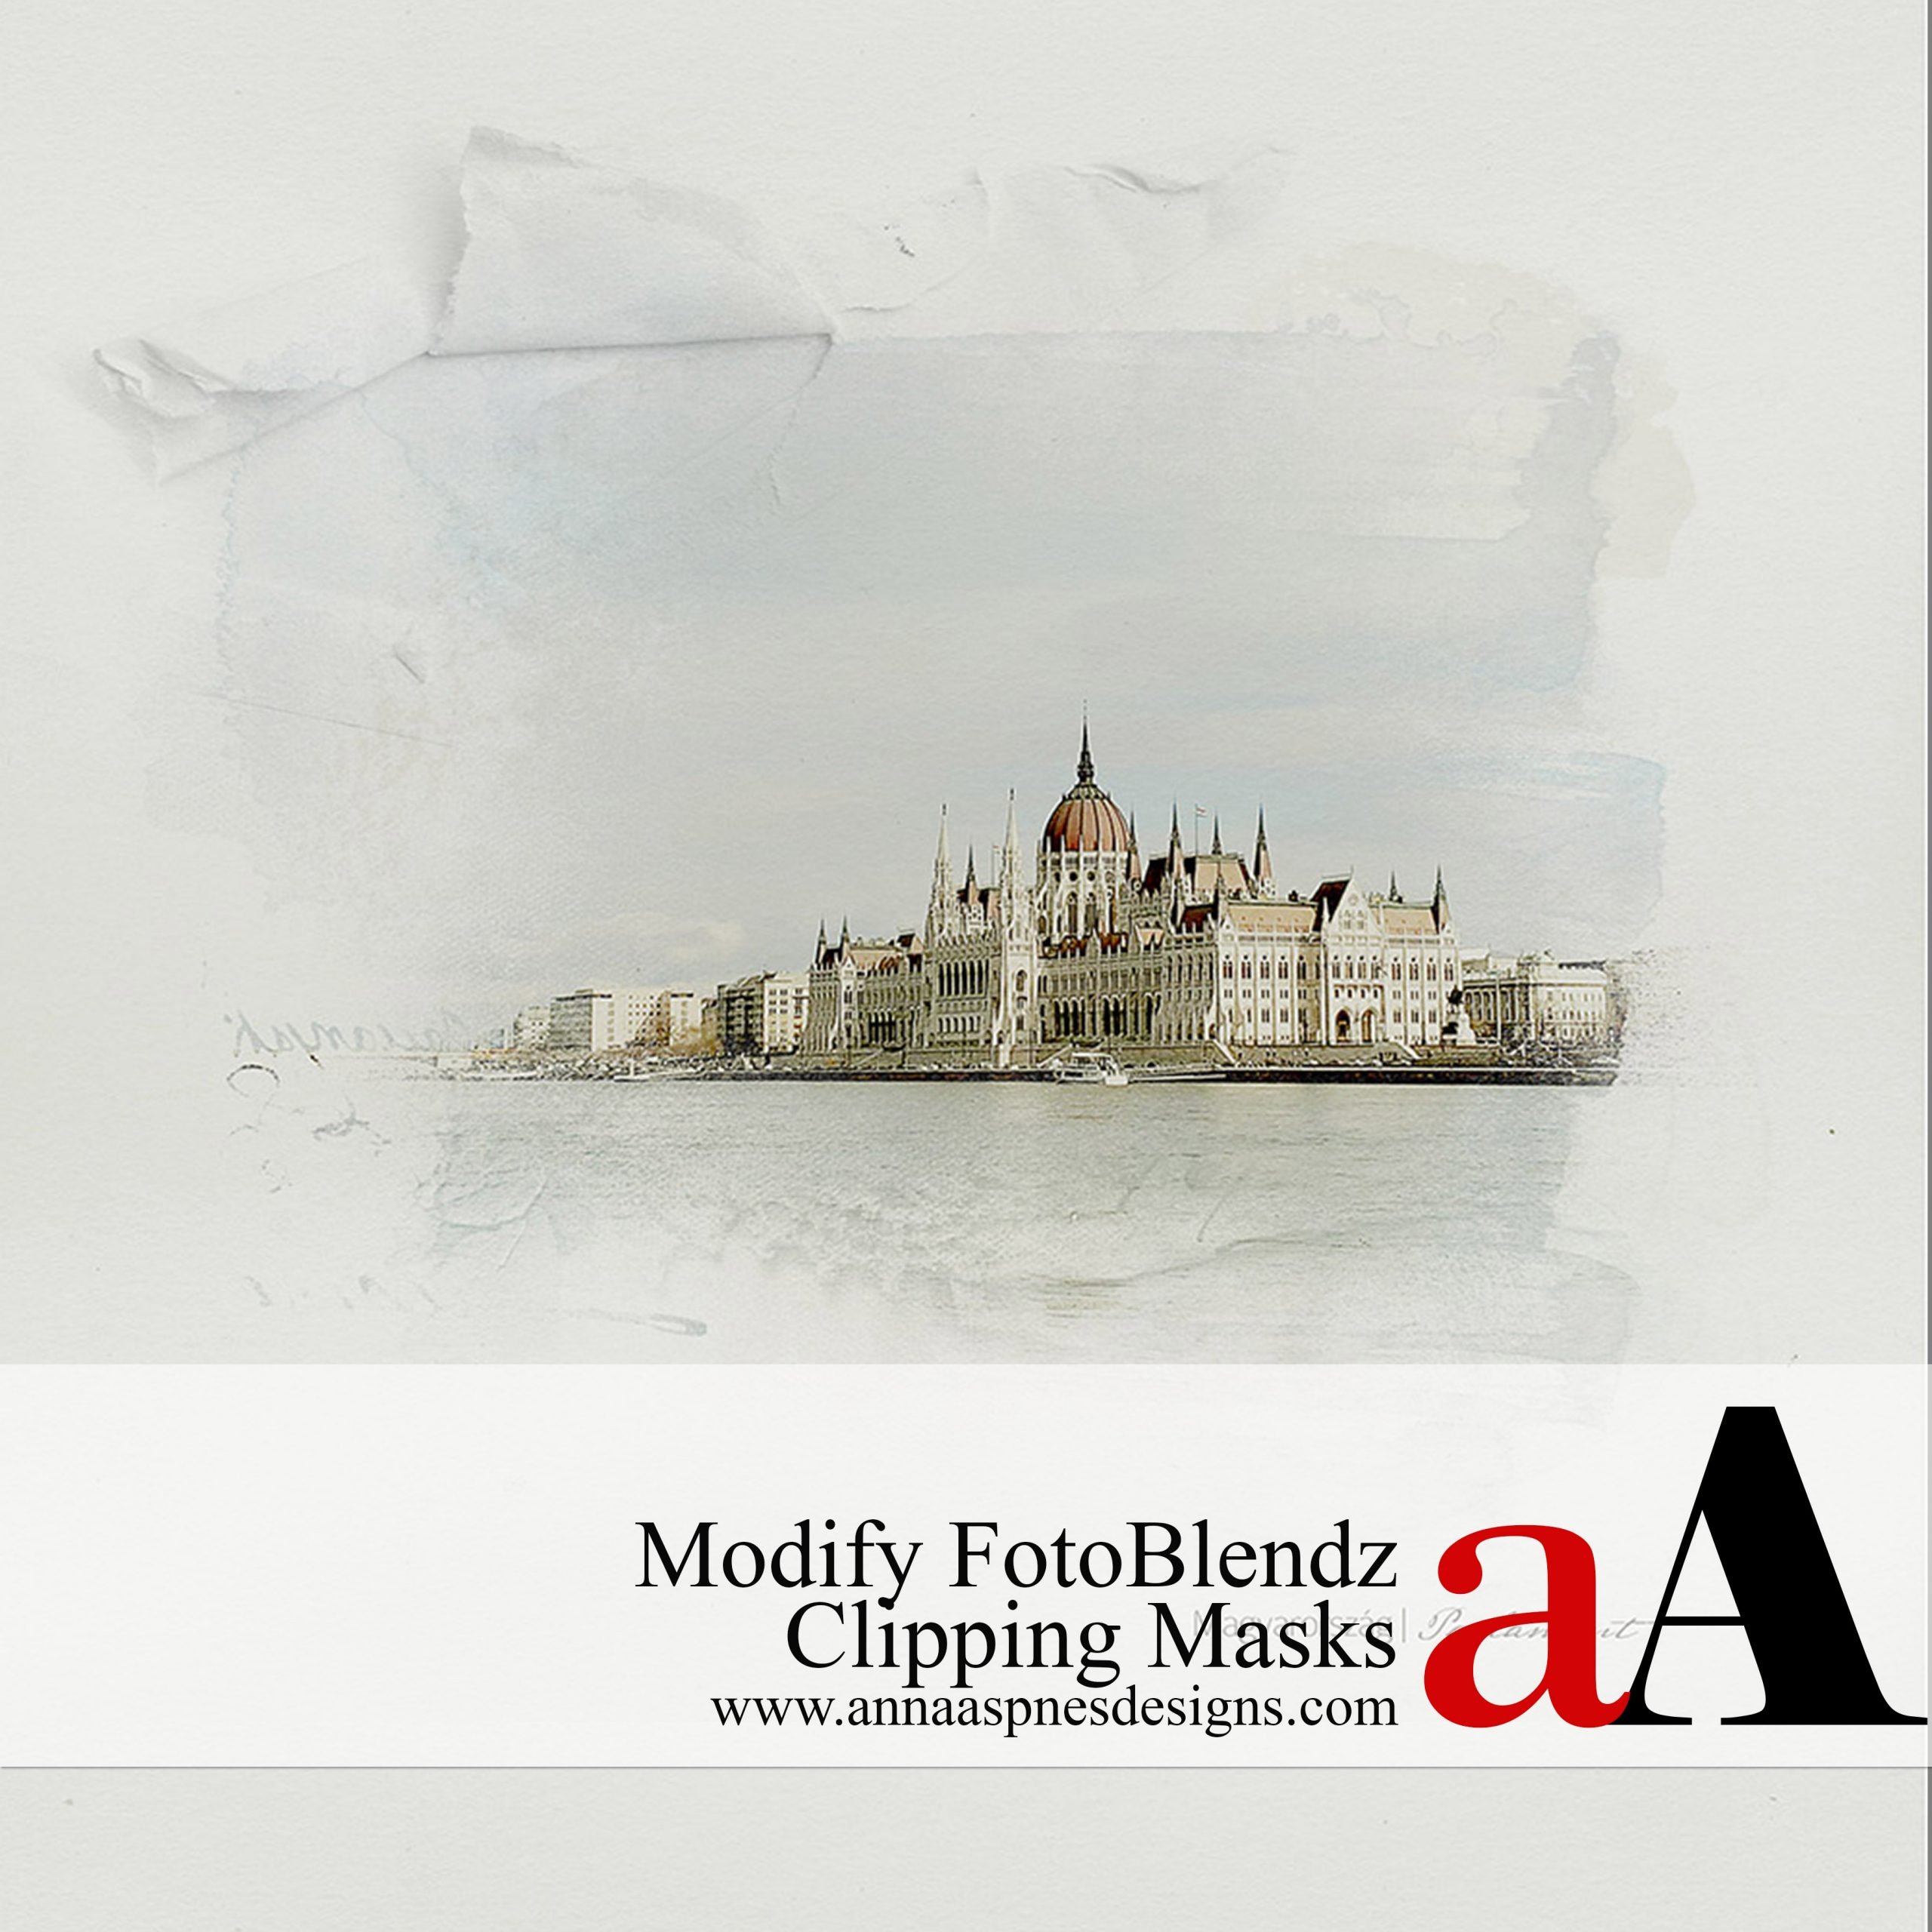
In this blog post, Margo is sharing ways to Modify FotoBlendz Clipping Masks.
Modify FotoBlendz Clipping Masks
Introduction
Please note:
- See Multifaceted MultiLayered FotoBlendz Masks to learn more about FotoBlendz Clipping Masks.
- Use the following FotoBlendz mask modification examples to inspire your own creativity.
About
FotoBlendz Clipping Masks may be delivered in a variety of formats.
- Single layer .png
- Multi-layered .psd
- .abr file for use with the Paint Brush Tool
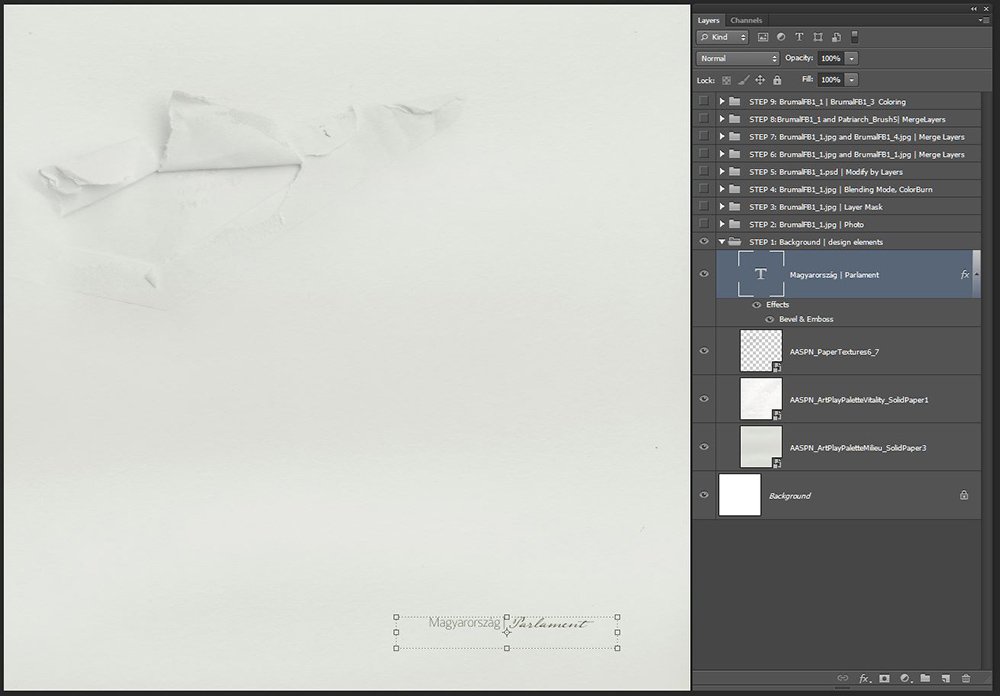
1. Layout Foundation.
Establish a background for your layout design by blending 2 solid papers.
- Go to File> New and to create a new 12 X 12 300 DPI layout.
- Open and move SolidPaper3.jpg from ArtPlay Palette Milieu.
- Open and move SolidPaper1.jpg from ArtPlay Palette Vitality (retired).
- Apply a Soft Light Blending Mode to the top paper layer (SolidPaper1.jpg) in the Layers Panel.
- Adjust the Fill (or Opacity) of this layer to 37%.
- Open and move 7.png from PaperTextures No. 6.
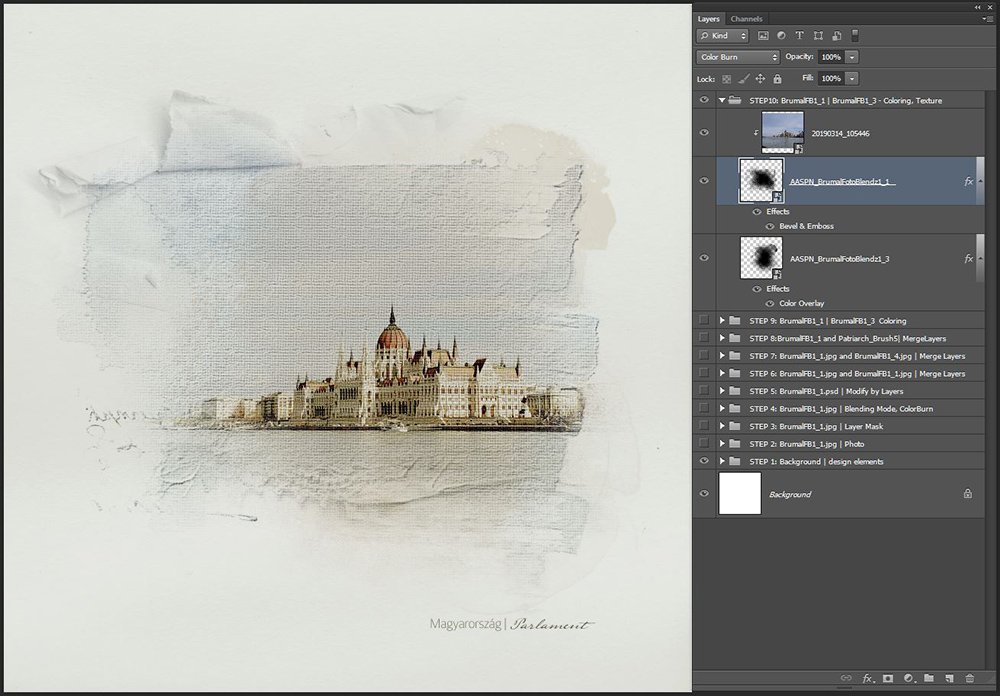
Note. The title ‘Magyarország| Parlament ‘ was added with a Bevel and Emboss Layer Style applied.
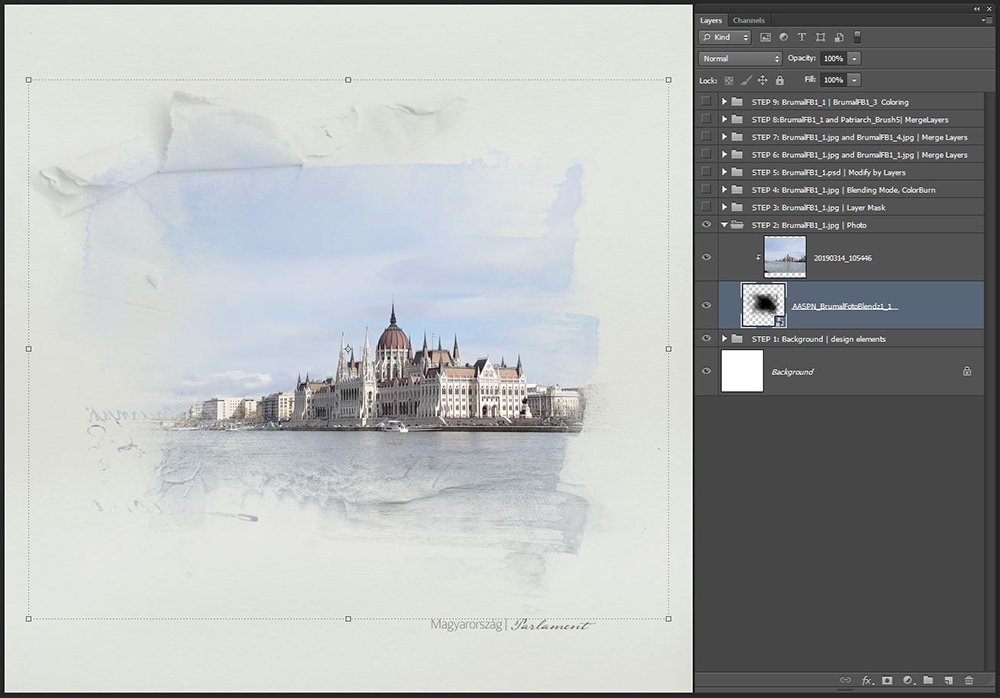
2. Blend a Photo into the Layout Foundation
Clip a photo to a FotoBlendz Clipping Mask.
- Open and move 1.png from Brumal FotoBlendz No. 1.
- Open a photo over and move onto your layout so that it’s positioned on top of (and covers) the underlying mask layer.
- Go to Layer> Create Clipping Mask to clip the photo to the mask.
- Notice how the photo now conforms to the shape of the underlying mask layer.
Note. Clipping can also be achieved by placing the cursor between photo and FotoBlendz mask layers in the Layers Panel, then press the ALT key. When the cursor changes to a downward facing arrow – Click the left mouse button.
3. Modify a FotoBlendz using Brushes
Apply a Layer Mask and use brushes to adjust a FotoBlendz to better suit your chosen photo.
- Apply a Layer Mask to the FotoBlendz mask from the Layers Panel.
- Select the Paint Brush Tool from the Tools Panel and a brush of choice.
- Paint on the Layer Mask with Foreground Color set to Black to remove areas of the mask layer.
- Notice how the photo changes alongside the mask layer.

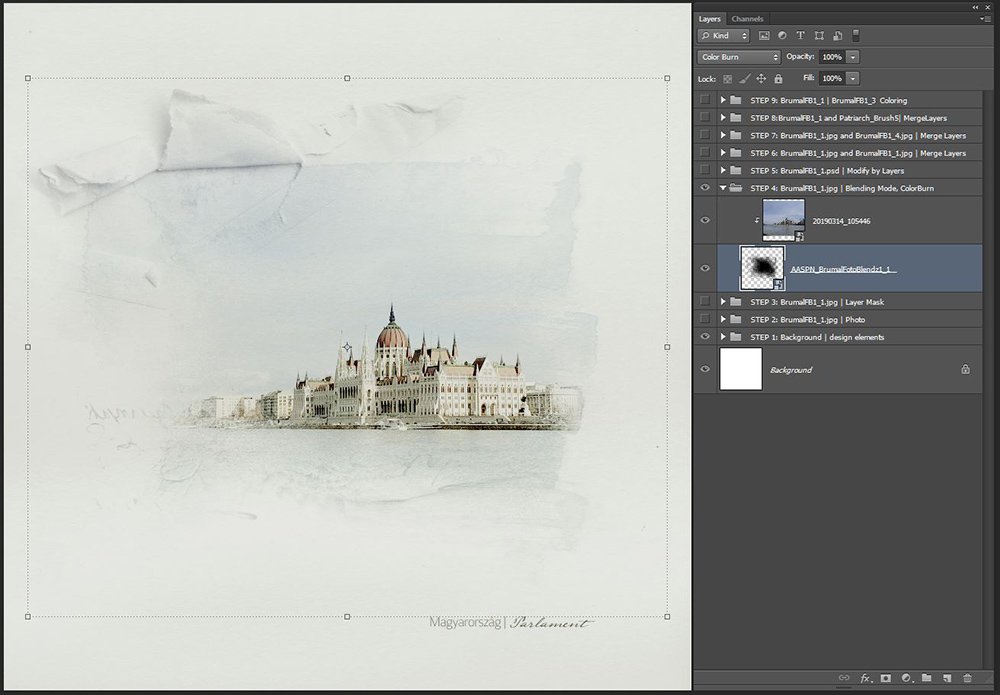
4. Apply a Blending Mode
Change the color and contrast of the image via the use of Blending Modes.
- Select the FotoBlendz mask layer in the Layers Panel.
- Choose a Blending Mode from the ‘Normal’ drop-down menu a the top of the Layers Panel.
- Notice how the intensity of color changes with the application of the Color Burn Blending Mode.
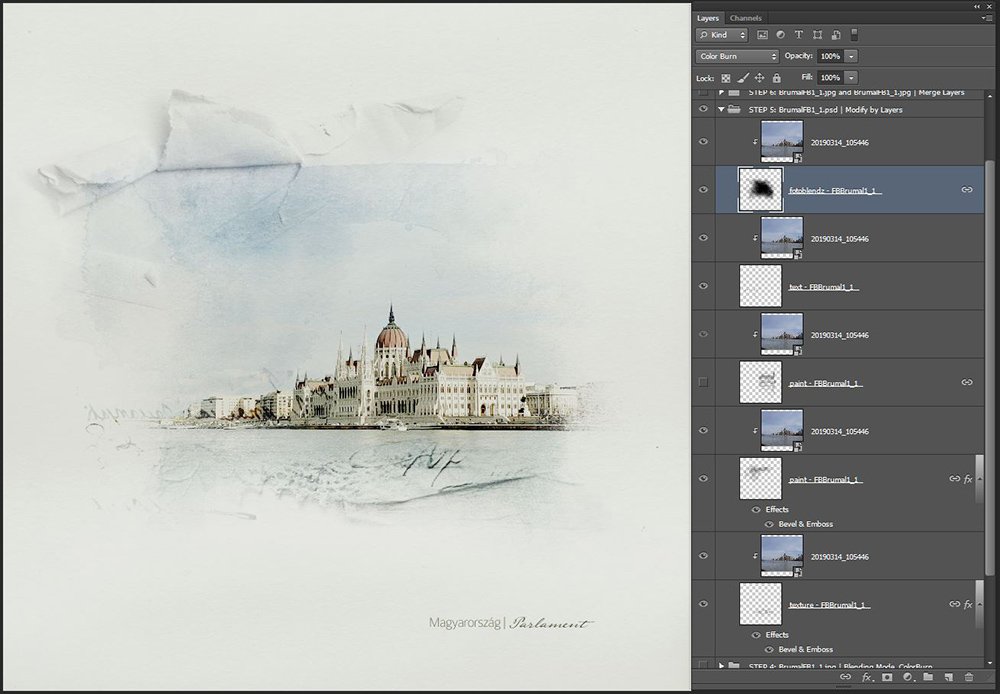
5. Make Adjustments to the Supporting Mask Layers
When working with the .psd version of a MultiLayered FotoBlendz mask you have the option to modify the different layers independently.
- Select and move all the mask layers onto your layout foundation.
- Locate ‘ main’ FotoBlendz mask layer in the layers panel.
- Clip your photo to this layer.
- You can now recolor, move, delete and modify the other layers independently as you choose.
See also MultiMedia and Layered FotoBlendz Manipulation.
Tip. You can a group of selected layers by clicking on the ‘clip’ icon at the bottom of the Layers Panel.
Note. Manipulating the layers individual enables you to customize the FotoBlendz clipping mask with greater control.
6. Duplicate FotoBlendz Mask
Increase the intensity of a FotoBlendz mask by duplicating and merging the layer before clipping your photo.
- Select the FotoBlendz mask layer in the Layers Panel.
- Drag the layer up (Elements) or down (Photoshop) to the ‘New Layers’ icon in the Layers Panel to create a ‘copy’ layer.
- Select the 2 layers in the Layers Panel and go to Layer> Merge Layers.
- Repeat as preferred.
- Clip your photo to the final rendition of the mask layer.
Note. These technique works really well for transparent mask layers.
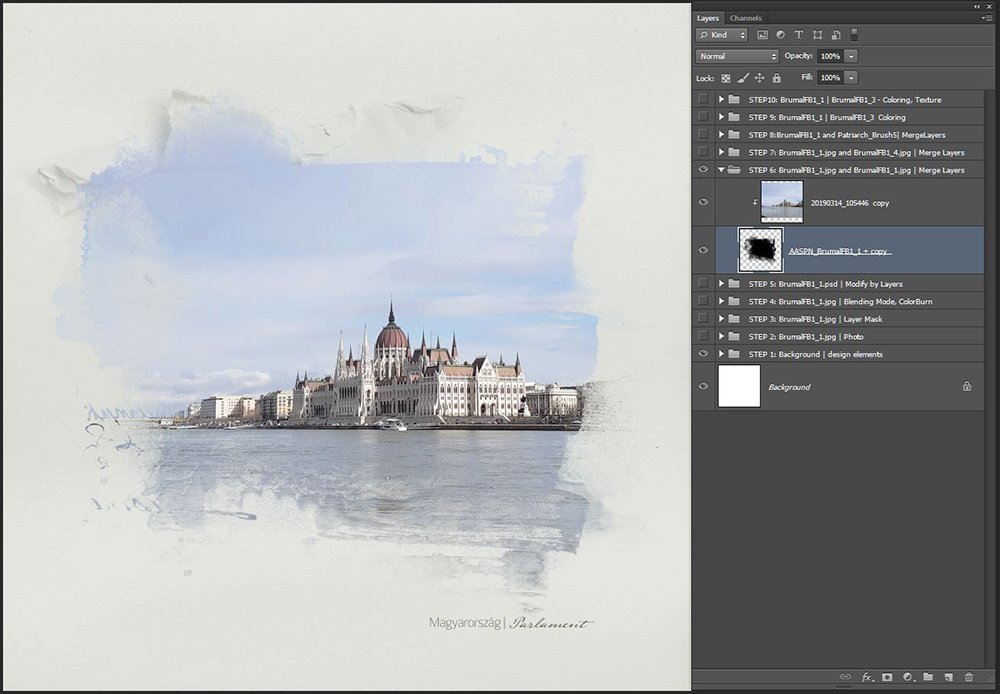
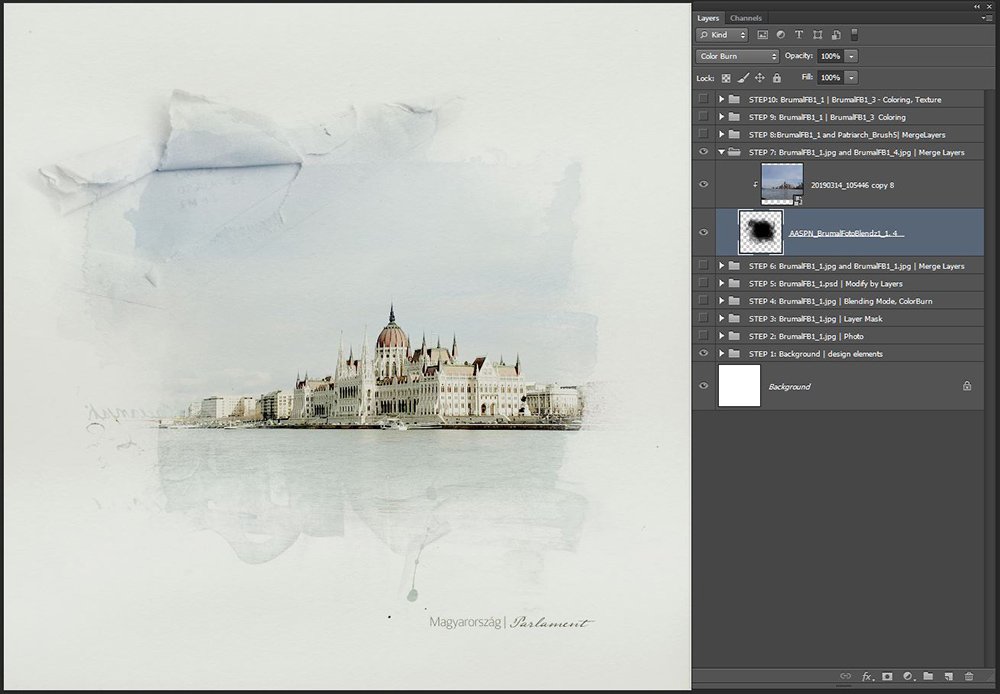
7. Combine Different Masks
Choose 2 different masks and merge to create a custom mask.
- Select 2 different FotoBlendz masks such as 1.png and .4. png fromBrumal FotoBlendz No.1.
- Select the 2 layers in the Layers Panel and go to Layer> Merge Layers.
- Clip photo to the ‘custom’ FotoBlendz mask layer.
- Optionally apply a Blending Mode of choice.
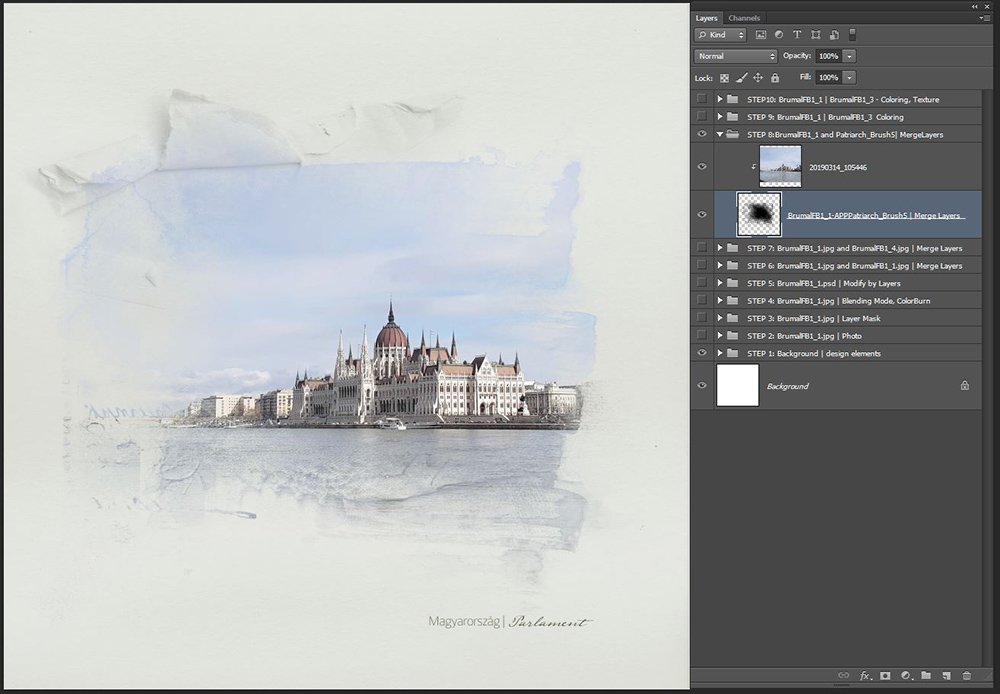
8. Customize with Brushes
Stamp brushes directly on the mask layer to change the shape of the mask.
- Stamp Brush #5 from ArtPlay Palette Patriarch directly onto the mask layer.
Tip. Try the same approach with the Eraser Tool.
9. Recolor a Mask
Place a second mask below your photo clipping set.
- Place a second FotoBlendz mask beneath your blended photo.
- Select this mask layer in the Layers Panel.
- Layer Style> Effects> Color Overlay and make color selection.
- Optionally adjust the Blending Mode of the clipped photo layer from the Layers Panel.

10. Add Texture
Texturize your masks using Layer Styles.
- Select the FotoBlendz mask in the Layers Panel.
- Go to Layer Style> Effects> Bevel & Emboss> Texture.
Summary
- There are many way to modify and manipulate FotoBlendz Clipping Masks.
- Use these techniques individually.
- Combine them for bigger and better effects.
Digital Supplies
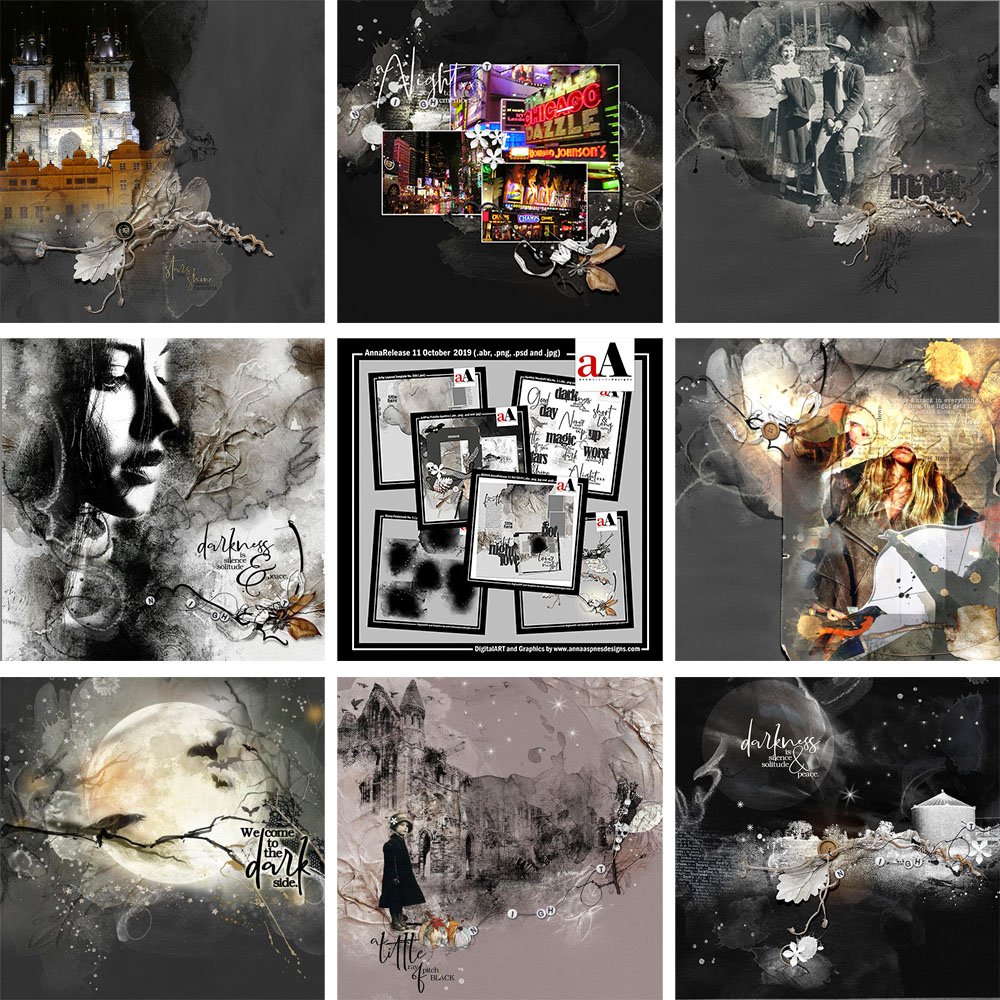
See the full list of supplies here.


Wonderful instructions..so much inspiration provided. Thanks
Thanks for reading Pam.
Thank you Margo for the excellent process! I love your work very much.
Yes!
So many creative ideas and such beautiful results! Thanks for the wonderful examples, Margo!