

Today we’re sharing photo book guidance and inspiration using the 8 X 8 Artsy Template Album No. 1.
8 X 8 Artsy Template Album No. 1 is the newest layered template collection for digital scrapbooking, photography, artists and photo book makes, to be released in the Anna Aspnes Designs store.
8 X 8 Artsy Template Album
The aA Creative Team having been embracing their digital artistry and scrapbooking to provide you with photo book guidance and inspiration.
DigitalART inspiration using 8 X 8 Artsy Template Album No. 1 can also be found in the AnnaGallery along with the use of supporting aA digital design products.
Save almost 50% on 8 X 8 Artsy Template Album No. 1 for a limited time.
Click on the image below to view more Digital Scrapbooking Inspiration for 8 X 8 Artsy Template Album No. 1 or visit the AnnaTeam Layouts board on our exclusive Pinterest board.
See below for more photo book guidance and inspiration.

Photo Book Guidance and Inspiration
See our Gallery HighLights by clicking on the images to access complete digital design supply lists.
You will also find process notes, digital scrapbooking and artistry tutorials from each team member to provide new digital inspiration for using aA DigitalART designs.
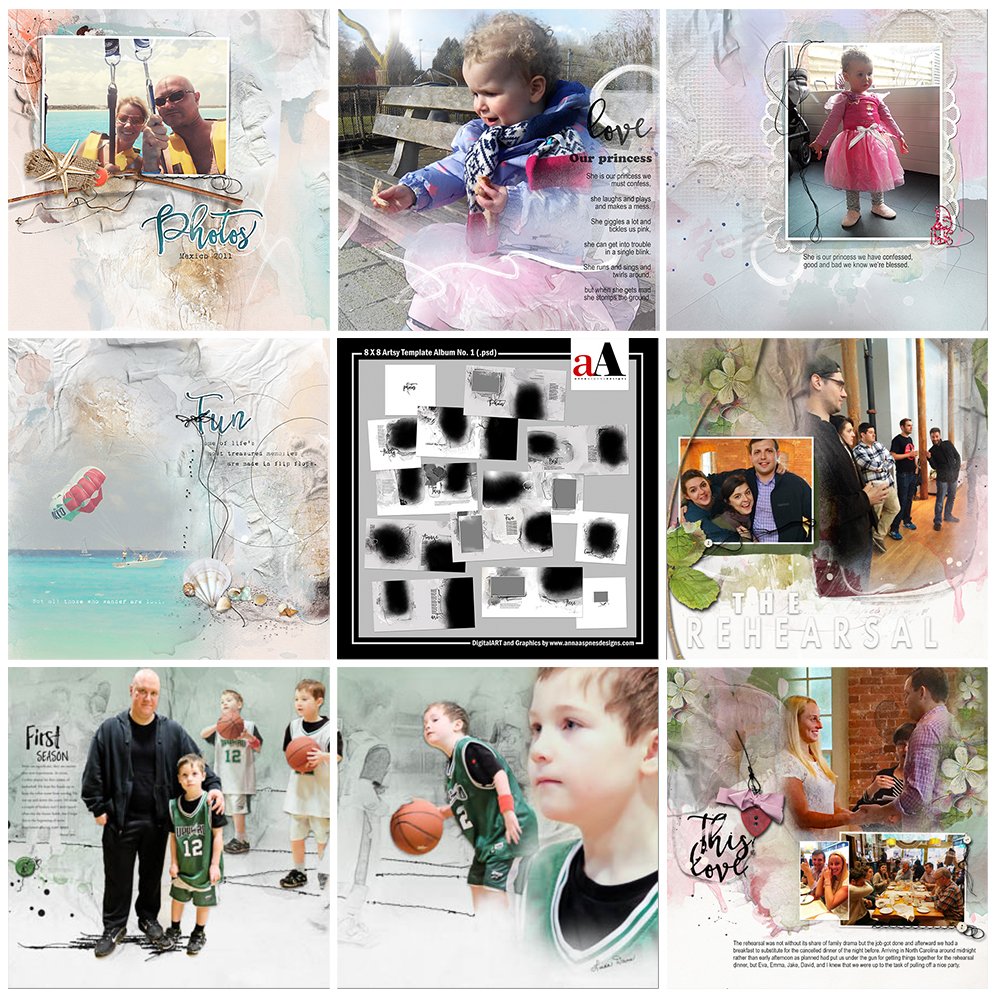
 Mexico | Lindy
Single Verses Double Page Format
In this photo book guidance and inspiration post we will look at creating both single and double pages using templates.
The way in which you use the artsy layered templates by Anna Aspnes Designs will be dependent on how you intend to display or print the finished DigitalART.
Single Page Format
A single page format is preferable for single print or canvases, while double page format is more appealing for digital scrapbookers, photo enthusiasts and fine artists, who want to display their art in photo books.
The majority of the layered templates for digital scrapbooking and artistry created at Anna Aspnes Designs are delivered in 12 X 12 single page format. This enables you to create and print single pages for display in album page protectors, on a canvas or other medium.
Single pages can also be paired with another single page to create a double page for photo book printing.
You can create both pages individually and then upload each page to your photo book format, or you can work in double page format.
Double Page Format
You can choose to work on 2 co-ordinating pages at the same time, as outlined below, or templates may be delivered in double page format as is the case with the 8 x 8 Artsy Template Album No. 1.
- Create a new layout with twice the width and the same height of your layered template. For example, if you are working in 12 X 12 inch format, your canvas size should be 24 X 12 inches. The 8 X 8 inch size will need a new file size of 16 X 8 inches. Go to File> New, and insert the appropriate Height and Width values with a Resolution of 300 Pixels/Inch.
- Ensure your Rulers are visible. Go to View and ensure the Rulers option is checked. Notice the measurement values appear around the edge of your new file.
- Select the Move tool from the Tools panel, click on the Rulers area around your layout with your mouse, hold down the left mouse button, drag to the center of the new layout, and release the left mouse button to create a blue/turquoise line guide. The line should be positioned so that it divides the page in half to create 2 sides or pages to your layout. The line guide indicates the spine where 2 pages would meet if printed in photo book format.
- Open the template file to accommodate the first side of the spread. Select all the .psd format layers in the template by clicking on the first layer in the Layers panel, hold down the SHIFT button on your keyboard, then click on the last layer in the Layers panel, to highlight all layers.
- Select the Move tool from the Tools panel. Ensure the Auto Select option at the top of your screen (Adobe Photoshop) or bottom of your screen (Adobe Photoshop Elements) is left unchecked. Move the layers from the template to the left side of your divided double page spread by using the same click, drag and release function with your mouse.
- Repeat to add a second template to the right side of your canvas to complete the double page spread.
- Populate the templates to create your digital scrapbooking or artistry layouts.
- Save the files in both .psd and .jpg format in the location of your choosing. The layered .psd format enables you to make edits to your layouts while the .jpg format file will be uploaded to the vendor of your choice for photo book printing.
Printing Your DigitalART Layouts
A big part of photo book guidance and inspiration is being aware of how your pages will be printed before you create them.
Many photo book printing companies allow you to upload and drag the double page .jpg file into their photo book templates, but you may also choose to upload 2 single pages. This is useful if you would like the flexibility of changing the order of your pages in your photo book.
- Save the double page in .psd file format as your master editable file.
- Flatten the image into one layer. Go to Layer> Flatten Image (Adobe Photoshop and Elements).
- Create a new 12 X 12 layout, or size of preference. Go to File> New and enter appropriate values.
- Select the Move tool from the Tools panel. Use the same click, drag and release function to move the flattened image to the new layout.
- Position the left side of the double page layout so that the edges line up with those in the new layout. Note that the other side of the page should not be visible.
- Save the layout in the location and with the name of your choosing in .jpg format.
- Now use the Move tool to slide the image across so that the edges of the right side of the double page line up with those in your new layout. Again, the left side of the image should no longer be visible.
- Save the layout alongside the first page with the name of your choosing in .jpg format. I suggest page2.jpg and page3.jpg, or you may prefer to recognize them as A and B in addition to your .psd file name.
Re-sizing Templates
Other considerations in photo book guidance and inspiration include re-sizing your templates and layouts for print at the desired size.
You can re-size templates to suit your printing preferences but it is preferential to make templates smaller as opposed to larger. This prevents loss of resolution, and pixelation in your pages, ensuring optimum printed results.
For example, you can take a 12 X 12 template and re-size to 8 X 8 or take a 8 X 8 template and size down to 5 X 5 inches. It is not advisable, however, to take an 8 X 8 template and size up to 12 X 12, as you may experience deterioration in your prints.
You also need to me mindful of text and element size when re-sizing templates.
For example, a 10-12 pt journaling font in a 12 X 12 template will be much smaller, and possibly no longer readable, after it has been sized to 8 X 8 inches. Similarly, elements such as buttons and stitching may not longer be realistic in their proportions.
Re-size your layouts using the following technique.
- Create a duplicate copy of the .psd format layout or template. Go to Image> Duplicate (Adobe Photoshop) or File> Duplicate (Adobe Photoshop Elements).
- Delete all the text and element layers from the .psd copy file. Drag the layers in the Layers panel to the ‘trash can’ icon.
- Re-size the template or layout to preferred size. Go to Image> Image Size and enter the Width and Height values (Adobe Photoshop) or Image> Resize> Image Size (Adobe Photoshop Elements).
- Now move the text and elements from the .psd original layout or template, by selecting the layers in the Layers panel, and moving them on to the .psd copy. Re-position each element and make adjustments in terms of size as desired.
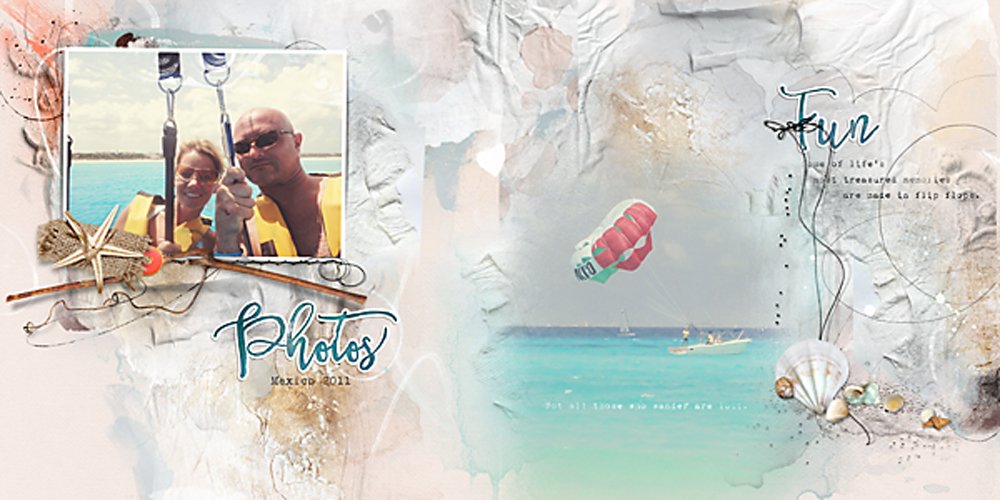
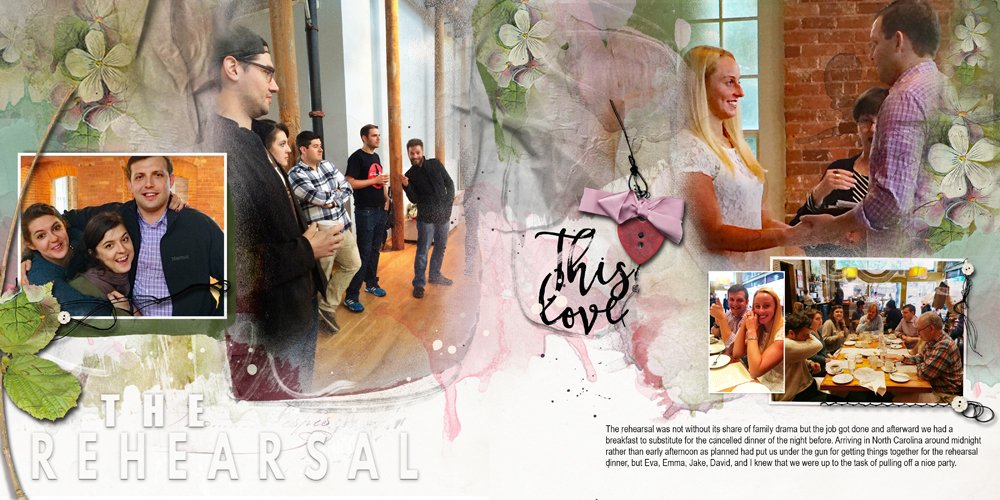 Wedding Rehearsal | Laura
Pay Attention to the Edges
When printing your pages you have the option to print at home or upload to an on-line vendor. You obviously have more control with the former than you do the latter.
The full bleed printing process used by many printing vendors requires some trimming of the edges of your pages. The amount trimmed will vary according to the printer you choose to use.
The main reason I use Persnickety Prints to print my single print pages is because they trim pages by hand to avoid trimming any of the edges of my layouts.
This is unfortunately not the case with photo book printing.
You can expect to lose 1/4-1/8 inch from the edges of the page, and more where your pages meet at the spine of the book. I allow for at least an inch unless I am selecting a lay-flat photo book option where the left side of the page runs into the right without any trimming.
I personally do not worry about the edges or brushwork, but do take care to move any frame edges, elements or text that my be lost through the trimming process. I place close attention to that inch border around the edge of my double page spread.
Note. The only exception to this is the use of edges with lay-flat photo book printing options. I suggest removing all edges in this case to avoid the edge overlay being visible down the center of your double page spread but not the edges (due to the trimming of your pages).
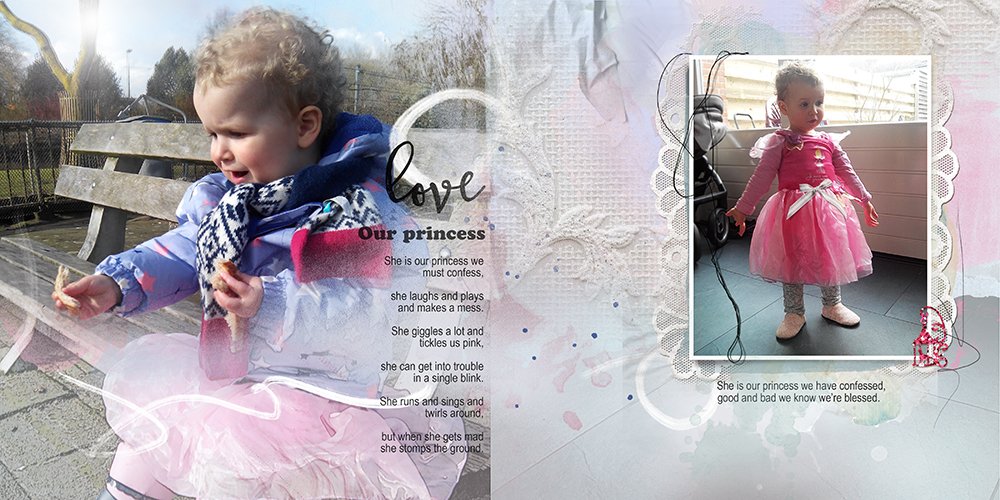 Little Princess | Marianne
The Art of Non Conformity
A double page just not have to be co-ordinated with the design flowing from one page to another. You can have 2 pages that suggest that they belong together or completely different pages.
The latter approach enables you to use 2 different templates for 2 different pages, yet still place them side by side in your double page spread.
Just a few photo book guidance and inspiration suggestions.
The beauty of artsy digital scrapbooking and art making is that you can follow the rules or break them as you see fit.


I love that you wrote about this subject! I’ve just been researching the best photo book company to use and I’m wondering if you have any suggestions?
I noticed that you use Persnickety Prints for your individual pages but I’m wondering about a photo book company. From the reviews, Shutterfly seems to be at the top of many lists. How do you feel the completed scrapbook pages translate into print when using a photobook company?
Thanks again for writing about this subject. I love everything you have to offer…
Hi Kim,
There are lots of photo book companies to choose from. I keep learning of more every day. The option you choose will depend on your budget and preference in terms of what you like in a photo book. Generally I believe the more you pay the better quality you get. I have done books through Blurb, Picaboo and Shutterfly. I personally print through Picaboo. I like the easy of use of the software, lay-flat page options and they offer frequent deals on their books and they offer value for money in terms of quality. I love the Blurb quality but it comes at a price unless you are printing LOTs of pages (at least that used to be the case). I find the Shutterfly site difficult to navigate for digital scrapbookers. I hope this helps.
Anna
Thank you for this awesome advice and inspiration!
Happy it’s helpful to you Diane.
Anna, Thank you for your very helpful advice! I will take a look at these other companies.
Let me know if you have further questions Kim.