


Today, Creative Team Member, Joan Robillard, is sharing Techniques for Overlapping Frames.
This tutorial is for Adobe Photoshop and Elements users.
Techniques for Overlapping Frames
6 Ways to Works with a Frame Overlapped by Another.
This is the bottom of the 2 frames, which doesn’t have much visible surface area, but can add a LOT to the design of a scrapbooking layout.
You can find templates with these overlapping frames by viewing the Templates in the Anna Aspnes Designs store at Oscraps.
Good but obvious options:
- Clip a duplicate copy the photo in the top frame, to the mask layer in the bottom frame
- Remove the second frame altogether (thought the second frame adds visual interest to a layout design.)
Note. There are other options that add interest to the overlapping frames.
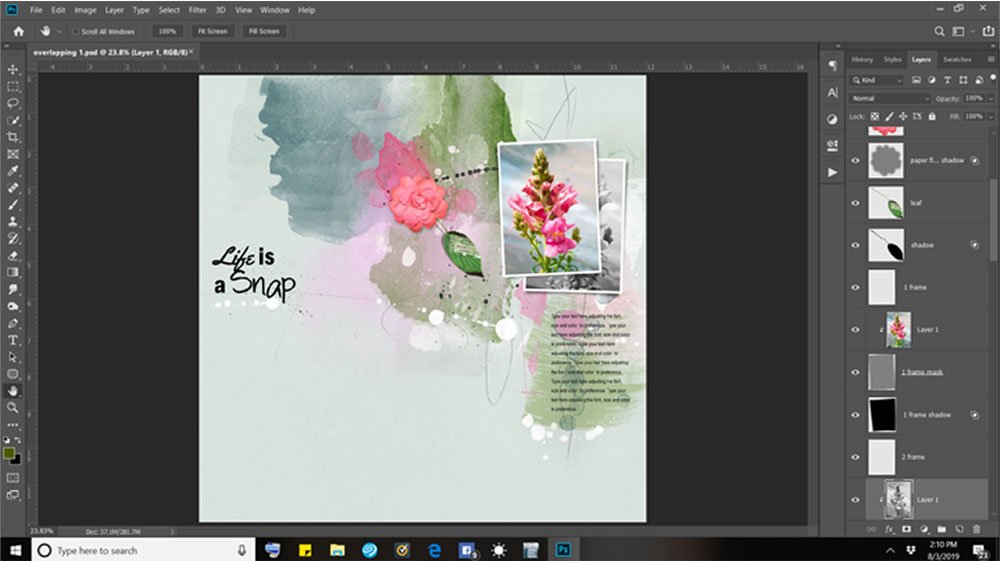
1. Convert Photo to Black and White
Duplicate the photo in the top frame and convert to Black and White for the underlying frame.
This creates visual interest and allows the eye to rest as it moves around the design.
- Press Ctrl/CMD + J on your keyboard to create a COPY layer.
- Move the COPY layer above the bottom frame mask layer in the Layers Panel using the Move Tool from the Tools Panel.
- Clip the photo to the frame mask layer via Layer> Create Clipping Mask.
- Convert photo to black and white with Image> Adjustments> Hue and Saturation.
- Move the Saturation Slider all the way to the left, then click OK.
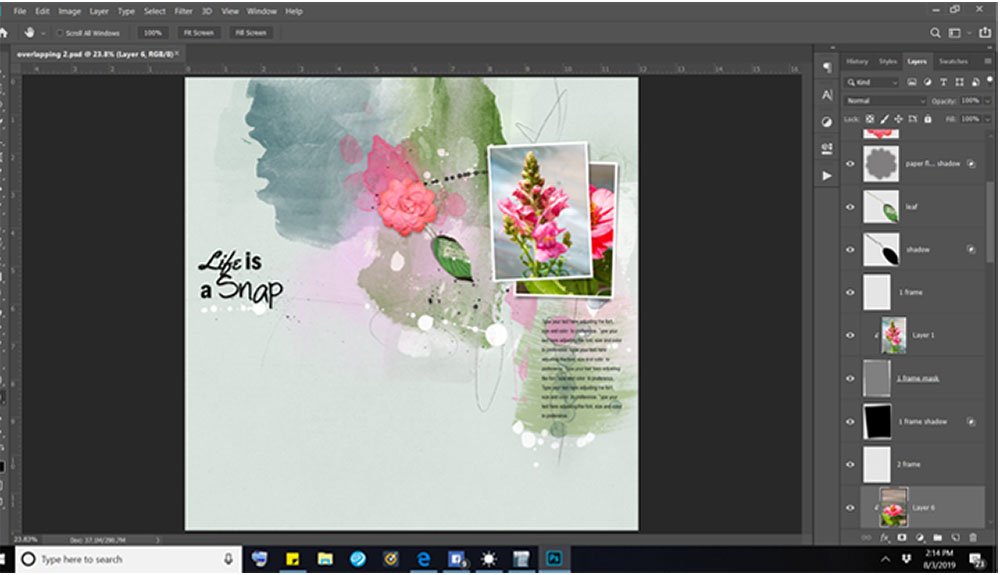
2. Use a Secondary Photo
Identify a photo portraying the same subject to expand on the theme.
This mirrors the effect of a couple of photos laid on top of one another over a flat surface.
- Click on the frame mask layer for this frame.
- Go to File> Open to locate and open another photo.
- and move it onto the page. It should land in the layers just above the mask.
- Clip the photo to the mask with Layer>Create Clipping Mask.
- The mind fills in what cannot be seen so you enhance the story you are telling.
Tip: Select or place the photo in the mask where the most interesting parts of the image are visible, and consider adjusting the crop and orientation of your photo to best fill the frame.
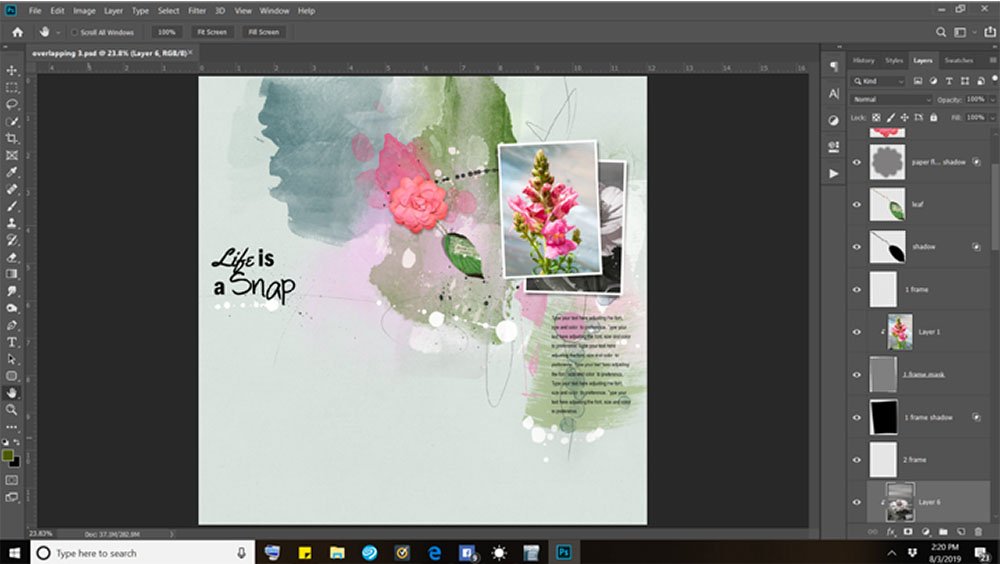
3. Combine Options #1 and #2
Take the photo from Option #2 and convert to Black and White.
This enhances the story with the benefits of a Black and White image.
- Convert the photo to Black and white via Image> Adjustments> Hue and Saturation.
- Move the Saturation Slider all the way to the left, then click OK.
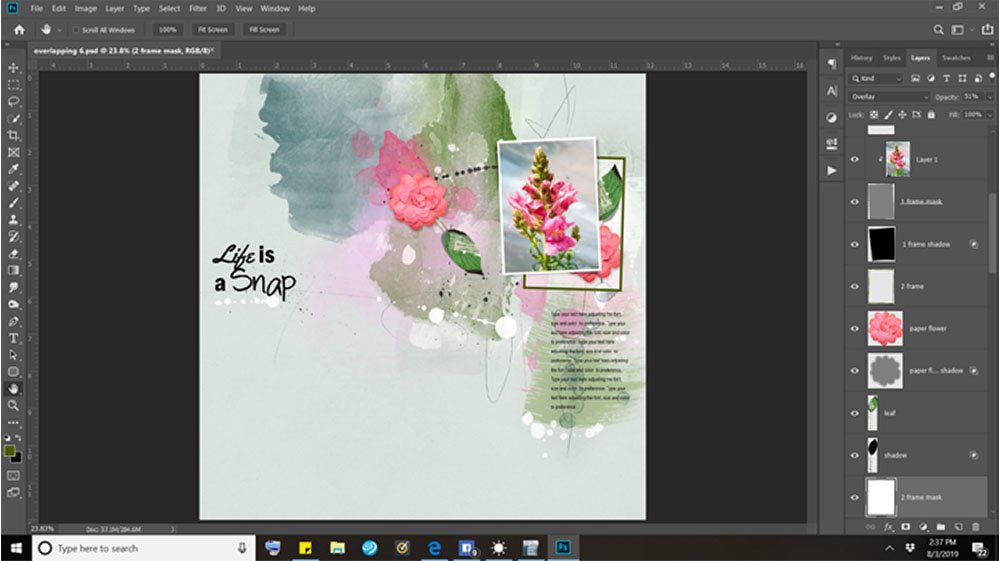
4. Create a Blended Photo Effect
Blend a photo with a (Artsy)Transfer or Artsy Paper within the frame mask layer Clipping Set.
The DigitalART embellishes the mask and the Blending Modes enhance the vibrancy of color in the photo.
- Select the frame layer mask in the Layers Panel.
- File> Open to locate a transfer that has an area to blend a photo.
- Clip the transfer to the frame mask layer via Layer>Create Clipping Mask.
- File> Open to locate a second photo and move it over the frame mask layer and transfer Clipping Set.
- Go to Layer> Create Clipping Mask to add the photo to the Clipping Set.
- Apply the Blending Mode of your choice from the top of the Layers Panel.
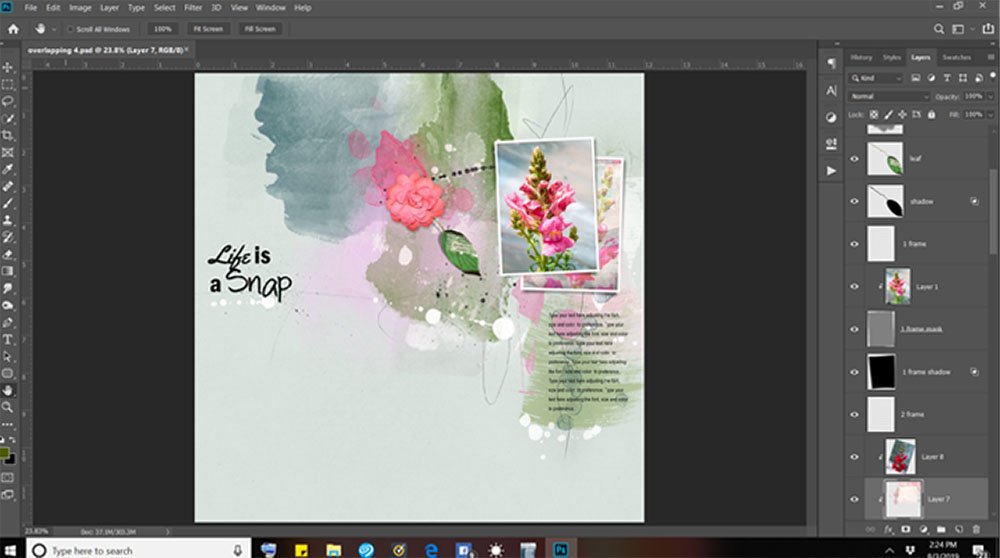
5. Remove Some of the Frame Layers
Delete the frame and shadow layers to create an empty frame effect.
This adds visual interest to the design via the use of LINE.
- Click on the ‘eye’ icon next to the frame or shadow layer in the Layers Panel to remove visibility of each layer.
- Consider recoloring the frame via Edit>Fill.
- Select COLOR from the Contents menu and use the Color Picker, before clicking OK.
Optional: Keep the shadow layer for additional dimension.
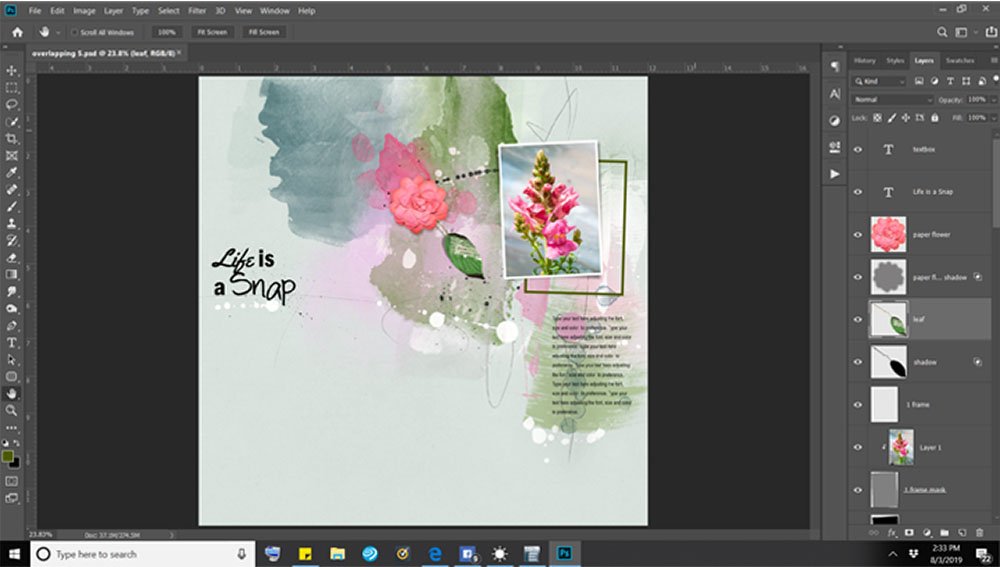
6. Embellish the Frame
Elements peaking out under the upper photo can add interest to your page and also add to the story.
Use elements, such as dimensional embellishments and brushes, enhance your visual storytelling.
- Select the frame mask layer in the Layers Panel.
- File> Open to import your element(s) choice.
- Move the elements onto your layout above the frame mask layer using the Move Tool from the Tools Panel.
- Go to Edit>Fill and select WHITE (or the color of your choice) to recolor the mask, then click OK.
- Adjust the Opacity of the frame mask layer as preferred.
- Experiment by applying Blending Modes to any of the layers.
Try This. You could also mask the frame layer with a Layer Mask and BrushSets.
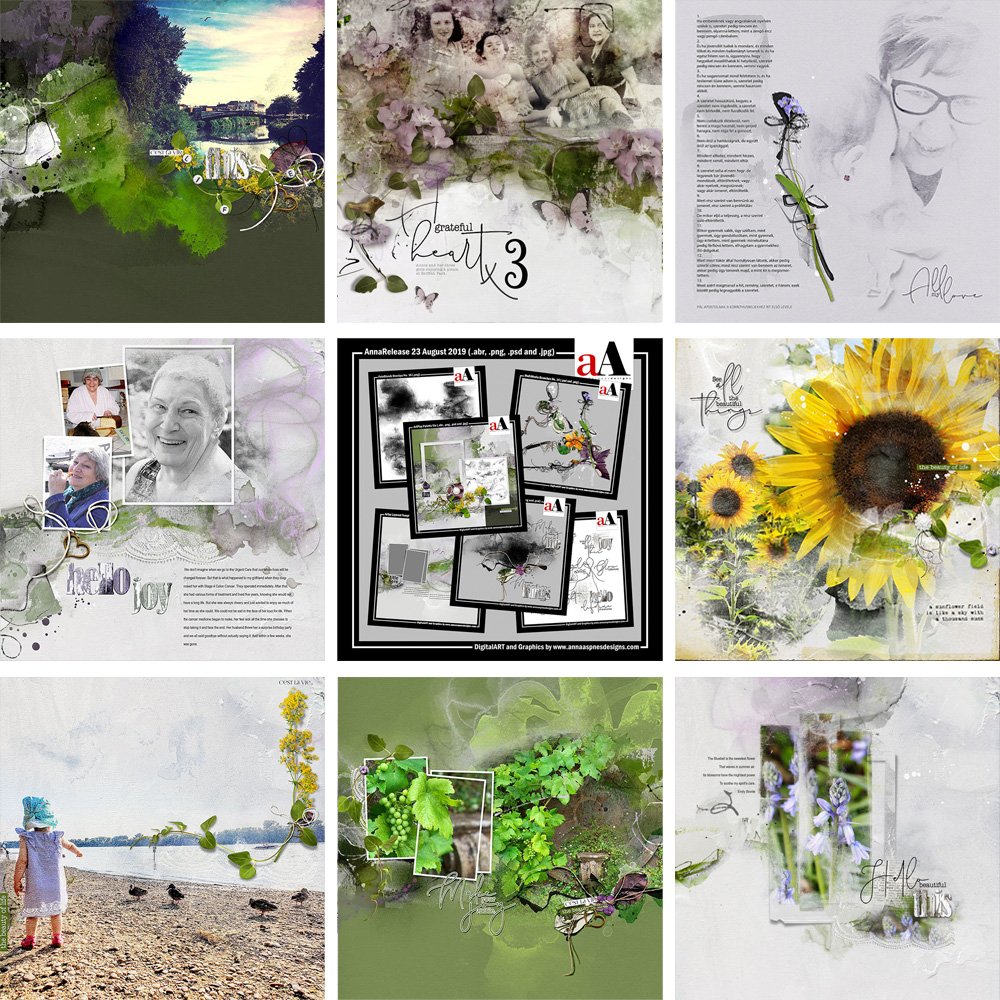
Summary
6 Quick and East Ways to elevate your artistry and artsy digital scrapbooking using overlapping frames.
These options take only a few moments to apply to your layouts.
- Create supporting WHITE SPACE with a Black and White Conversion of the same photo.
- Use a second photo of the same subject to enhance the artistry and visual storytelling.
- Combine a second photo with the Black and White photo conversion option.
- Yield an artsy photo effect using aA DigitalART and Blending Modes.
- Delete one or more of the frame layers to create a different design element.
- Embellish the frame with aA DigitalART to support theme.
Try This: Consider applying your favorite technique and isolate to the frame layers..
We would love to see your pages using one or more of these so please consider posting to the the Anna Aspnes Gallery on Oscraps.
And if you liked this Techniques for Overlapping Frames, please consider sharing it using the social media buttons below.


Thank you Joan, for sharing these excellent ideas…it’s always nice to have several options to have page variety.
What great ideas! So simple, yet visually effective.
Yes! Happy you enjoyed.
Lots of great ideas for layered photos and frames! Loved the beautiful photos used for examples!