
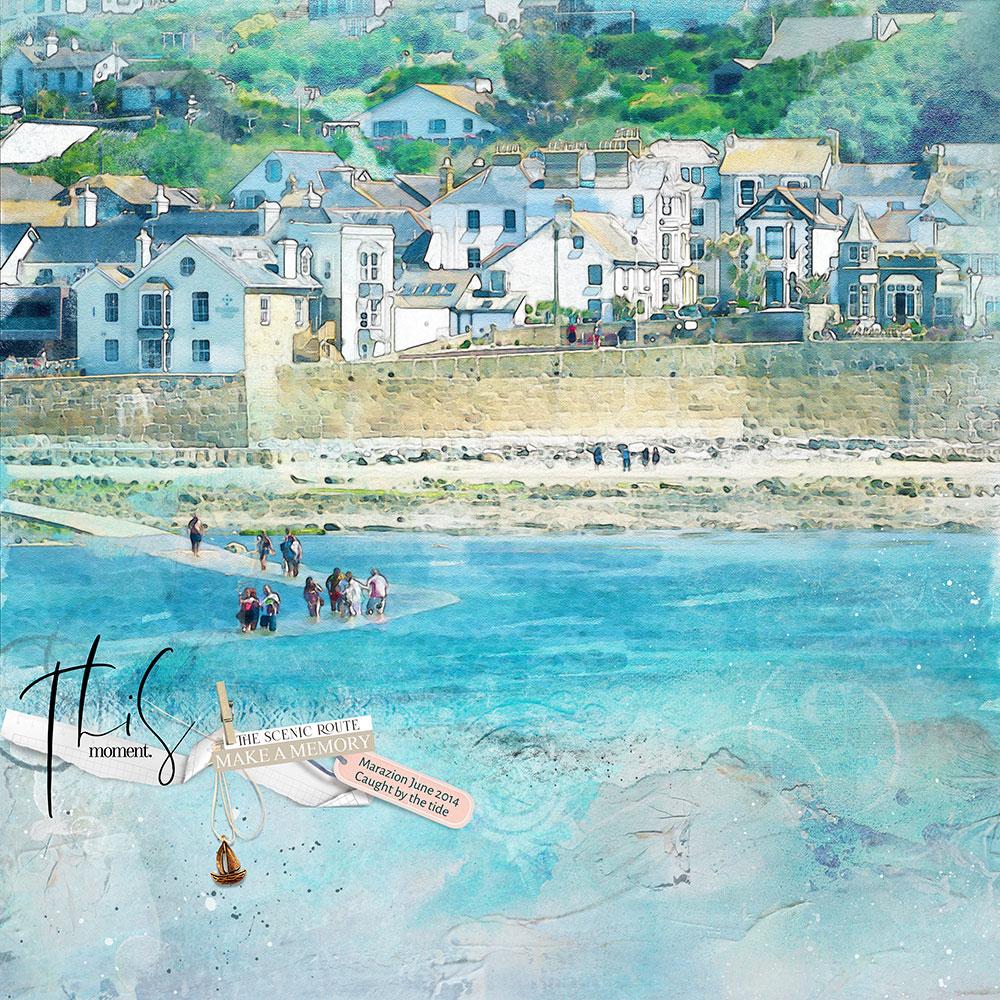
Creative Team Member, Viv Halliwell, shares her techniques to The Best Watercolor Painting Effect.
The Best Watercolor Painting Effect
There are many ways to create a watercolor effect in Photoshop.
I have searched for the best results and I believe I have found the best work around, based on Marty at Blue Lightning’s Youtube Tutorial.
1. Select your photo.
Choose your image carefully.
- This technique works best with a landscape image.
- Select a high definition image with plenty of prominent features and color i.e. buildings seascapes etc.
I wanted my image to be full size.
- Save your photo as a new document and close your original photo.
- Change it’s name to PHOTO .
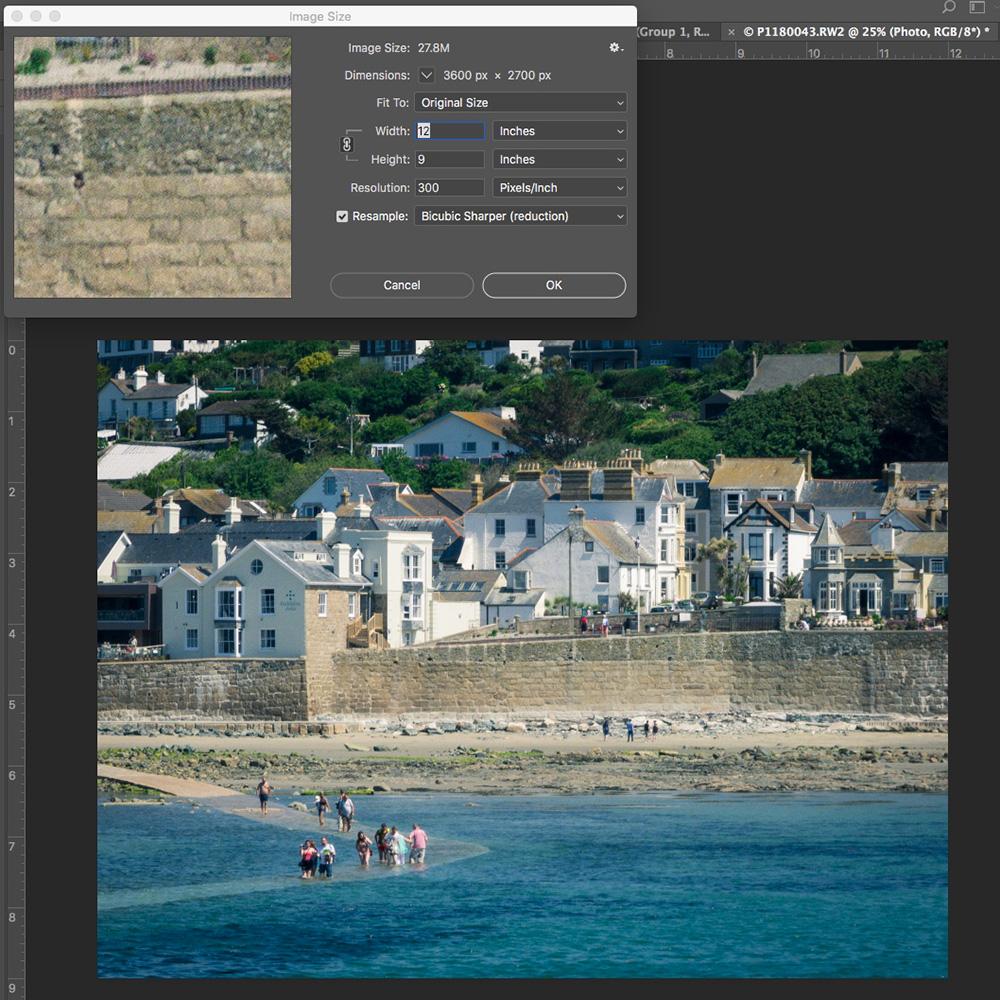
Go to Image > Image Size
I kept my resolution at 300 dpi, and in the top box (pixel dimensions), I changed the width to 12 inches (3600 px) this automatically changed the height to 9 inches (2700 px).
2. Layer Duplication
Duplicate and rename the photo layers.
- Press CTRL/CMD + J twice.
- Name the top layer ‘PENCIL LINES’
- Turn off the visibility of the layer.
3. Add Filters
Apply the Smart Blur Filter.
- Name the middle layer ‘SMART BLUR’
- Go to Filter> Blur> Smart Blur
- I used a Radius of 10, Threshold 30 and Quality High.
Apply the Glowing Edges Filter.
- Turn on the visibility of the ‘PENCIL LINES’ layer in the Layers Panel.
- Go to Filter> Filter Gallery> Stylize> Glowing Edges.
- I chose an Edge Width of 1, Edge Brightness 12, and Smoothness 15.
- ( If you want a sketchy effect increase the edge width and brightness).
- Go to Select> Inverse (CTRL/CMD + I).
- Then Image> Adjustments> Desaturate (SHIFT + CTRL/CMD +U)
- Apply the MULTIPLY Blending Mode at an Opacity of 80%.
5. Add BrushWork
Use brushes and Blending Modes on duplicate layer to a create visual interest.
Apply Color Dodge to a Copy Layer:
- Select the ‘SMART BLUR’ layer in the Layers Panel.
- Duplicate the layer to create a copy (CTRL/CMD +J).
- Rename the layer ‘BRUSH’.
- Invert (CTRL/CMD + I) the layer.
- Change the Blending Mode to Color Dodge.
Load Legacy Brushes:
- Go to your brush library and load the original PS brushes (Legacy brushes).
- To access , open the Brush Panel and click on the gear icon (top right) to activate the fly-out menu.
- Select Legacy Brushes.
Apply Dry Brush:
- Choose the DRY BRUSH with an Opacity of 10% and reduce the Flow to about 50%.
- Brush lightly and randomly all over your image.
Apply Wet Media Brush:
- Select the WET MEDIA from the Legacy Brushes
- Choose WATERCOLOR TEXTURE SURFACE at 50% Opacity and Flow.
- Lightly brush all over your image – You will find if you over-brush, you will get a really authentic watercolor look.
6. Refine Watercolor Effect
Add color:
- Go to Image> Adjustments> Vibrance
- Move the slider to the far right.
Add Texture:
- Go to Filter> Filter Gallery> Texturizer
- Choose Sandstone: Scaling 100%, Relief either 2 or 3, Light from the top.
Merge Layers:
- Go to Layer> Merge Visible, or create a composite (CMD+ALT+OPT+ SHIFT +E).
- Move merged or composite layer to a New Document.
- I created a 12 x 12 layout at 300 dpi document to continue the artistry.
7. Blend with DigitalART
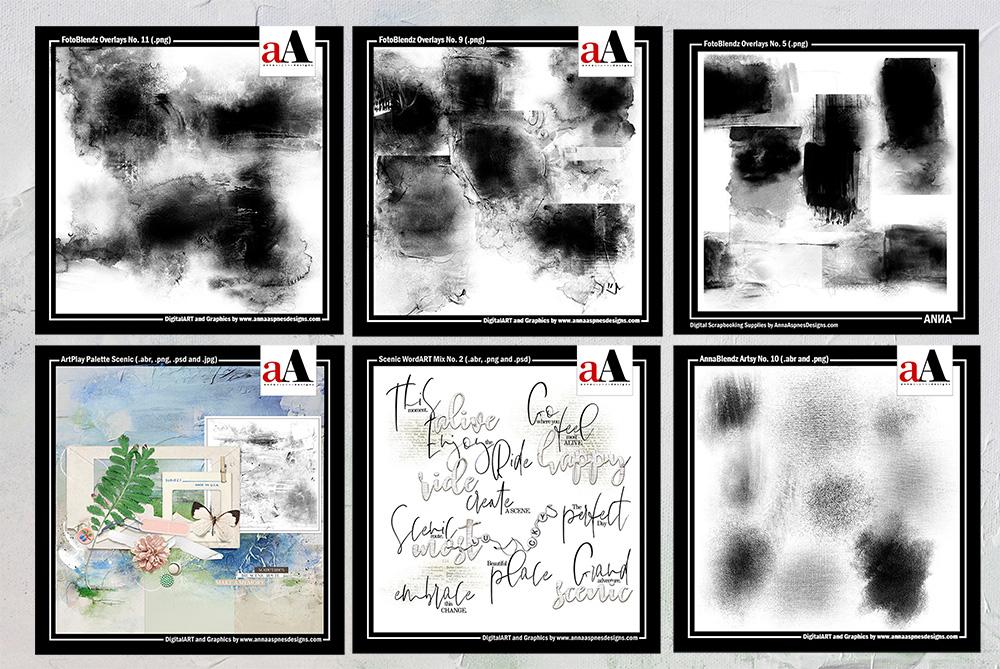
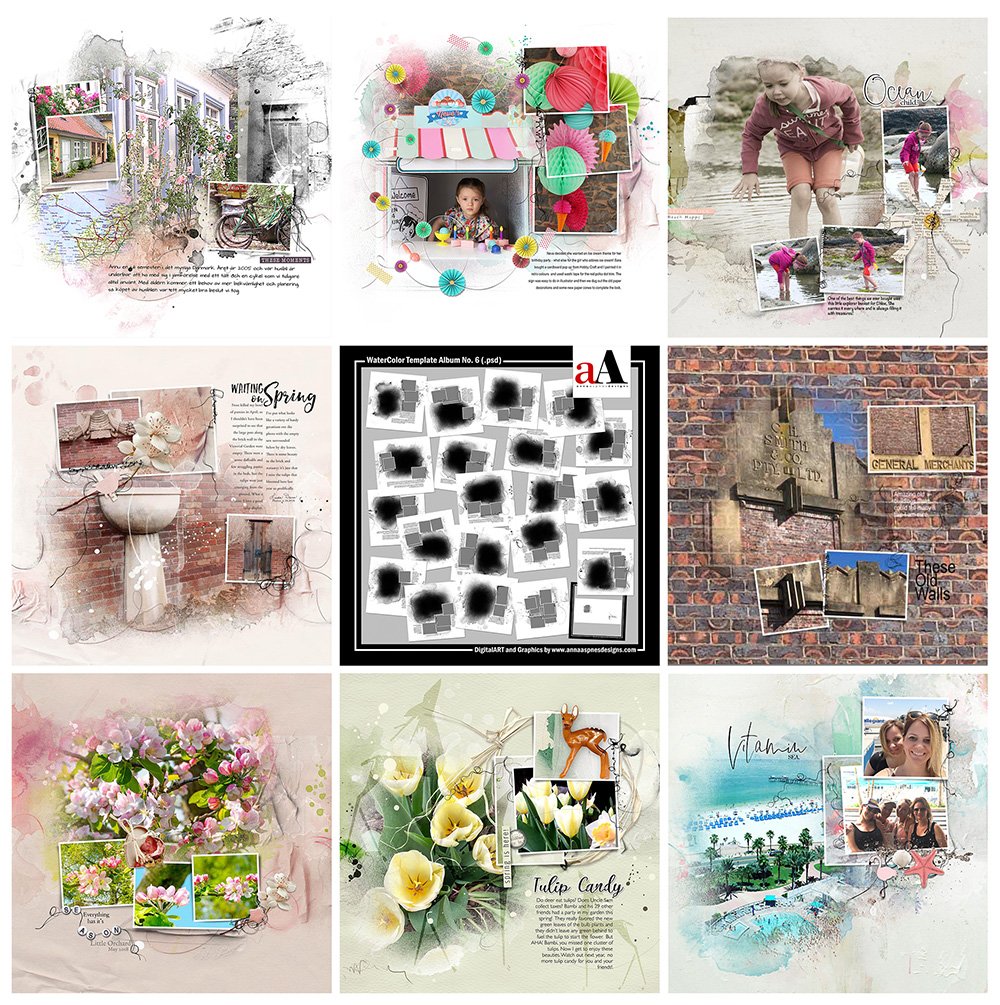
The Best Watercolor Painting Effect then use a variety of DigitalART supplies to create artistry:
- Select Artsy Paper from the ArtPlay Palette Scenic.
- Open, move and place ‘painting’ onto the Artsy Paper foundation.
- Duplicate the image 4 times and turned off the visibility of the layers in the Layers Panel.
- Open and randomly position multiple FotoBlendz Overlays, each on a different areas of your canvas, and beneath each of the ‘painting’ layers.
- Turn on the visibility of the duplicate layers and clip each one to a FotoBlendz Overlays using the Clipping Mask Function in Photoshop.
- I duplicated each image one more time, to create 2 layers in the Clipping Set, and applied a Darken Blending Mode to the copy layers.
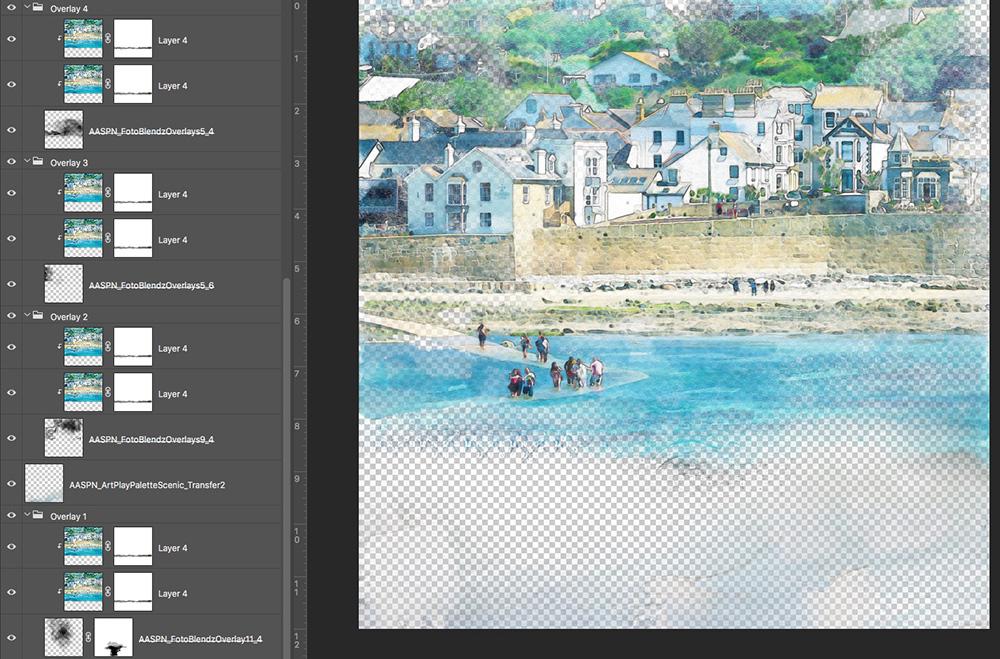
- Transfers were added from ArtPlay Palette Scenic to blend the hard edge of the photo and to add texture.
- Finally, I added WordART, an ArtStroke, elements and a title onto the little tag.
DigitalART Supplies:
Click on the image to access complete list of supplies.
 Try This:
Create the Best Watercolor Painting Effect of your own.
Have even more fun with this technique by modifying as preferred:
- Experiment with different BLending Modes.
- Apply different Filters or change the properties of the filters in the Filter Gallery.
- Vary the brushes you use to apply visual interest.
- Select various DigitalART supplies.






Hi Lindy:
I wanted to try it with Photoshop Elements 18, but realized right away that I don’t have Legacy brushes. That stopped me in my tracks. Any idea what would substitute? Thanks.
Judy DeWitt
Hi Judy,
You could try using some of the AnnaBlendz Artsy or ArtPlay Palette brushes at a very small size – Anna.
While looking for your Brushes Class I happened upon this post and immediately fell in love with the kit which I immediately purchased…I LOVE watercolors…Anna – I truly believe you now hold the second mortgage on my home – that’s how many Anna Aspnes kits and classes I have…you’re the best!
Thanks Elaine for your kind words about my designs. Appreciate you stopping by and letting me know.
After using glowing edges filter my inverse is grayed out. Can’t figure it out???
Hi Joan sorry you are struggling. This is an updated youtube of the technique I used in the tutorial.
https://youtu.be/WZPD21hhH0c
It’s really important to follow the steps in order and rename your layers. It took me quite a few tries before I ‘got’ it! If you need more help send me an email vivmhalliwell@icloud.com
After I use the glowing edges and click ok it does not allow me to select inverse any thoughts??
Hi Joan I’ll get back to you with a full follow up, time difference in uk can be a pain!!!
I’m not clear – during Steps 5 and 6, is everything applied to the layer that we have labeled “brush”?
Hi there
Yes you are correct you apply all the brush work to the brush layer after you have applied the inversion and the colour dodge blending mode. Here is an updated link to the YouTube video I based my tutorial on. https://youtu.be/WZPD21hhH0c I hope that helps