

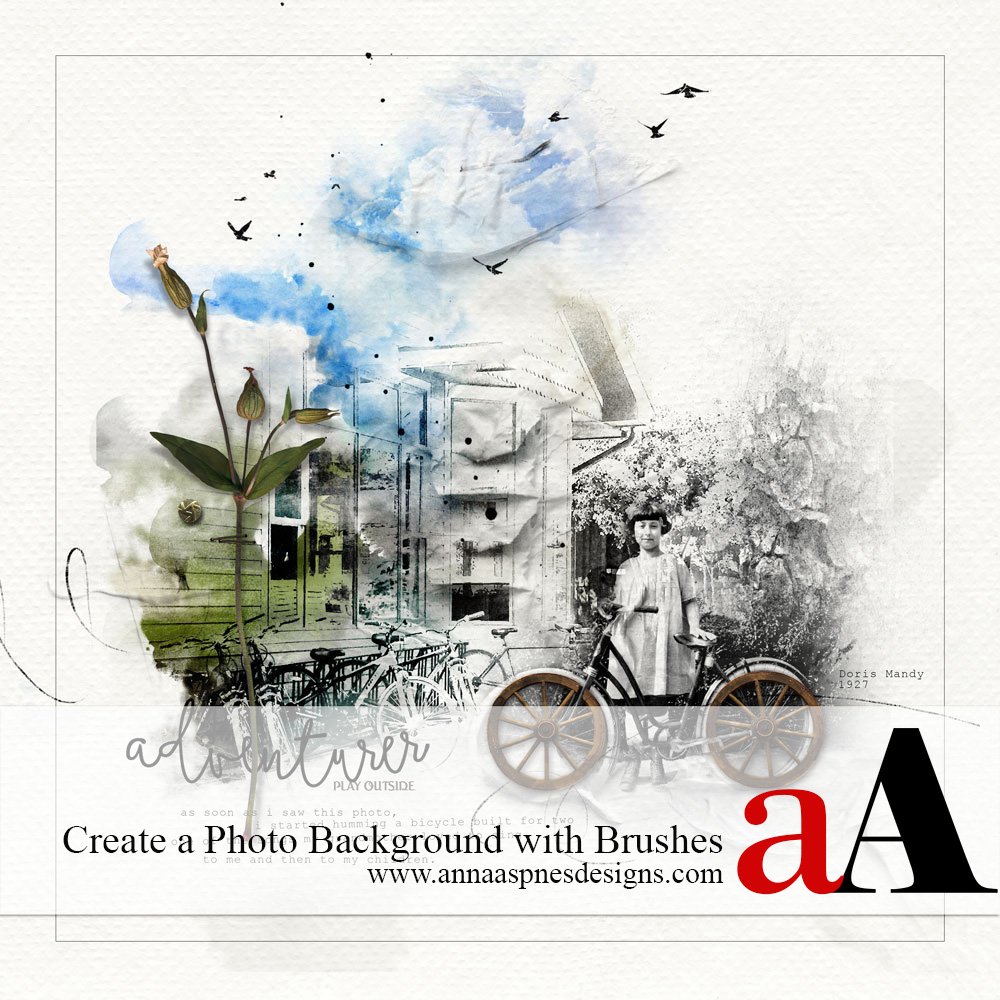
Creative Team Member, Adyrane, shows us how to create a new background for an old photo using brushes in Adobe Photoshop.

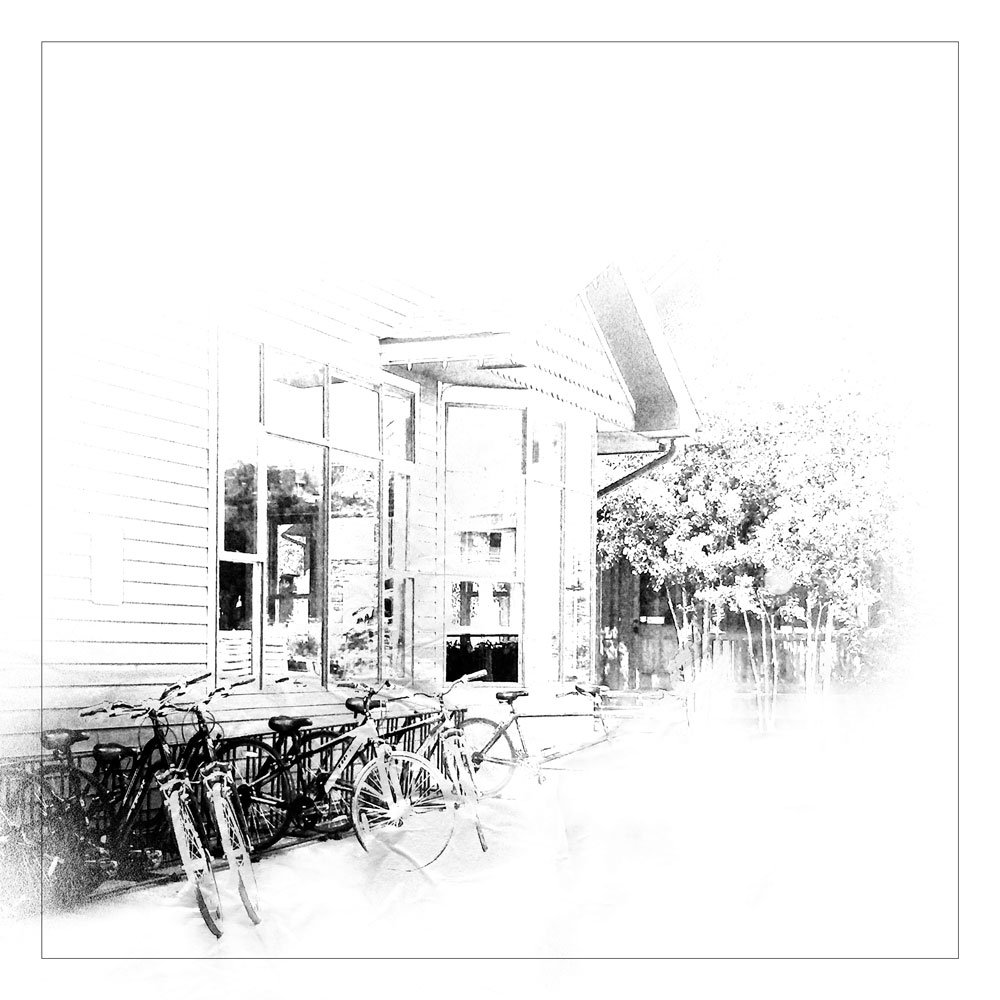
1. Choose a Brush. Choose a brush that has elements that will blend with your photo. Here, I chose Brush No.6 from ArtPlay Palette Mountain High because of the bikes in the foreground and the foliage off to the right of the building. Stamp the brush on a new layer. Note: It is easier to work on a larger scale when you are creating this type of page, then reduce the size when you are happy with your result.
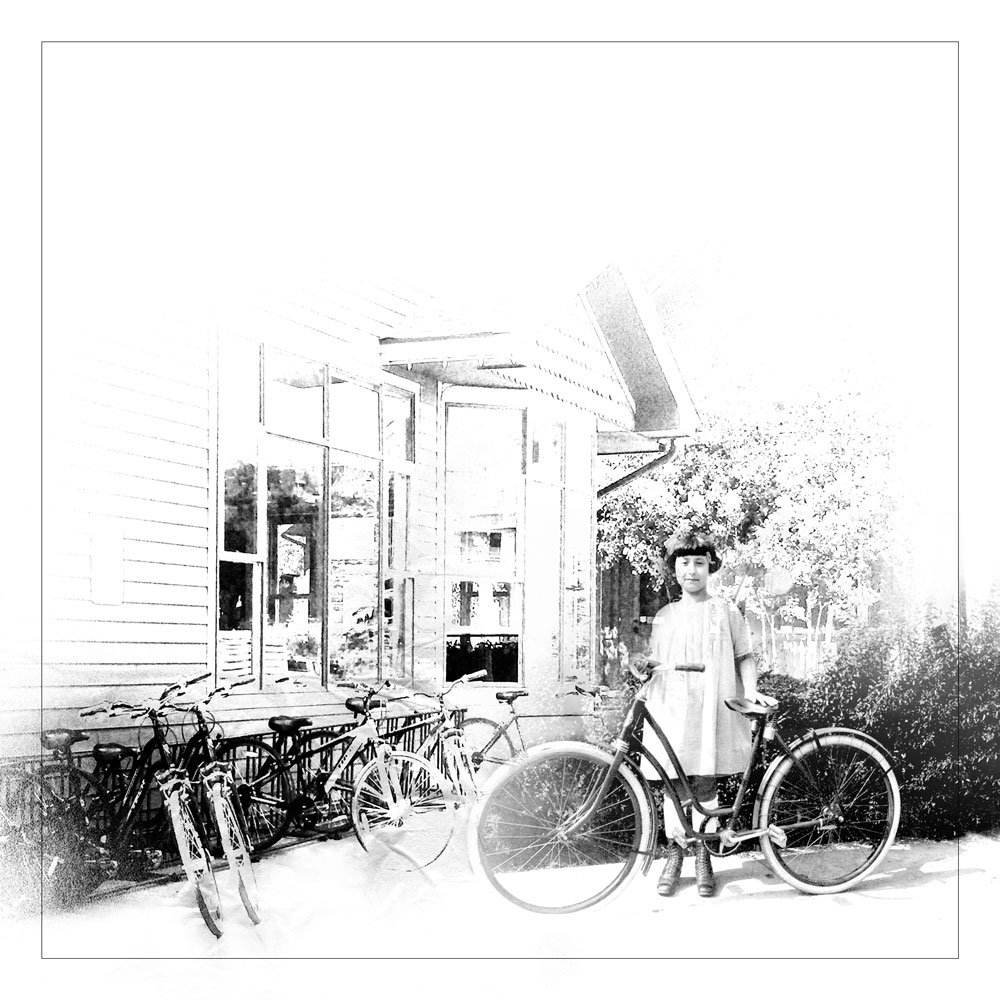
2. Place your Photo. Place your photo on a layer above the brush layer. Select a Blending Mode for your photo of either Darken or Multiply. You can always change the Blending Mode on the photo as you work. Position your photo and erase or blend out the edges until your image looks like it is part of your background brush. Here, most of the background above my grandmother’s left elbow was masked out of the original photo.
3. Add Texture. Add texture to your image for interest. Here, TapedTextures were added to the building around the windows, to the clouds, and to the foreground under the wheels of my grandmother’s bike. WoodTextures were added to the foliage.
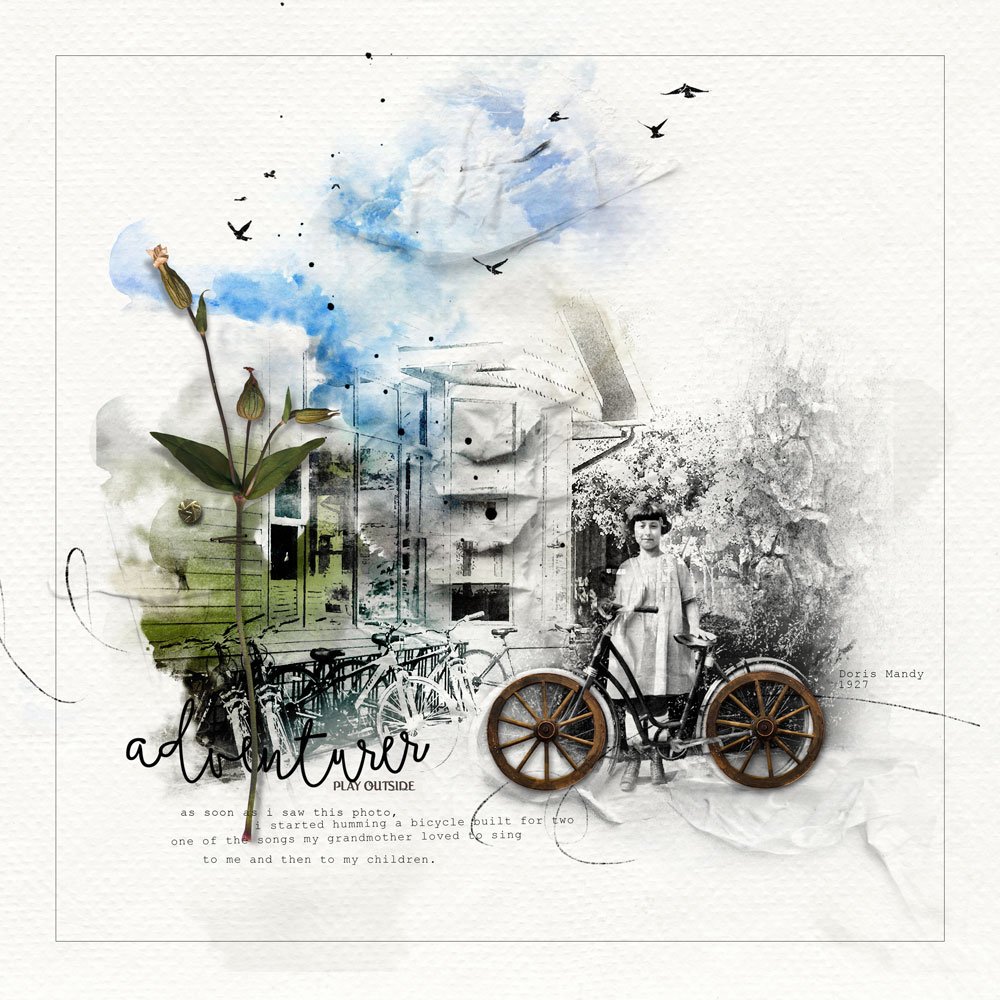
Click on the above photo for additional process notes and a list of supplies used.


Great tutorial..unlimited possibilities..thanks Adryane
thank you, Pam 🙂
Thanks for sharing, Adryane! I’ll see what I can make of it and credit you back. Many thanks.
i know you will create something wonderful 🙂
Beautiful brush blending with that wonderful heritage photo. Love the architect. Thanks for the tut,
thank you, and you’re welcome 🙂
Wonderful tutorial, Adryane. Love that page or you grandma. So cool how you used the brush and placed your photo on it. Gives such a special effect. It makes me look to brushes differently. Thanks for sharing 🙂
Monique
thank you, Monique 🙂
I love the ways you used to get texture for certain objects! Very nice! Thank you!