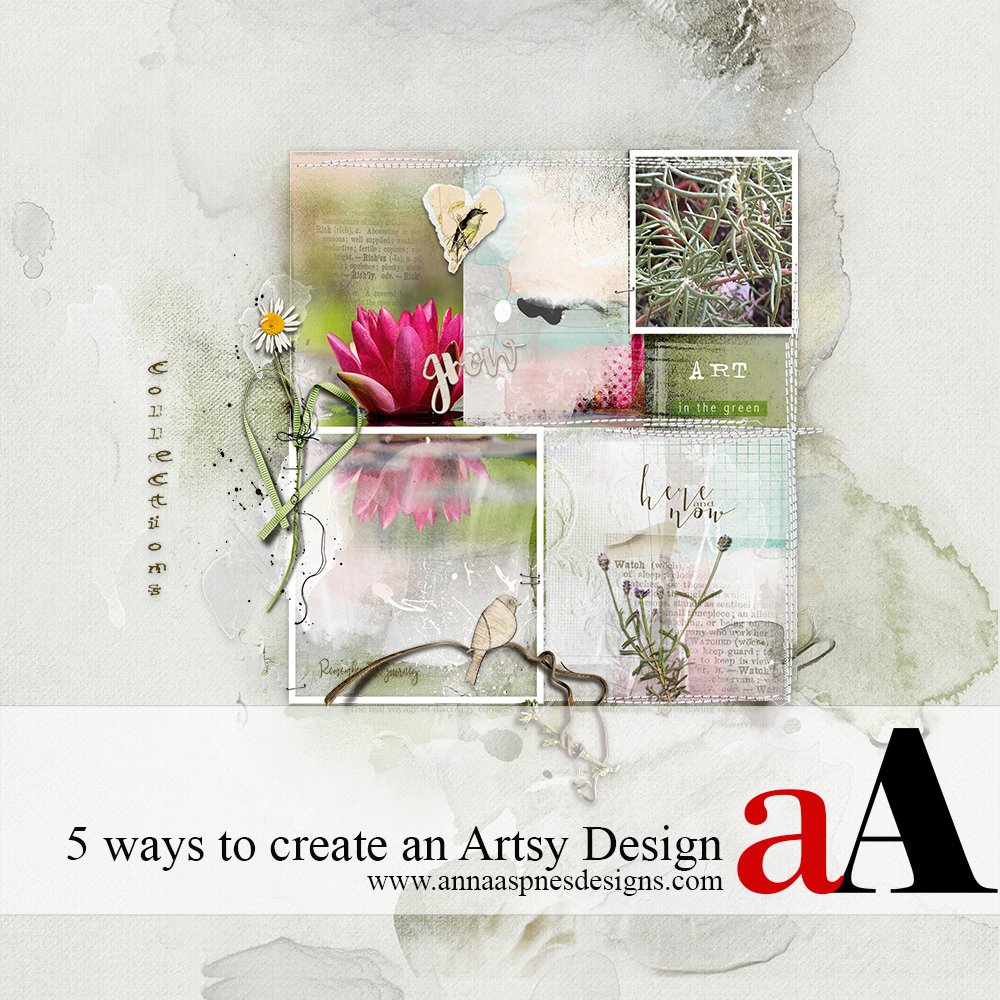
Special guest Artist, Pam Parmer, shares her process for 5 Ways to Create an Artsy Digital Scrapbooking Design with Anna Aspnes Designs.
Big thanks to Pam for allowing us to share her artistry.

My approach to creating a successful artsy digital scrapbooking design combines experimentation with some of my favorite digital artistry techniques. I use aA Digital Products for the most part and enjoy the artsy digital scrapbooking inspiration posted in the aA gallery.
Garden themes are one of my most fierce passions and so I like to present this in my artsy digital scrapbooking layout designs.
Below you you will find 5 ways to create an artsy digital scrapbooking design using FotoInspired Templates and aA Digital Products to create a series of digital artistry or scrapbooking layouts about my garden.
5 Ways to Create an Artsy Digital Scrapbooking Design
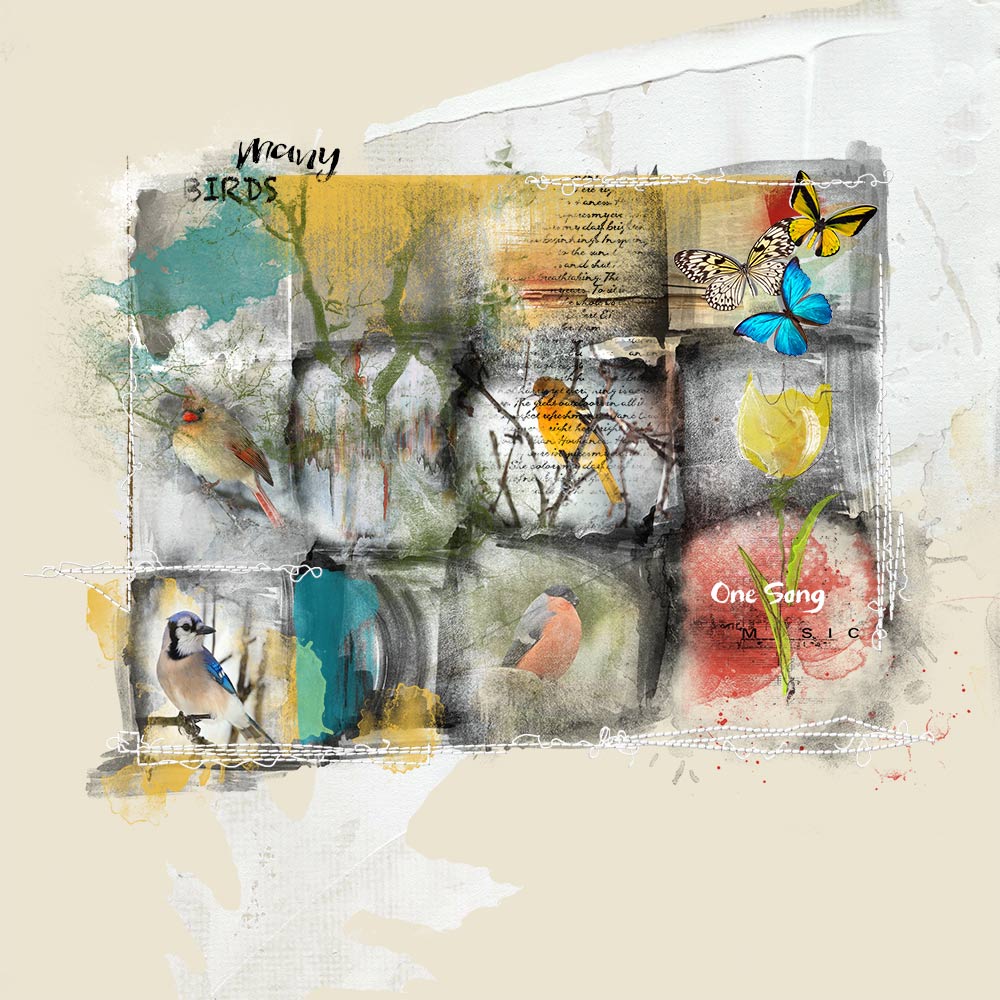
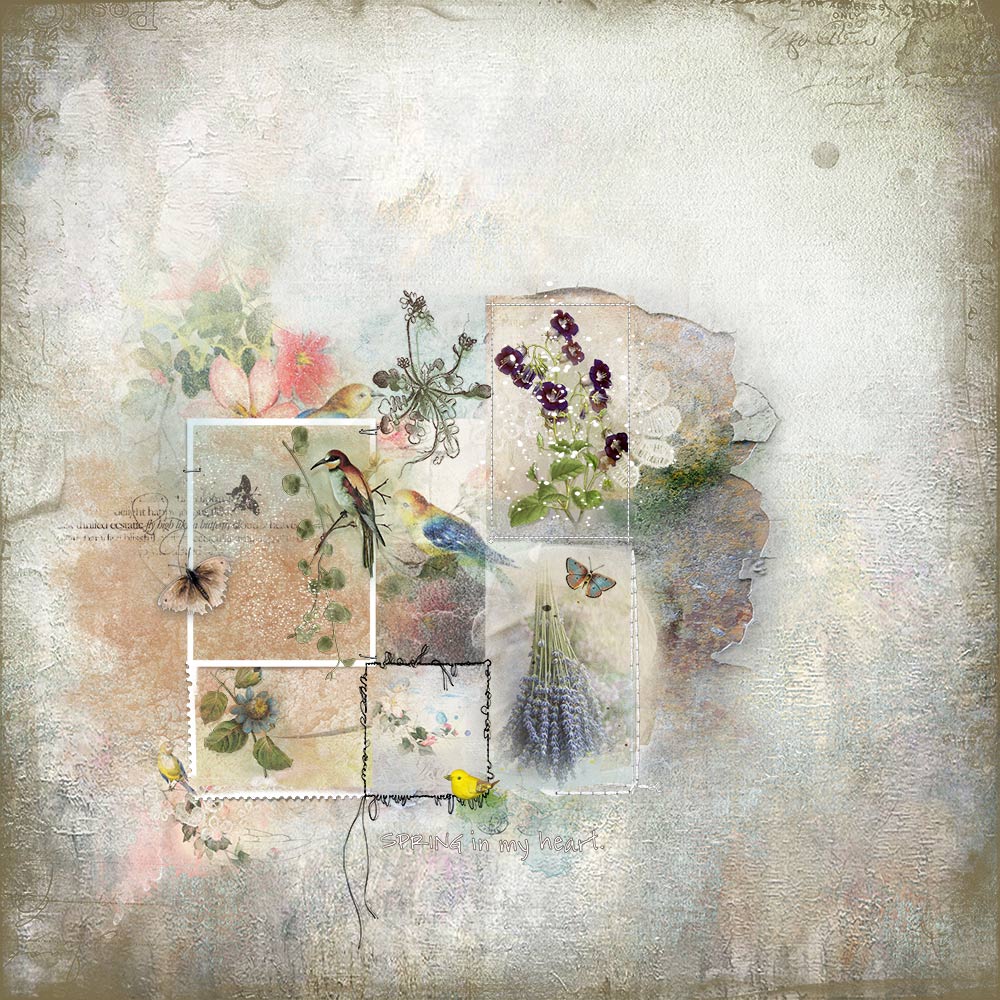
1. Framing. Overlapping frames divides the canvas into smaller areas making it much easier to create the artsy digital scrapbooking layout, while providing visual interest to the design. Each segment can be filled with artsy digital scrapbooking supplies such as a photo, embellishment, clipping mask, WordArt, your own journaling, or a even a combination of these elements.
The divided areas of the artsy digital scrapbooking layout may or may not be defined, depending on your preference. Element can extend or be placed in a space to an adjacent area of the layout.
Applying Drop Shadow Layer Styles (Layer> Layer Styles> Drop Shadows (Photoshop) or Layer> Style Settings> Drop Shadows (Elements) to frames, and adhering them to the artsy digital scrapbooking layout with stitching, is one of my favorite techniques . This forms a focal point in the design, highlighting a specific area in the page.
You can also adjust the placement of the frame layers in the Layers panel by moving them up/down the layers stack. When you drag a layer beneath a number of element layers you can create a spill-over effect in your artsy digital scrapbooking design.
Aim to create variation, by using frames in some segments while leaving ‘white space’ or more organic areas of design in others. This creates visual interest in your digital artistry layouts.
2. FotoInspired Templates. Using FotoInspired Templates can be a fantastic starting point to any artsy digital scrapbooking design. You can modify and adjust just one or multiple layers. Turn off the visibility of any of the layers or move any of the layers to create your own custom design. Experiment by changing the color, size, rotation, shape, Opacity or Blending Mode of one or more layers.
Open a FotoInspired Template into your work space and then clip images to the mask layers using the ‘clipping mask function‘ in Adobe Photoshop and Elements, before rearranging, resizing and/or recoloring some of the other layers.
You can blend a photo into a digital paper using a clipping mask or by applying a Layer Mask and using brushes, before adding a selection of FotoInspired Template layers to your artsy digital scrapbooking design. Try blending multiple artsy and solid papers to form a unique background for you layout.
I like to create a composite layer of the completed template portion of my design. Turn off the visibility of the layers you do not want to include in the Layers panel, then press SHIFT + CTRL/CMD + ALT/OPT + E. This creates a duplicate merged copy of all the original layers in the Layers panel, so that you can go back and work on the individual layers at any time.
Note that this technique is preferable to the Layer> Merge Layers option which incorporates the original layers into the merged single layer, yielding less flexibility in the artsy digital scrapbooking design process.
You can now duplicate, mask, resize, apply Filters or Blending Modes to composite layer, as preferred.
3. Stitching. Stamp or move stitching from UrbanStitchez/Threadz to align and support the edges of the frames. This approach creates depth in your artsy digital scrapbooking design via the subtle dimension in these elements, drawing the eye to areas of your layout.
Experiment with a variety of sizes, combinations and placement. You will quickly learn what works best for you as you play with these element.
Try framing your entire template with stitching or use some random places within the ‘grid’ that you have created. I also like to stitching over elements to give the impression that the stitching is adhering the embellishments to the page.
Stitching placed on layers behind frame or element layers, lower down the Layers panel, can look like they are ‘peeking’ out from behind one of these embellishments.
4. Brushwork & Paint. Paint & Brushes add depth and visual interest in artsy digital scrapbooking design. Use them to blur or hide the edges of a frame grid to smooth transitions and contribute to the ‘artsy’ in your digital scrapbooking design.
You can also stamp brushes on a New Layer (File> New Layer) using the Paint Brush tool from the Tools panel. Create a New Layer for each brush stroke to provide greater flexibility for modifying your artsy digital scrapbooking design if needed.
Stamp or paint with a brush with reduced opacity on top of embellishment or photo to tone down the vibrancy or sharpness of that element.
You can also use brushes to encircle, emphasize and draw the area to an area of interest in your artsy digital scrapbooking design.
I have just taken the magnificent aAdvanced Brushes in Adobe Photoshop which explains everything you need to know about brushes and how to use them in your designs. This class will be offered as a self-paced class at Anna Aspnes Designs later this year. In the meantime, you can email classes@annaaspnesdesigns.com for further information on joining the class now.
5. Embellishments. Position Embellishment on your to create depth, to draw focus and transcend boundaries in your artsy digital scrapbooking designs. The non uniform nature of curved elements creates Tension through the contrast between the linear and more organic lines in your layout.
Place your elements in Visual Triangles around the canvas to lead and move the eye around any artsy digital scrapbooking design. You can also group these in threes to up artsy and create further visual interest in your pages.
I like to apply Stitching, BrushSets and MultiMedia elements to draw the eye to a specific area of my page and create visual interest. Don’t be afraid to add other technique into your artsy digital scrapbooking techniques to increase the complexity of your pages. You can adjust the Opacity slider, change the Blending Modes of any layer, or apply Color Adjustment Layers to your elements.
Pam encourages you to experiment, resize, recolor, reposition, delete, erase,and most of all have some fun, in creating you own unique digital art.
Being unpredictable in your artsy digital scrapbooking design techniques, taking risks and stepping outside your comfort zone every so often, builds confidence and enables you to elevate your artistry.
Post your layouts using these 5 Ways to Create an Artsy Digital Scrapbooking Design ideas in the gallery. And if you like this post, please help us help you by sharing it with your digital friends.


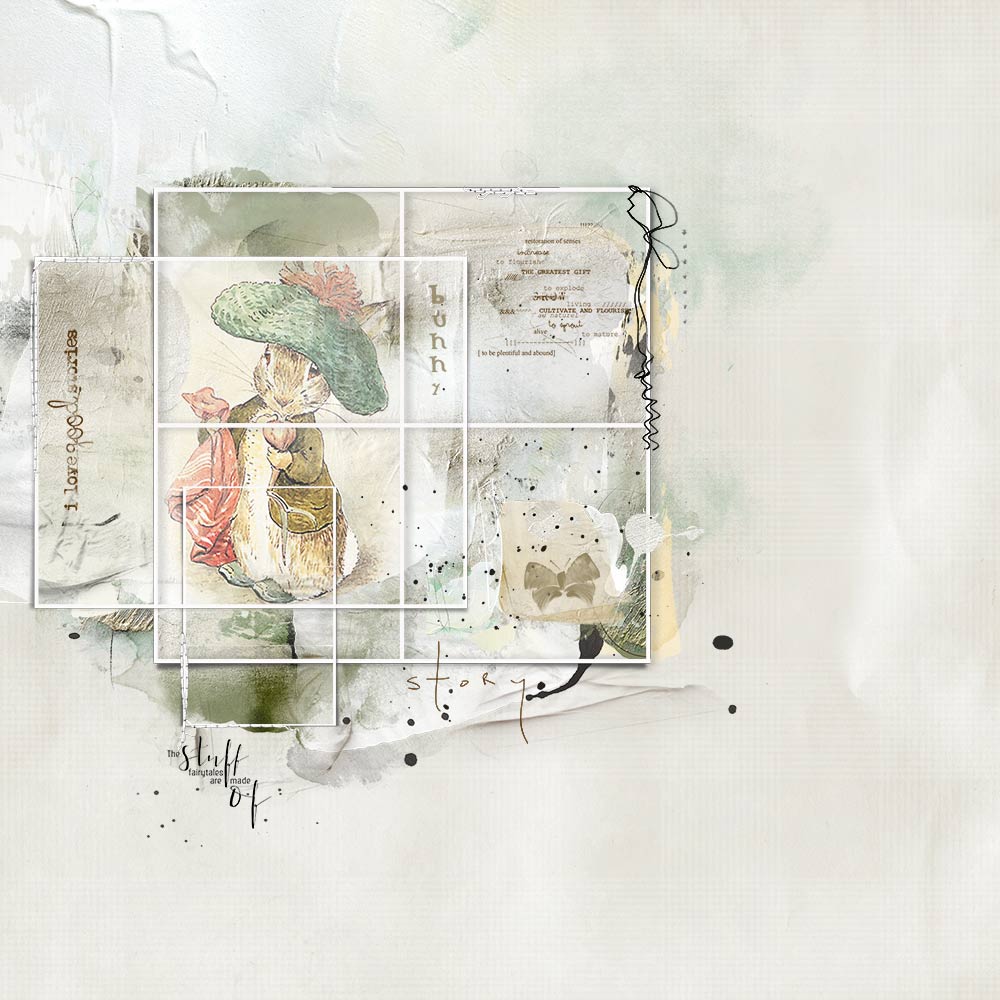
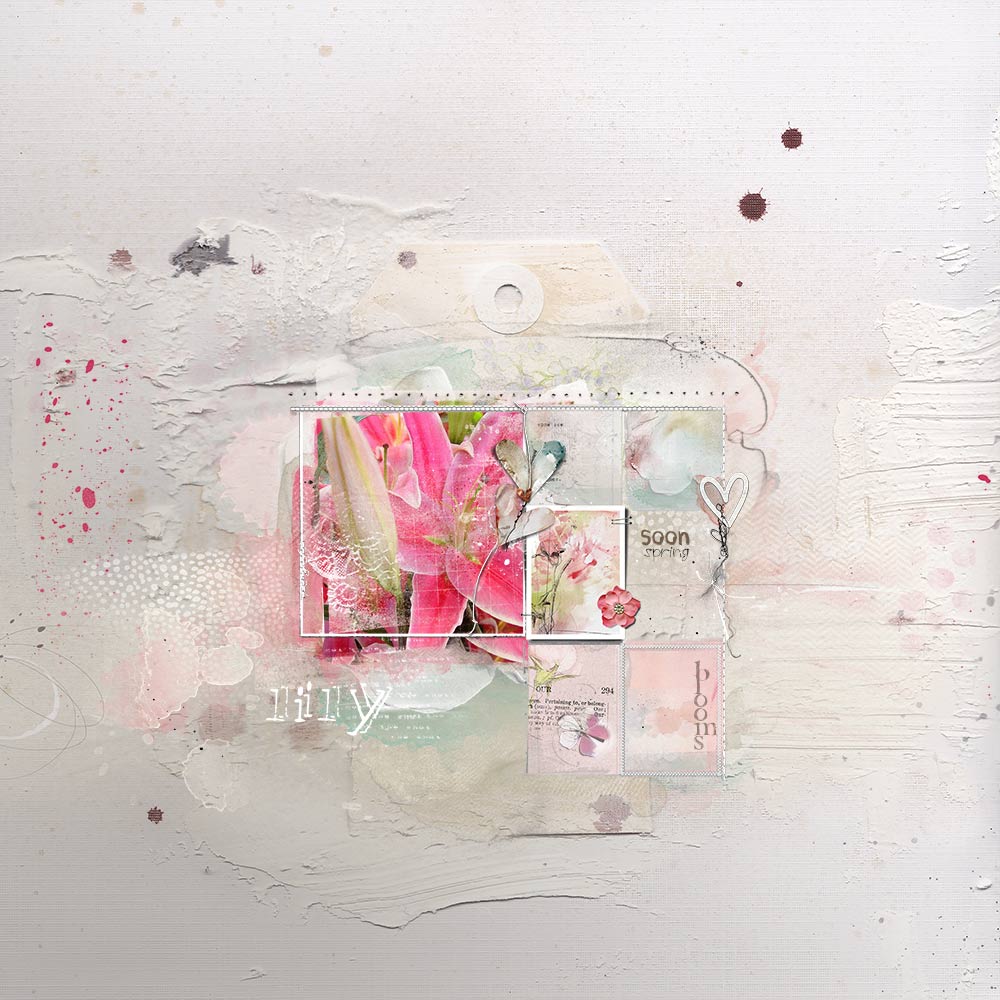
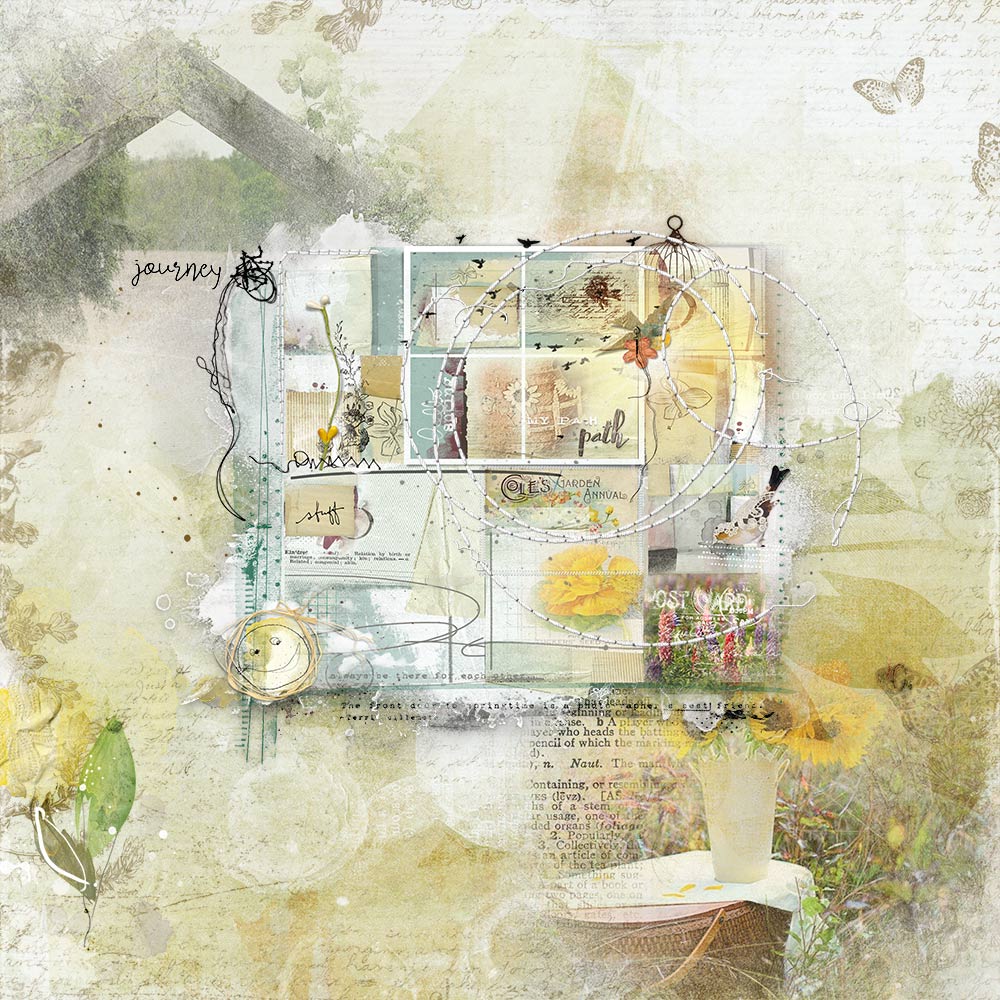




I enjoyed your article, Pam. You have wonderful ideas for creating interest and depth in digital art. Beautiful choices from your gallery!!
Pam, these layouts are stunning! Full of softness, layers of lovely elements, brushes, and more. Oh my, you stole my heart with Benjamin Bunny. Thank you so much for sharing this wealth of techniques, ideas and inspiration. Thank you Anna for hosting your lovely creative team members along with yourself!
Thanks for sharing your artistry, tips and techniques, Pam. Your work is always stunning!
I enjoyed reading about your art process. Your work is beautiful and very unique!
Great article, Pam. You know I love your work!
Nice tutorial Pam, beautiful pages and great master pieces from you and Anna. Ann
Great article and beautiful work. Would you mind telling me which photo templates you used for the framing part?? I would really appreciate that.
Pam used mixed and matched layers from following FotoInspired DoublePage Templates to create her layouts:
32,39,40,41,51,53
You can find all FotoInspired product in the Project 365/Life category of the Anna Aspnes Designs store.
http://www.oscraps.com/shop/Anna-Aspnes-Designs-c-383/