

Today, I’m sharing 7 Ways to Use ArtsyKardz.
We’re switching up the usual ArtsyInspiration post with the return of ArtsyKardz in the Anna Aspnes Designs store at Oscraps.
Click on the images below to access complete list of aA DigitalART Supplies and process notes.
7 Ways to Use ArtsyKardz
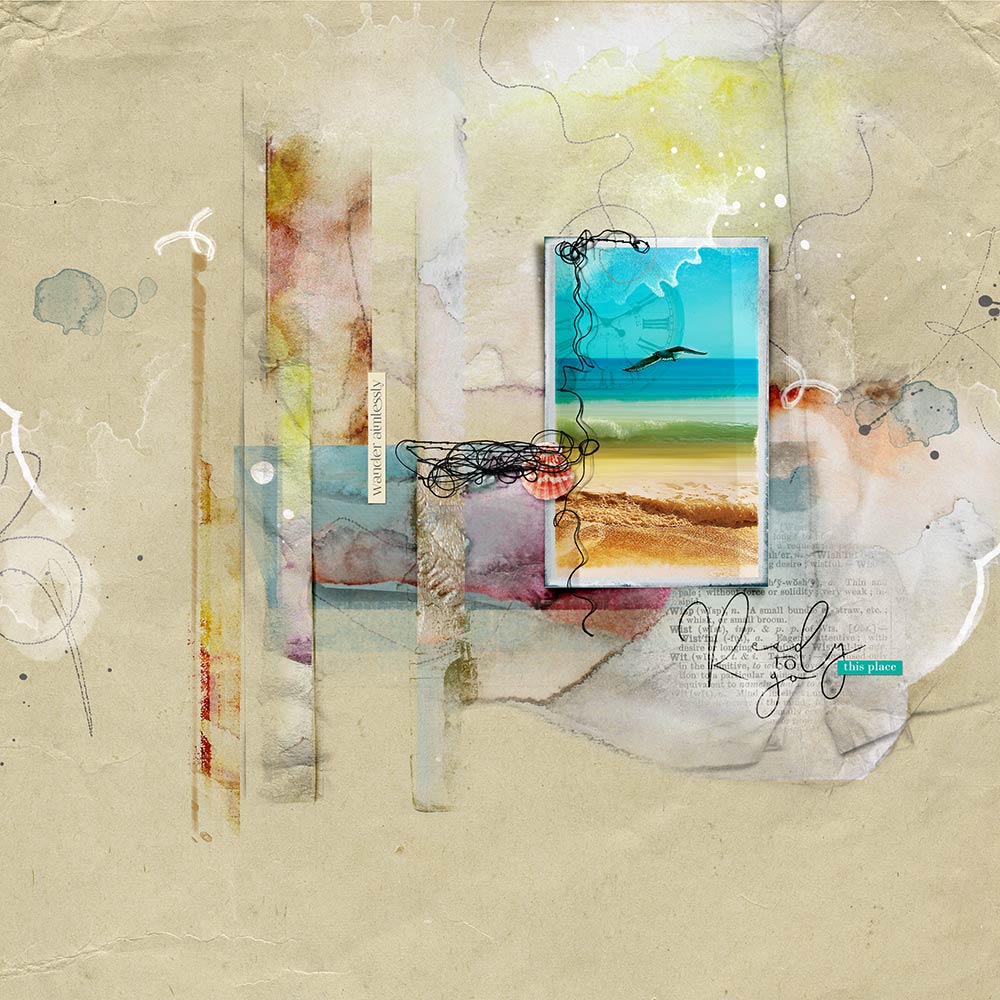
1. Blend with Photos
Add a Photo to the ArtsyKardz Layer Stack.
- Move the photo up and down the Layers Panel to find best position for your image.
- Clip to one of the ArtsyKardz layers – Merge one or more layers as preferred.
- Introduce a FotoBlendz Clipping Mask to blend your photo.
- Mask your photo using a Layer Mask and Brushes.
- Apply Blending Modes to the photo layer.

Love this Place | Margo
2. ArtsyKardz with Frames
Clip to a Frame from an ArtPlay Palette, Template or Element Pack.
- Open the .jpg or .psd file from ArtsyKardz element pack of your choice.
- Move and clip the layer(s) to the ‘mask’ layer in the frame.
- RESIZE and/or ROTATE as needed to best fill the frame.
- Modify the ArtsyKardz layers as preferred.
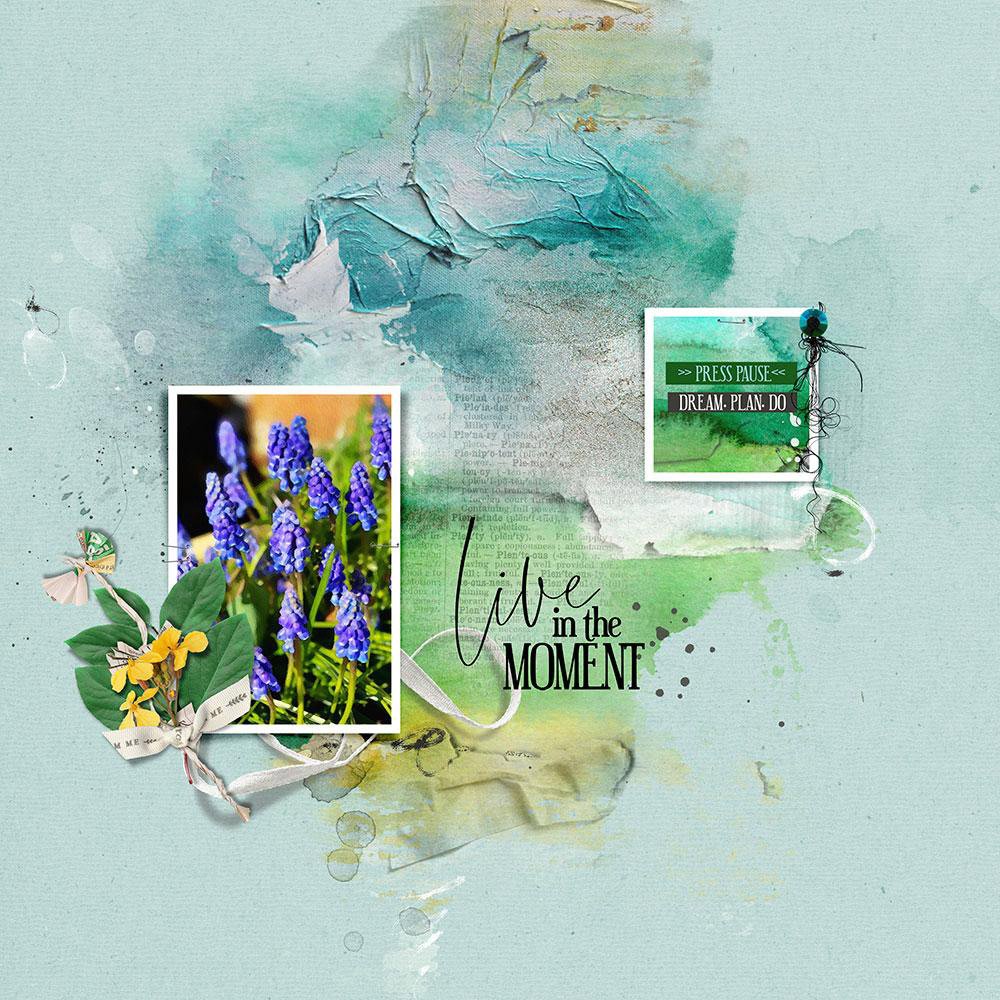 In the Moment | Viv
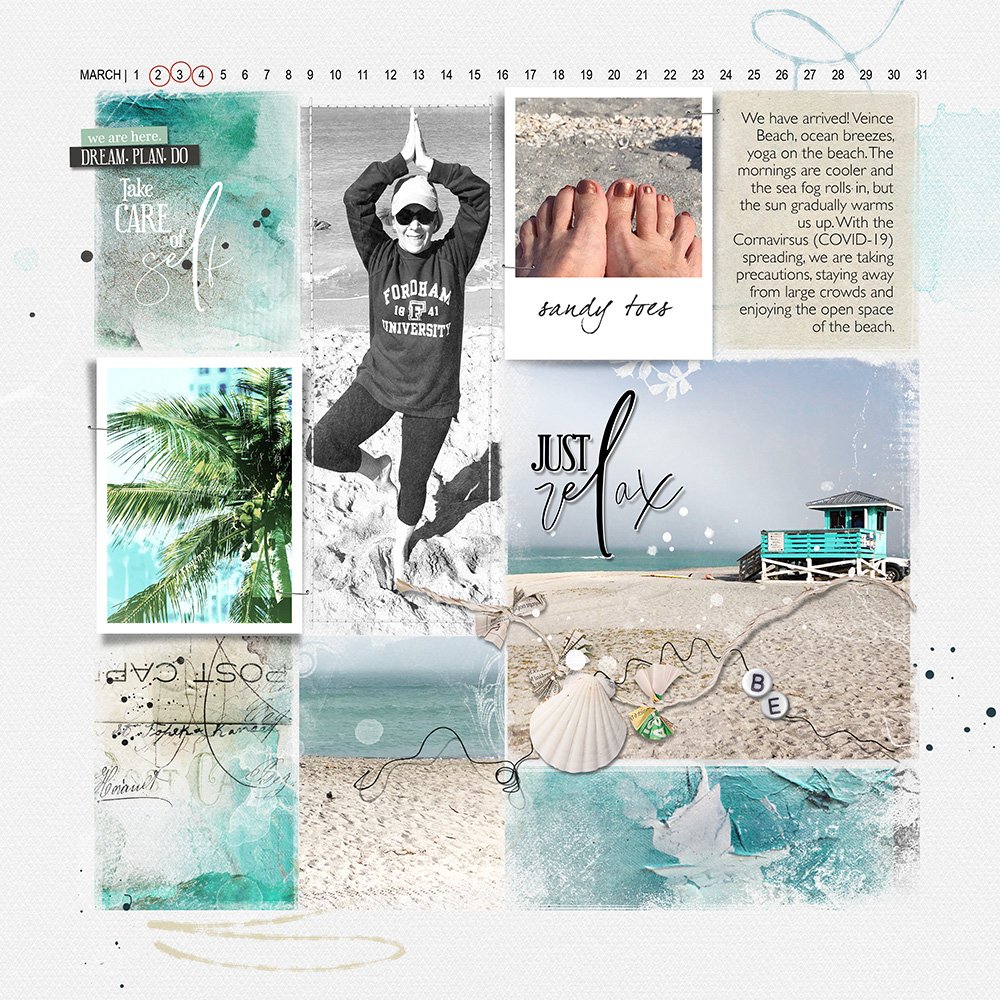
3. ArtsyKardz as ‘Mattes’
Use to matte your photos and layer with frame and dimensional elements.
- Place an ArtsyKardz .jpg file below the photo layers.
- Position the ArtsyKardz file to offset your images.
- Create a layering effect with Frames, Word Labels and dimensional elements.
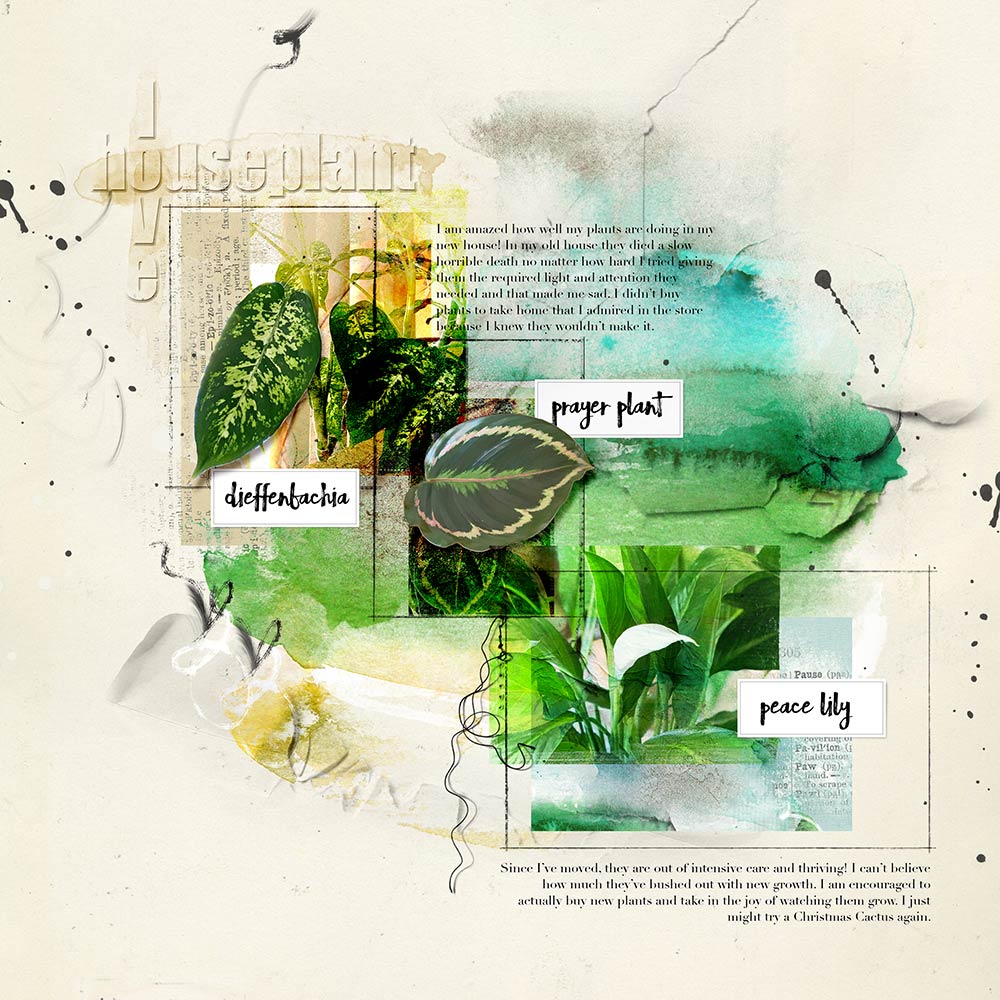
House Plants | Barb
4. ArtsyKardz with FotoInspired
ArtsyKardz files make for perfect ‘mask fillers’ in the FotoInspired Templates.
- The ArtsyKardz are of similar SIZE and SHAPE as the FotoInspired Template mask layers.
- Clip the .jpg or .psd multi-layered file to ANY of the mask layers in the FotoInspired Templates using the Clipping Mask function in Photoshop and Elements..
- Embellish the card with WordART, BrushSets and Embellishments.
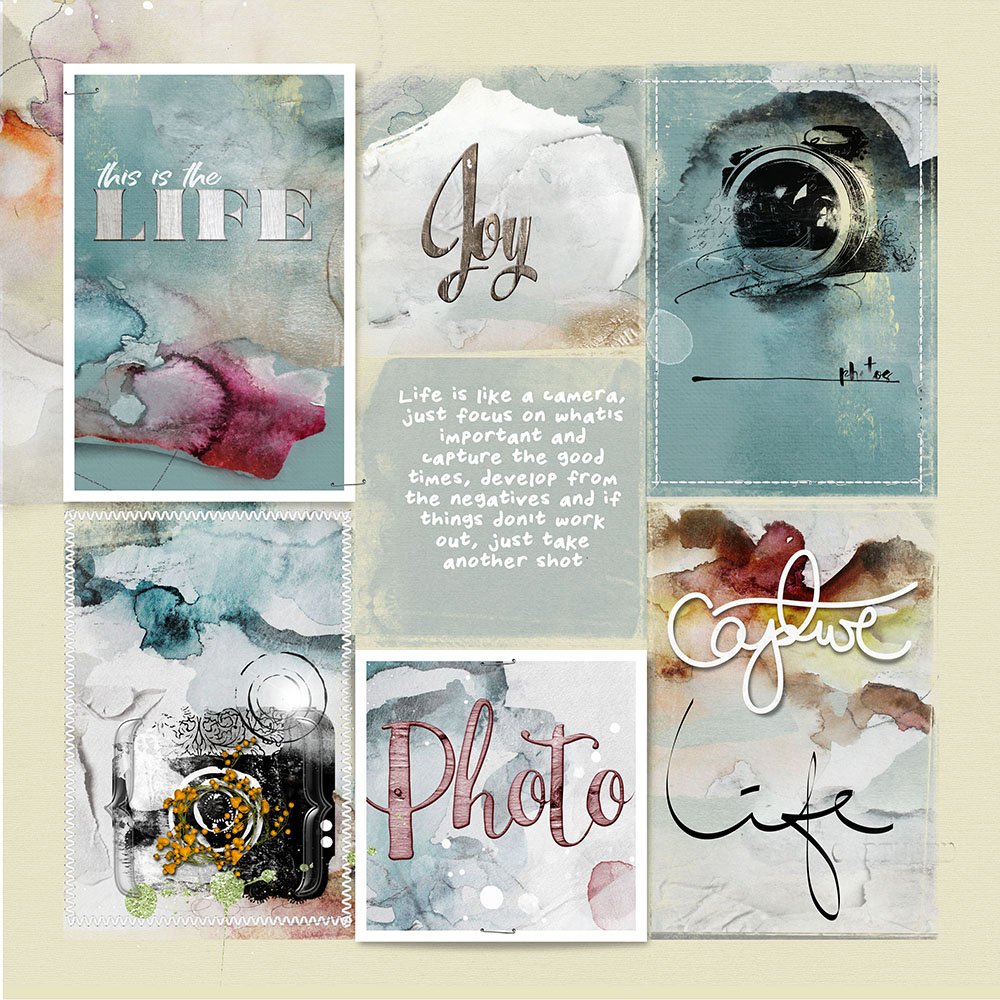
Like a Camera | Joan
Just Relax | Miki
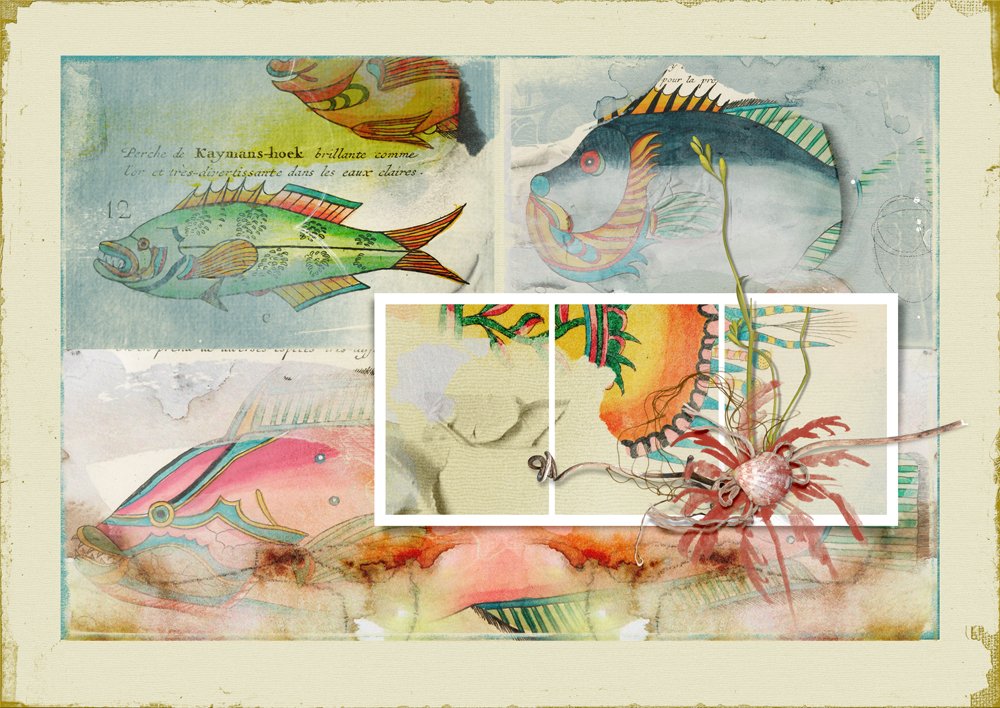
Surreal Fish | Marnie
5. ArtsyKardz with BrushSets
Clip ArtsyKardz to BrushSets and ToolSets to recolor.
- Stamp a brush on a New Layer using the Paint Brush Tool from the Tools Panel.
- You can also open and place the .png file on your layout foundation.
- Move the ArtsyKardz file on top of the brush layer.
- Clip the ArtsyKardz to the brush layer as though it were a Clipping Mask.
Ready To Go | Barb
6. ArtsyKardz and Blending Modes
Apply Blending Modes to ArtsyKardz to elevate Visual Interest.
- Apply different Blending Modes to one or more of the ArtsyKardz to intensify COLOR and CONTRAST.
- These are located at the top of your Layers Panel in Photoshop and Elements.
- Click on ‘Normal’ to activate your Blending Mode menu options.
- Try Soft Light, Overlay, Color Burn, Darken or Multiply for example.
- Results will vary from one ArtsyKardz MultiPack to the next.
- Optionally, add a photo to the ArtsyKardz Layers Stack,
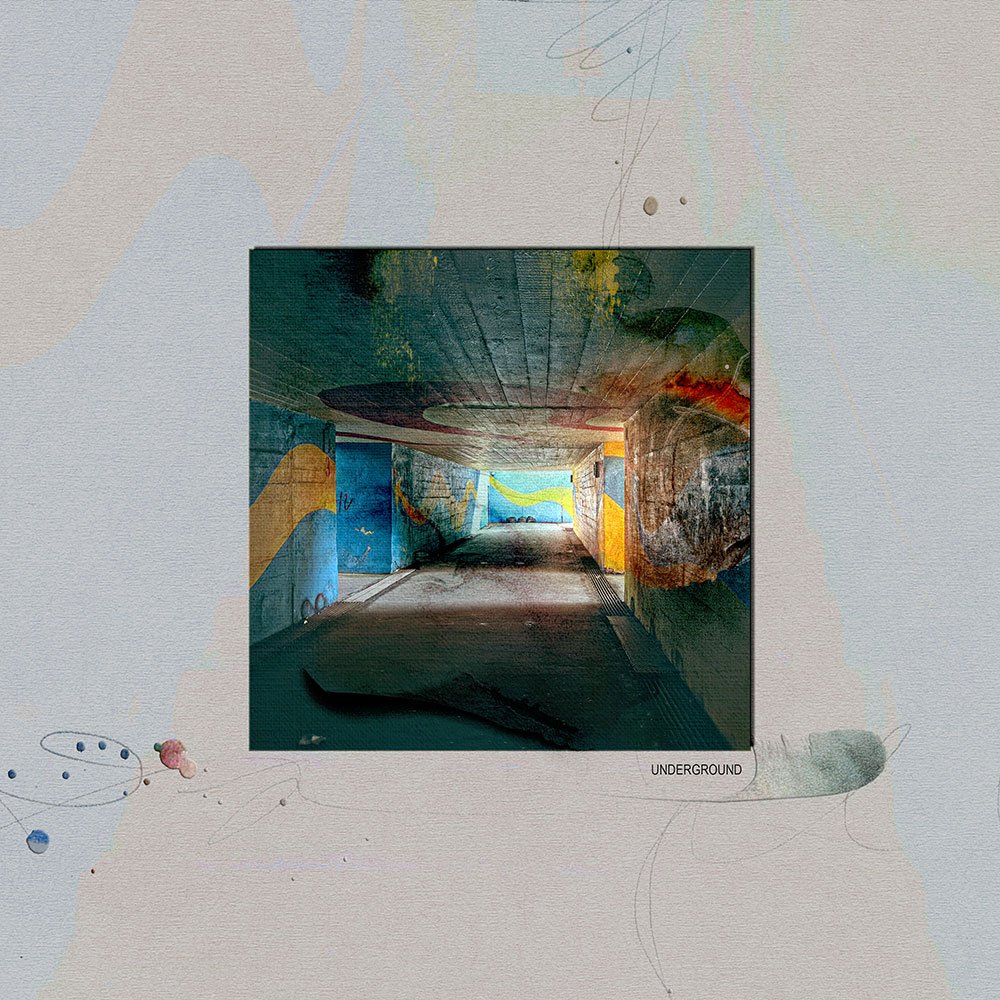
Underground | Margo
7. Individual ArtsyKardz Layers
Use one or more ArtsyTransfer layers as individual elements.
- Open the .psd format ArtsyKardz file of choice.
- Move layers individually onto your layout design to be used as Overlays.
- Examples include Paint layers such as Splatters and Stains, Textures, ArtStrokes and Tapes.
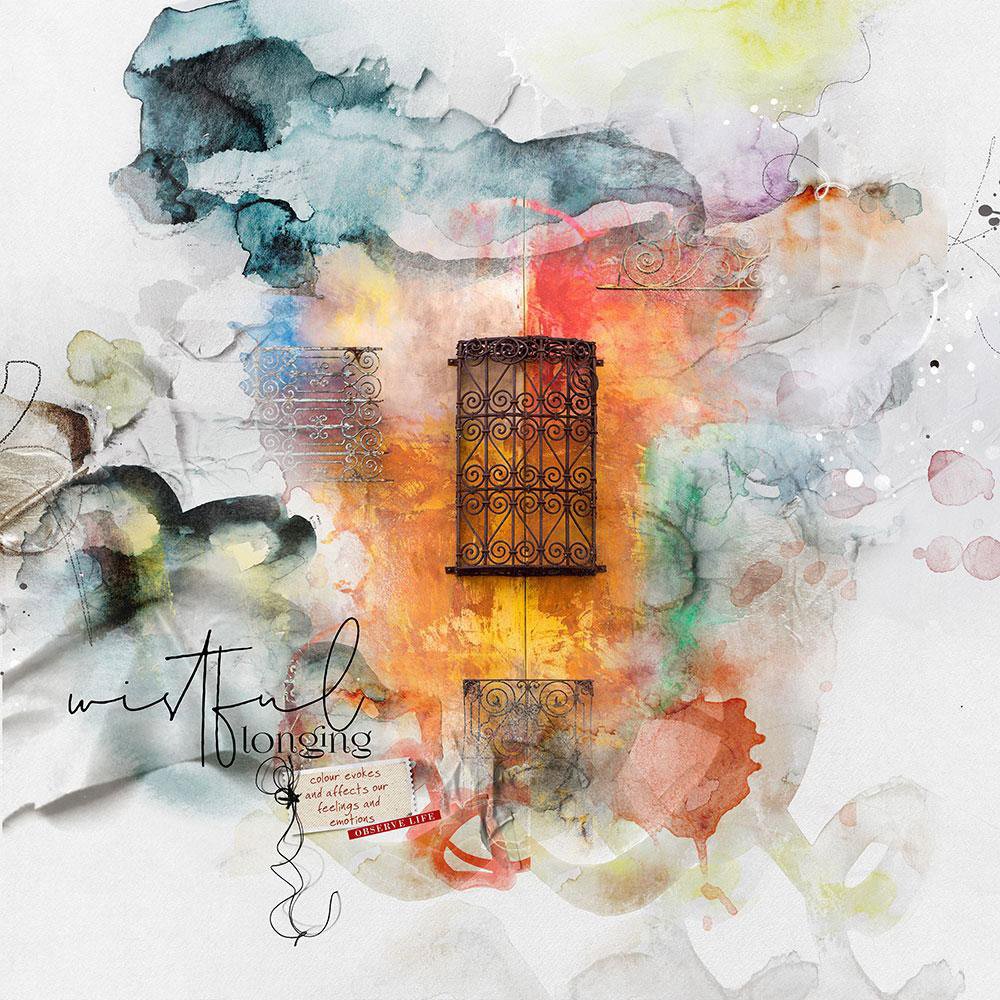
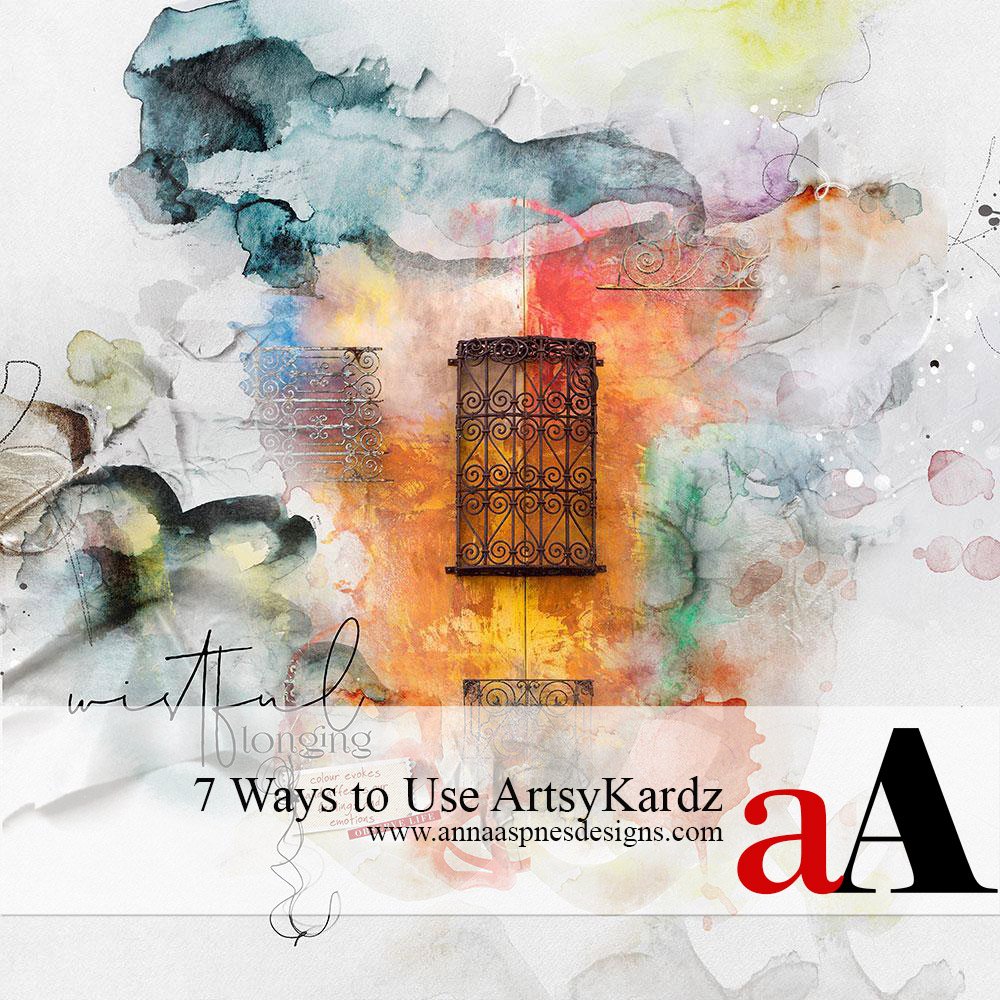
Wistful Longing | Viv
See also:
- Guidance for Using ArtsyKardz video.
- Resources for Useful Techniques in Photoshop and Elements video.
Elevate and inspire by sharing your photo artistry and digital scrapbooking pages using ArtsyKardz in the aA Gallery.


Recent Comments