

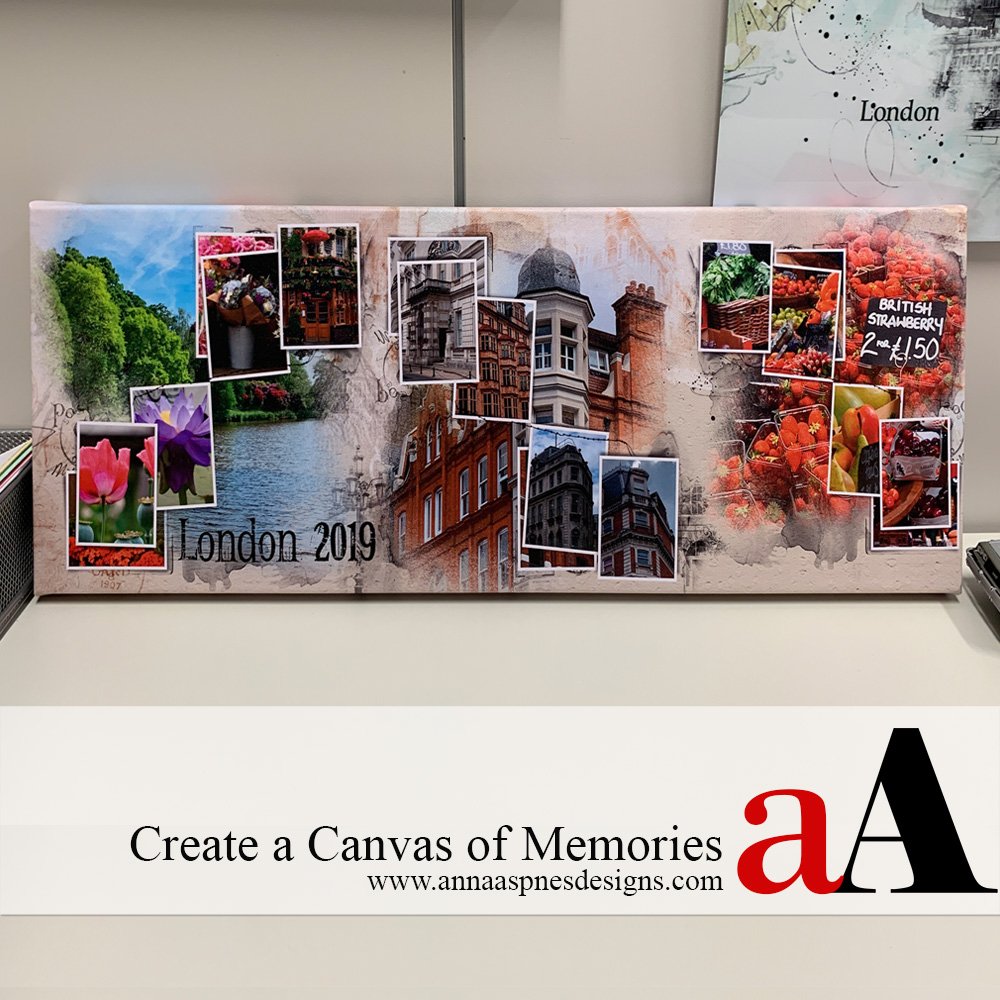
Today, Trish is showing us how to Create a Canvas of Memories
This tutorial is for Photoshop and Photoshop Elements.
Create a Canvas of Memories
Use aA DigitalART to create an artistic canvas of photo memories for your wall.
Trish has just returned from a whirl wind tour of London and wanted to create a WallART keepsake.
This approach is a quick and easy way to not only quickly and easily share her memories, but remember them often as they hang on her office wall.
The Travel Template Albums are an ideal way to make the artistry happen.
1. Plan Your Canvas
Preparation saves time and makes the process easier.
- Select templates to coordinate with the NUMBER of photos you want to showcase.
- Consider photo ORIENTATION and PLACEMENT of those photos within the templates.
- Look at DUPLICATING a template selection to create BALANCE in your design.
- Consider the SIZE of the canvas you want to print.
- You will need to RESIZE the templates to fit your desired canvas size.
- Choose ArtPlay Palettes that support COLORS and THEMES in your photos.
- You might be able to use ONE single Artsy Paper if the longest edge of your canvas is 12 inches or less, or duplicate with some repetition in design.
Tip: If your canvas size is larger that 12 inches, select a uniform Solid Paper that can be duplicated to create a seamless background without repetition, then create your own custom Artsy Paper foundation by adding Transfers and Overlays, ArtsyTransfers and BrushSets to avoid repetition in your foundation.
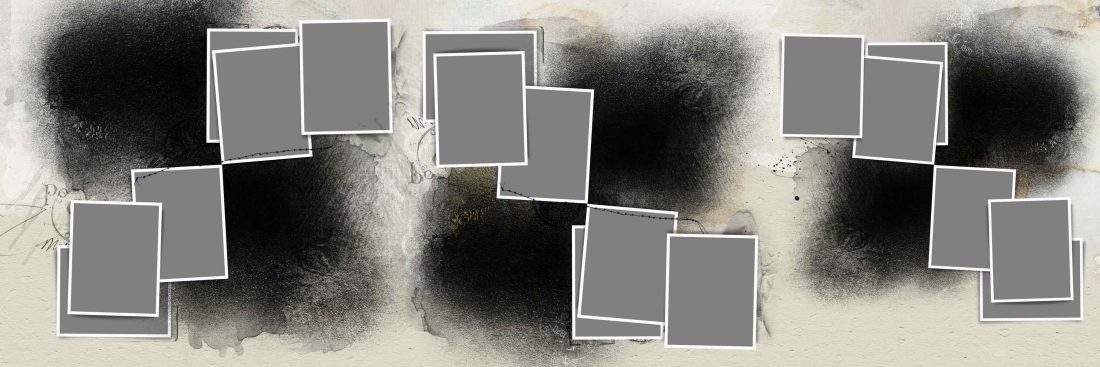
Note. Trish selected Template #11 from Travel Template Album No. 5 as the main focal point, and replicated it twice more to fill the proportions of the canvas. She chose ArtsyPaper5.jpg from ArtPlay Palette Wonderful as her foundation
2. Create a Foundation
Consider how you want your canvas to be printed and create a foundation in Photoshop or Elements.
- Create a New File with dimensions to support the 3 templates.
- The Width value needs to be 3 X the Height value.
- 3 – 12 X 12 inch templates equate to a 36 W X 12 H canvas.
- You can resize your templates to 6, 8 or 10 inches for example to accommodate the canvas size of your choice.
- Open and move the digital paper selection on
Note: Trish created a canvas foundation with 60 cm x 20 cm at 300 DPI dimensions (as she lives in Australia and uses the metric system of measurement.)

3. Add Template Layers
Move the templates layers onto your foundation to guide your design.
- Open the Template and select all layers in the Layers Panel.
- Ensure the Auto-Select option is UNCHECKED.
- Move all the layers onto your foundation using the Move Tool from the Tools Panel.
- Go to Layer> Group Layers to organize the layers in a folder within the Layers Panel.
- Duplicate the ‘grouped’ template layers 2 more times then move the layers to fill the canvas.
Note: You can got to Edit> Transform> Flip Horizontally/Vertically (Photoshop) or Image> Rotate> Flip Horizontally/Vertically Layer to create variation in the design.
Tip: Consider moving/rotating/changing the placement of the frame or FotoBlendz clipping mask layers as preferred.
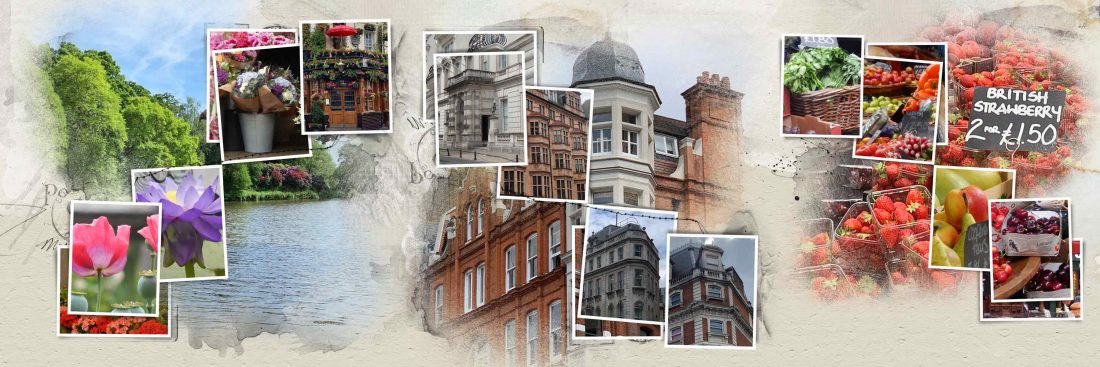
4. Incorporate Photos
Clip your photos to the Template frame and FotoBlendz mask layers.
- Open and move your photos one at a time onto your foundation.
- Work with each ‘group’ of layers in succession.
- Place each photo directly above the mask layer.
- Go to Layer> Create Clipping Mask to clip each photo to the mask.
- Resize or rotate each photo as preferred to fit each mask.
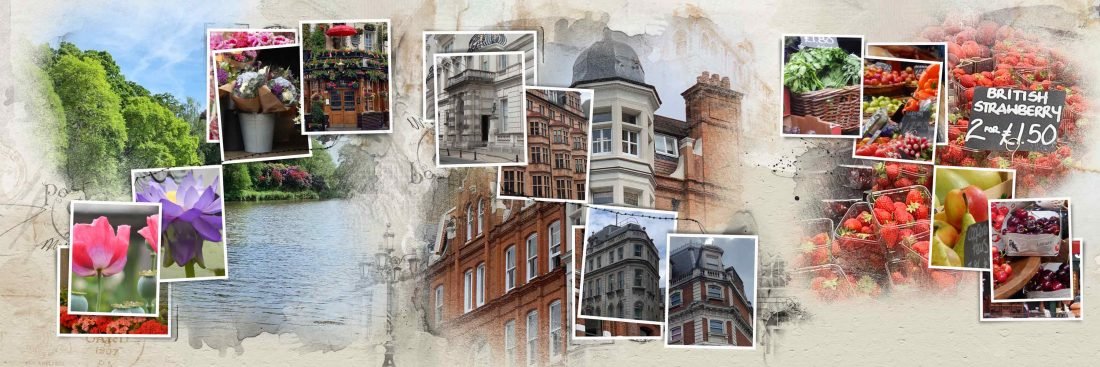
4. Embellish with Elements
Use BrushSets, UrbanThreadz and Text to add visual interest to your layout design.
- Use BrushSets with the Paint Brush Tool to add motif, texture and color to your design.
- See this video for guidance on using brushes
Tip: You can adjust how dark a brush appears on your canvas by changing the COLOR or adjusting the OPACITY slider.
Note: Trish added a title using the Text Tool and chose Conrad Veidt font at 72 point size.
Summary
The canvas did not take very long to complete.
- Templates, BrushSets and ArtPlay Palettes guided the design.
- Planning prior to to beginning the creation process was key to the simplicity of the canvas.
aA DigitalART Supply List


Fantastic wall art Trish! And your tutorial is very easy to follow so I can use one day in the future. Thank you! And thank you Anna.
I’ve never done a travel layout that wide but it’s a good idea to do one! Thanks for all the hints Trish And Anna! Travel books are my favorite projects!
Yes! Would love to see what you create.
A fantastic way to display trip highlights! Fun to see three coordinating layouts showcased horizontally! Thanks for sharing, Trish!
I agree. A really nice way for your artistry to be seen and enjoyed.