

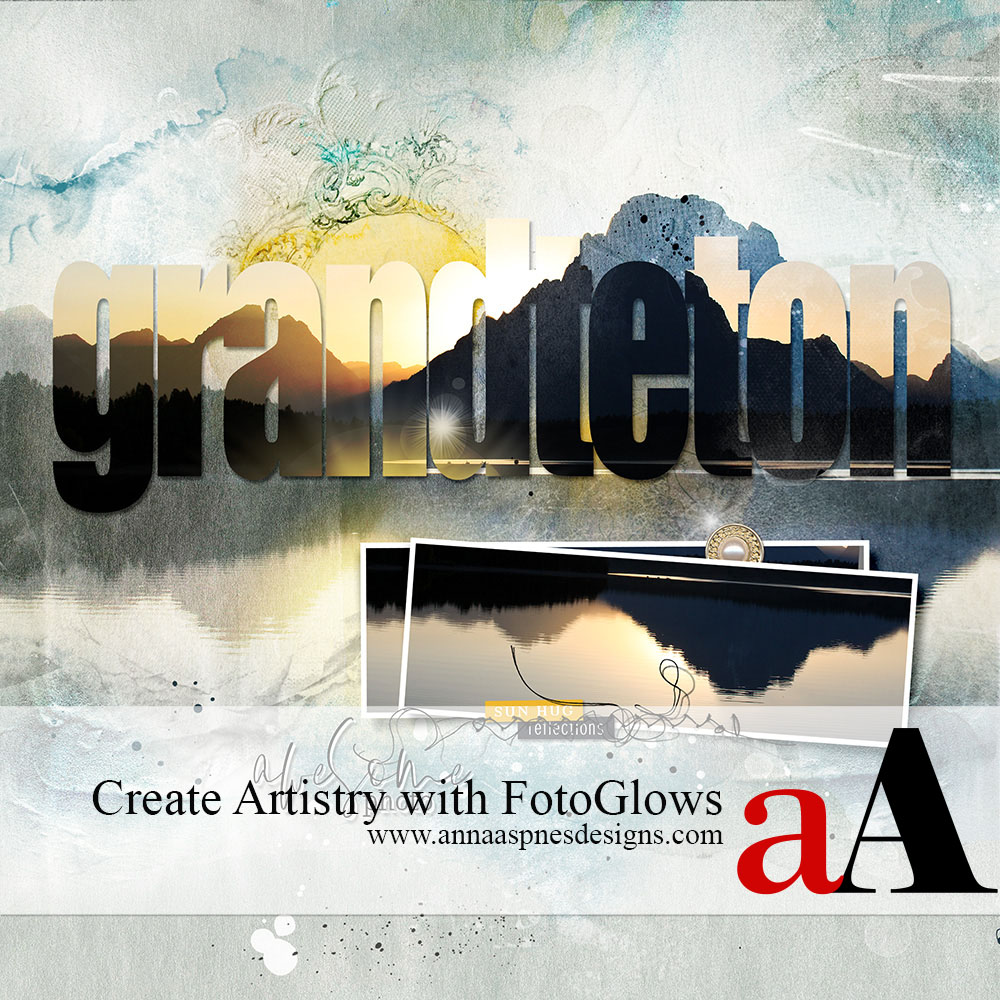
Today, Miki Krueger is sharing how to create artistry with FotoGlows.
Create Artistry with FotoGlows
Introduction
In this tutorial, you will learn how to:
- Enhance a photo using a FotoGlow
- Change the Color of a FotoGlow
- Use Blending Modes to intensify a FotoGlow
Note.
- You can find FotoGlow elements in the FotoGlows and MultiMedia elements categories of the aA store.
- Different Colors, Shapes, Sizes and Combinations will yield a variety results in your digital scrapbooking and photo artistry layout designs.
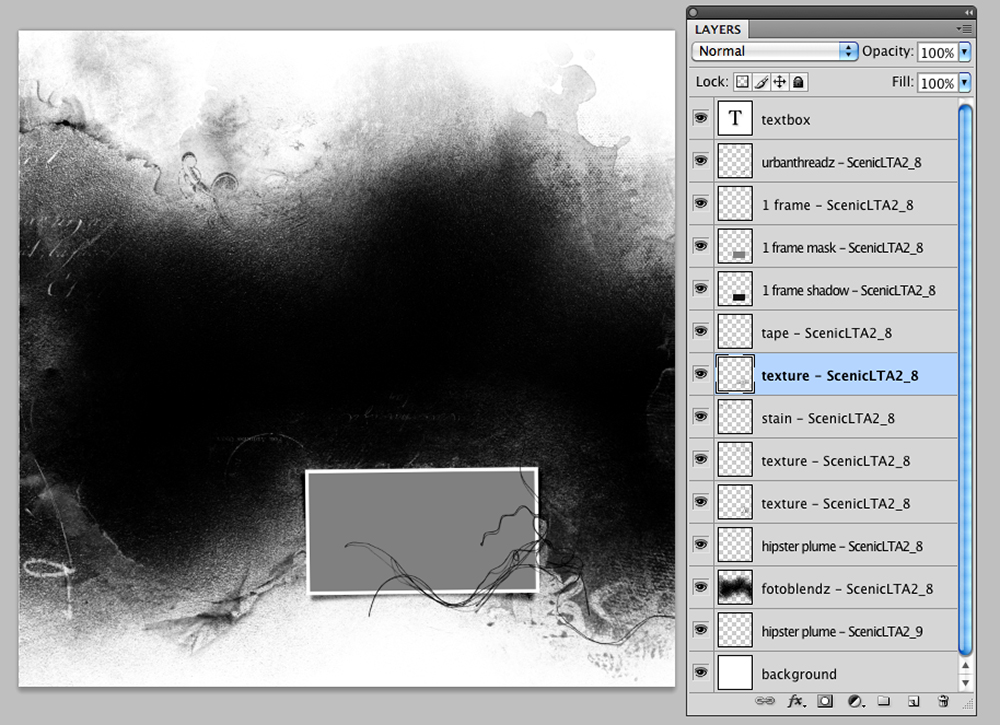
1. Select a Template.
Use a template to create a quick and easy starting point for your digital scrapbooking layout.
- Create a foundation using a template from Scenic Template Album No 2 (page 8) was used to create a foundation for this
- Note that the template serves as a ‘blueprint’ or starting point for the layout design.
Modify a template as needed by:
- Turn Visibility of the layers on/off.
- Resize, Rotate or Reposition elements on any of the template layers.
- Add/Remove or duplicate frames as preferred
e.g. A longer photo frame from page 5 of the template album replaced the smaller frame.
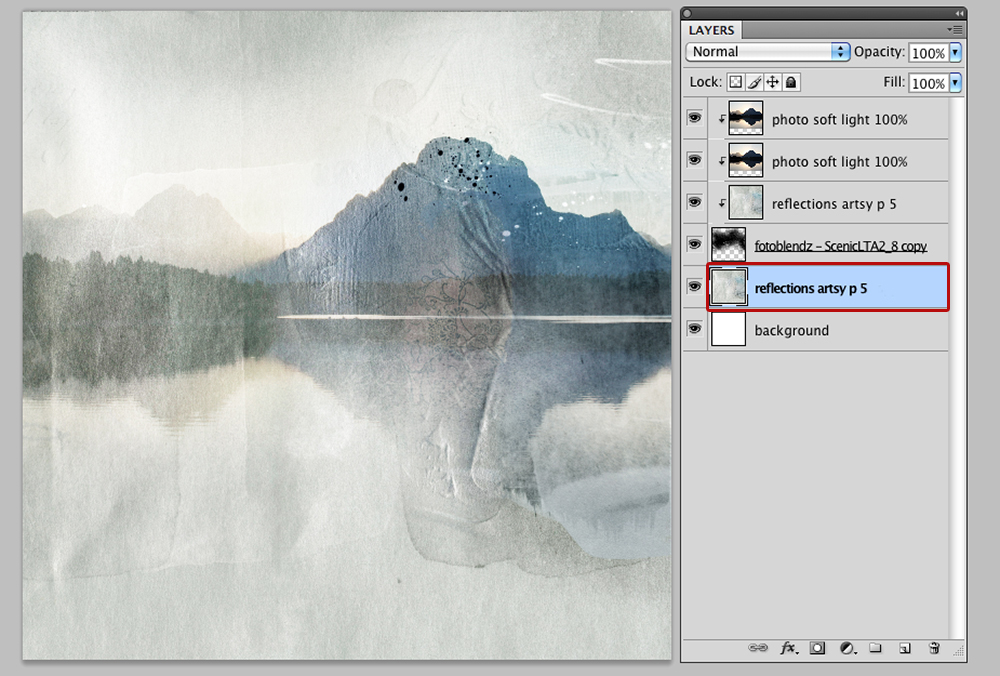
2. Establish Layout Foundation
Clip a paper and photo layers to the focal clipping mask in the template.
- Open and move a digital paper onto the layout using the Move Tool from the Tools Panel to establish your photo artistry layout foundation.
- Artsy Paper #5 from Artplay Palette Reflections was used for this page.
- Clip the paper to the large FotoBlendz mask in the template using the Clipping Mask function in Adobe Photoshop or Elements.
- Go to Layer> Create Clipping Mask or press CMD/CTRL + G.
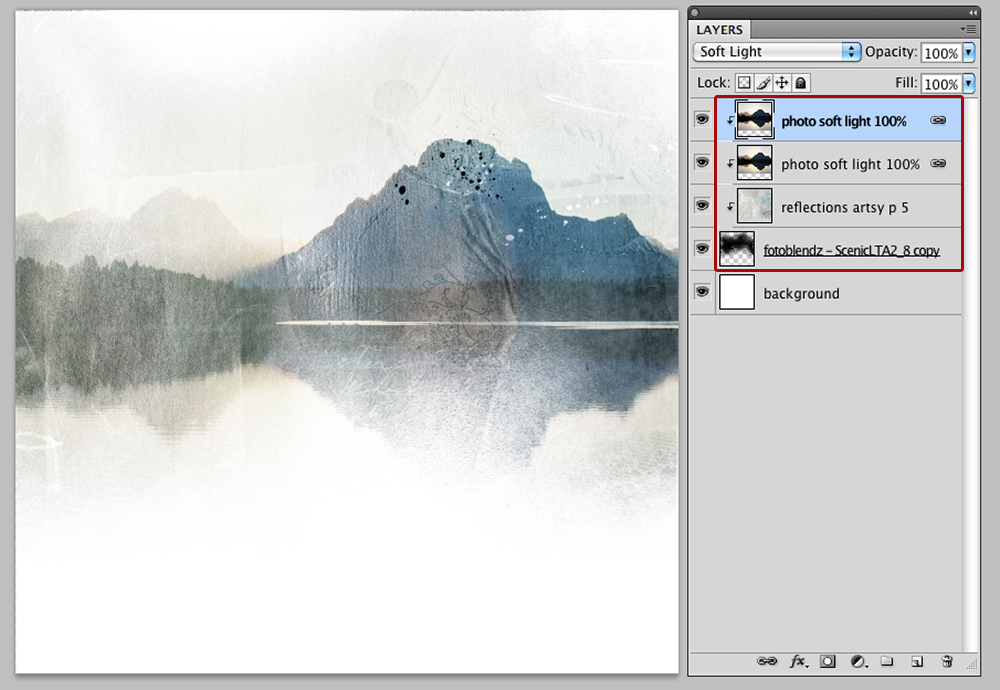
- Move the photo on top of the photo layer in the Layers Panel and repeat the clipping mask process.
- Duplicate the photo layer by dragging it to the New Layer icon in the Layers Panel.
- Set the Blending Mode of BOTH photo layers to Soft Light to allow some of the texture of the paper to show through the muted photo layers.
Tip. Experiment with applying Blending Modes with differing Opacity adjustments to yield varying photo effects.
Note. The photo was later duplicated again, with a Hard Light Blending Mode applied and reduced Opacity to for more intensity and definition.
- Use the Move Tool add the SAME Artsy Paper just above the Background layer in the Layers Panel.
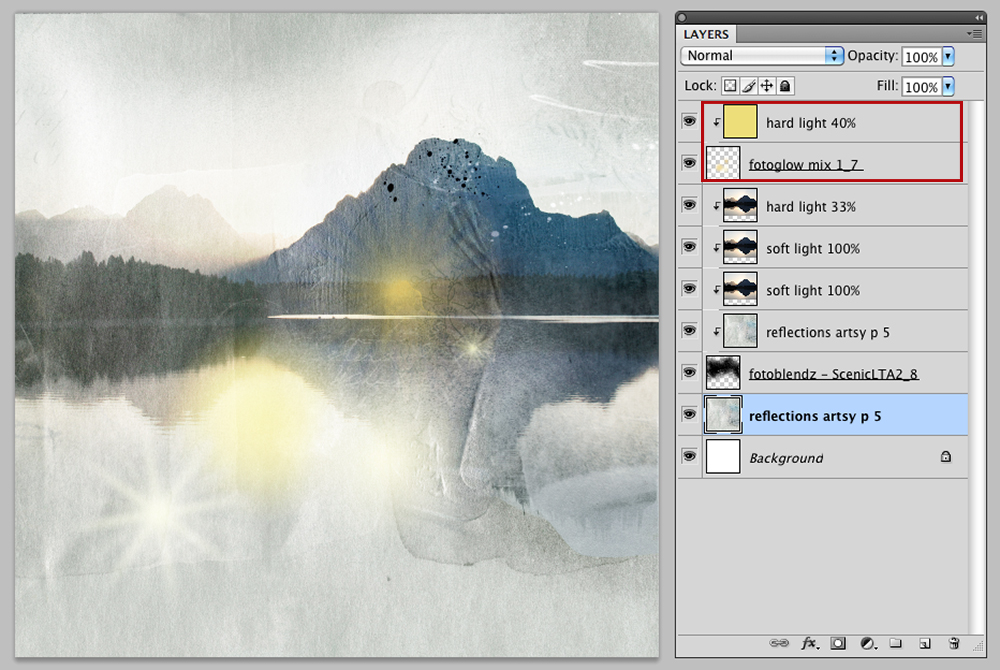
3. Enhance Your Photo
Add light and color to your photo artistry design to lead the eye and add Visual Interest.
- Use the Move Tool to place FotoGlow #7 from FotoGlow Mix No 1 and the top of the Layers Stack.
- Increase the Intensity of Color by creating a Color Fill Layer to yield a ‘filter’ effect.
- Create a New Layer and go to Edit> Fill (Layer) to flood with a golden yellow hue.
- Clip the Color Fill Layer to the FotoGlow Layer using the Clipping Mask Function.
- Apply a Hard Light Blending Mode from the Layers Panel and reduce the Opacity as preferred.
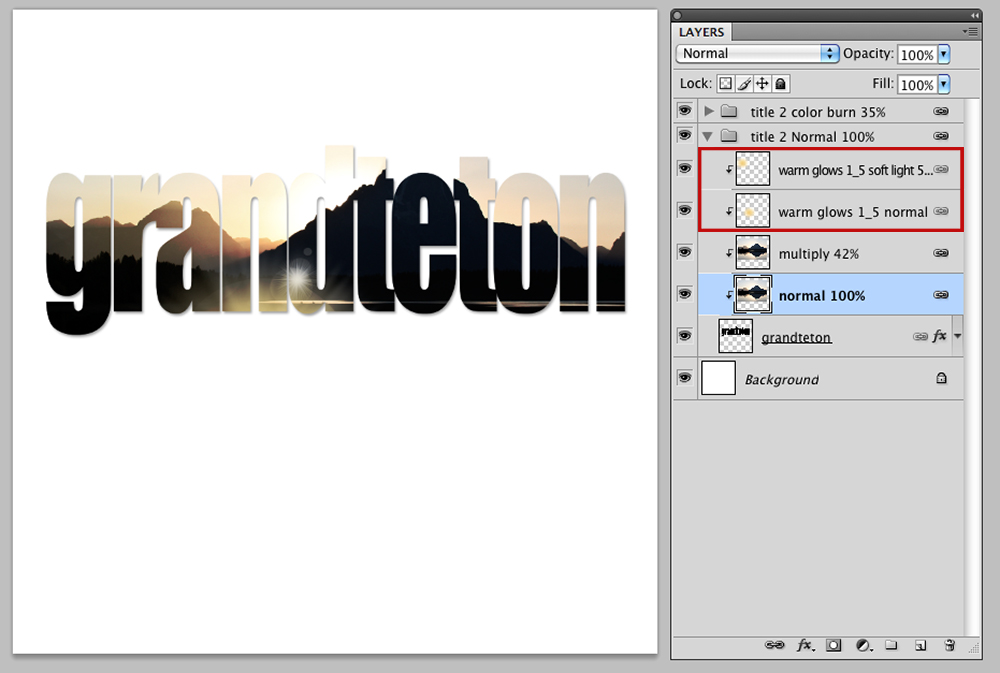
4. Embellish a Title
Clip photos and Fotoglows to type to create an interesting title.
- Type your title in a font with bold characters.
- Go to Layer> Rasterize (Simplify) to convert the Type into a non-vector layer.
- Duplicate one of the photo layers TWICE and move above the ‘rasterized’ type layer in the Layers Panel.
- Clip BOTH photo layers to the title layer, resize and adjust the Opacity as preferred.
- Open two Warm FotoGlows No. 1 files and place over the title to enhance the sunlight on the mountains.
- Clip BOTH WarmGlows to the photo layers so that they become part of the ‘title’ Clipping Set.
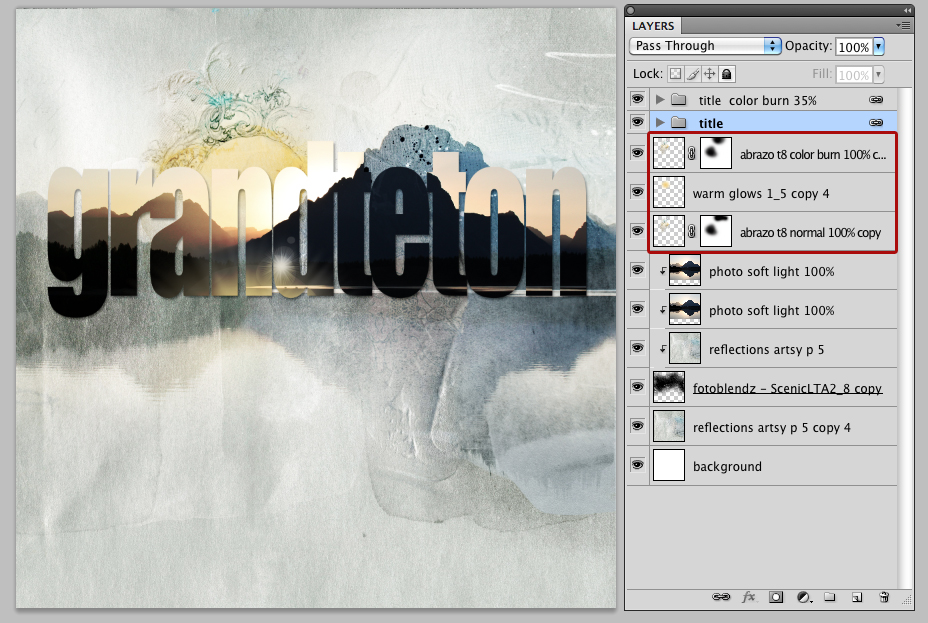
5. Colorize a Transfer
Use a FotoGlow to enhance and colorize an area of the Transfer.
- Add a Transfer behind the title to ‘matte’ the Focal Point.
- Duplicate the Transfer layer to intensify the element and apply a Color Burnn Blending Mode to the top ‘copy’ layer.
- Place and resize a file from Warm FotoGlow No. 1 between the two Transfers so that the FotoGlow colors the circle area of the Transfer.
- Modify the Blending Mode of the FotoGlow layer to best support your artsy digital scrapbooking layout design.
6. Embellish The Design
Add additional digital assets to your photo artistry design to embellish.
- Use a variety of BrushSets, WordART,, Textures, Stitching, ArtsyTransfers, and MultiMedia elements from the aA Store.
- Position on your layout design using Design Principles and Element Properties.
DigitalART Supplies
Find a complete list of the digital supplies used in this photo artistry layout here.
Summary
There a LOTS of ways to use FotoGlows to enhance your photo artistry and digital scrapbooking layout designs.
- Augment an element with Color and Light properties.
- Change the Blending Mode to change the Intensity of the effect.
- Shift the Opacity of layers to support subtle enhancement of the technique.
- Provide the suggestion of Sun Flares to elevate Visual Interest.
See also:
- Using Template Album Collections
- TitleSmarts Workshop
- Useful Techniques in Photoshop and Elements Video
- 8 Ways to Create an Artsy Title
And if you liked this Create Artistry with FotoGlows, show us how you use them by posting your artsy digital scrapbooking pages to the AnnaGallery.


Miki, this is a wonderful and fun tutorial! Thank you for sharing it, and the larger size screen shots of your work space is really helpful! Thanks Miki, and Anna.
Thanks for the feedback Beverly. Glad you enjoyed.
Thanks, Miki for this also! It is one of the many ways i under utilize Anna’s designs and that I want to use in my scrapbooking
Love that this inspires you to use aA DigitalART in NEW ways!
Thanks Miki! The presentation is very beautiful!
Totally agree.